Resetting and deleting data
Note! When editing this lesson, check if the corresponding edits are also needed in the PMS User Guide for Clinic Side Users>Resetting and deleting data in a PMS Study lesson.
Introduction
This lesson describes how to delete a subject, a form, or an event.
Notes!
- No data, even if deleted or reset, is actually removed from the database. It is only marked as "deleted" and will not appear in the export output. An exception is Excel exports, where deleted data is excluded by default unless the history is included. In PDF exports, deleted data is included by default.
- It is not possible to delete unscheduled events if automatic event dates are enabled.
|
Important! Although no data is deleted from the database, it is not possible to revert any deleted data. Therefore, please make sure to double-check the data before you delete the data. If any data is deleted by mistake, the deleted data is still available for preview and can be re-entered manually based on the old records. To view deleted forms, select Show deleted forms in the upper right corner of the form on the Details page. |
Resetting a form
Resetting a form means that all data in the form is erased and the fields in the form appear empty again.
The old data in the form is still available for tracking purposes and can be accessed by activating the Show deleted forms checkbox on the Details page:

To reset a form:
| 1 | Open the form and select Edit in the top right corner. The Reset form icon appears in the bottom left corner of the form. 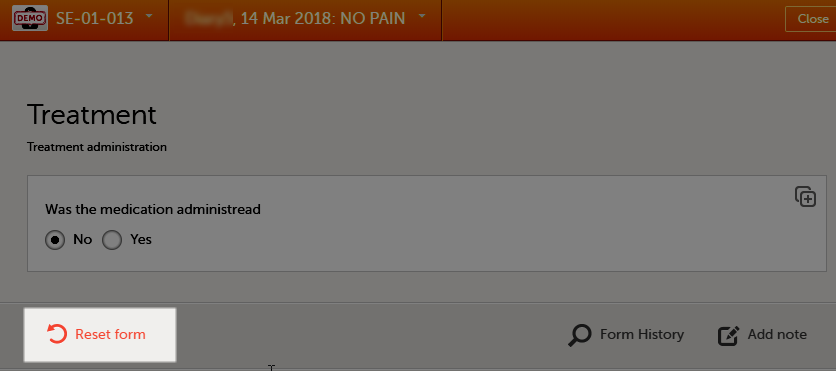 |
| 2 | Select Reset form. A pop-up appears asking for the reason for resetting the form. 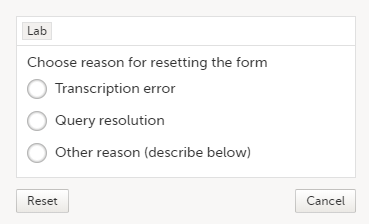 |
| 3 | Enter the reason and select Reset. |
Note!
- Any open queries in a form that is reset will automatically be closed by the system.
- If you cannot see the reset icon after selecting Edit, please contact your Site Manager or Study Manager for assistance. It might be possible that your role does not include permission to reset forms.
Resetting a radio button in a form
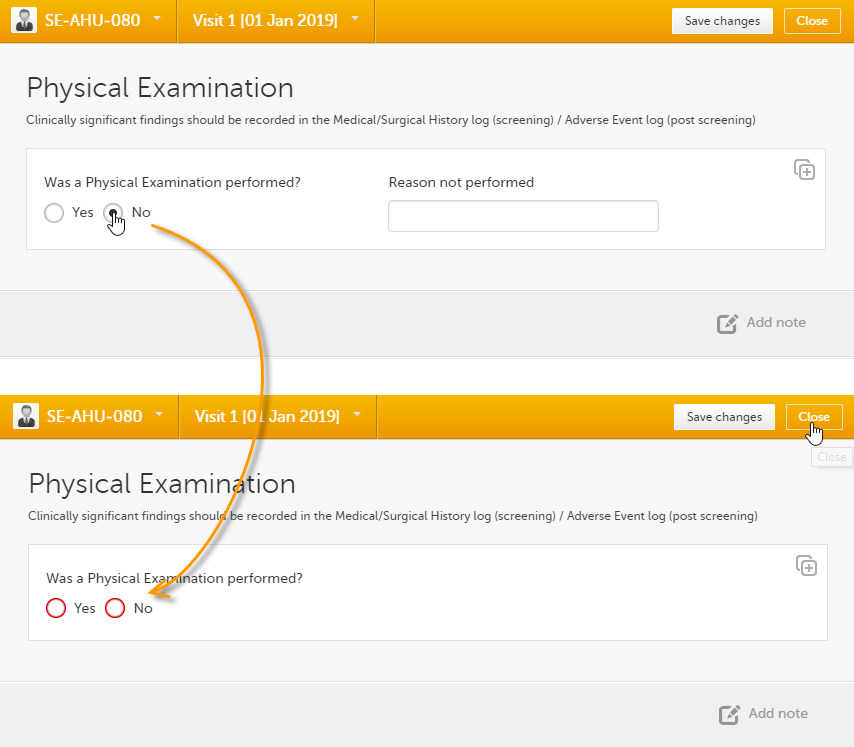
In case you made a selection in a radio button and want to return to the state in which no option is selected, you can reset the radio button. To reset a radio button, select the selected radio button again, and it will be deselected:
Deleting a common event
To delete a common event such as Adverse Event, Concomitant Medications or Medical History:
| 1 | Open the event and select Edit in the top right corner. The Delete event icon appears in the bottom left corner of the form. 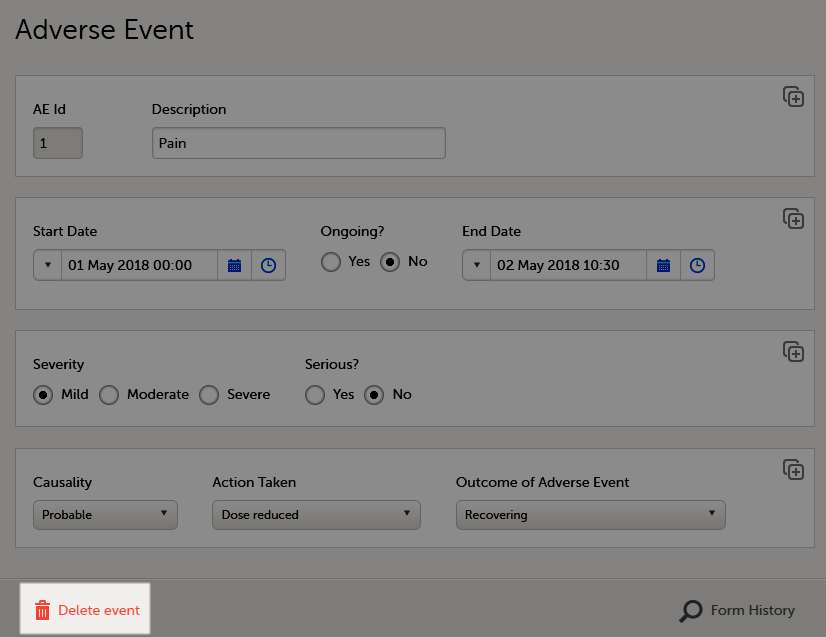 |
| 2 | Select Delete event. A pop-up appears asking for the reason for deleting the event. 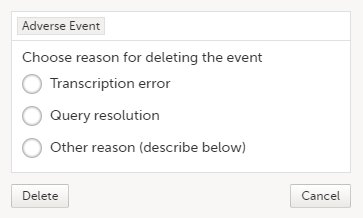 |
| 3 | Provide the reason and select Delete. The event is deleted but available for tracking purposes in the history. |
Note!
- Any open queries in a deleted event will automatically be closed by the system.
- If you cannot see the delete icon after selecting Edit, please contact your Site Manager or Study Manager for assistance. It might be possible that your role does not include permission to delete events.
Deleting an unscheduled event
If you have added an event manually using the Add new event button (see Entering/Editing data), you can remove the manually added event if it does not contain any data. If any form within a manually added event is completed, the form needs to be reset before the event can be deleted.
To delete a manually added event:
| 1 | Open the event and select Event date. The Event date form opens.  |
| 2 |
Select Delete event. 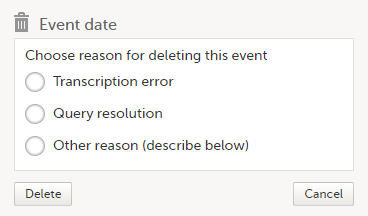
|
| 3 |
Provide the reason and select Delete. |
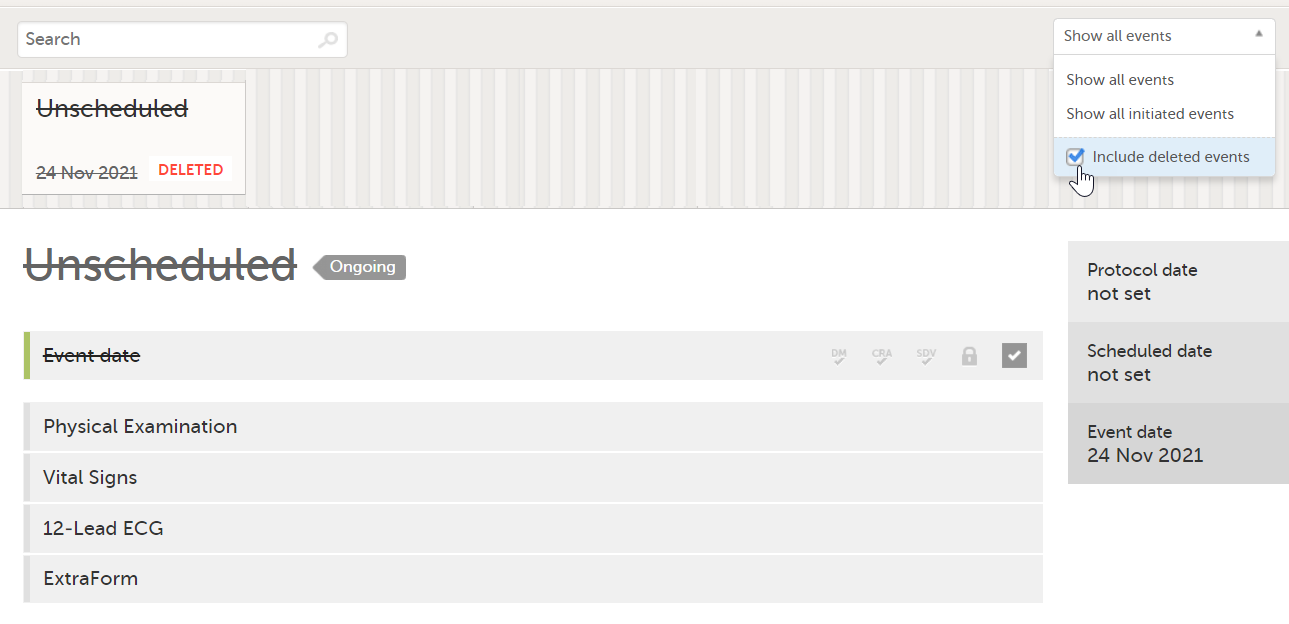
Once the event is deleted, the event gets a DELETED stamp, the event name appears in strikethrough, and the content of the event is displayed in grey. By default, all deleted events are still visible in the schedule. You can select to show or hide the deleted events by selecting or clearing the Include deleted events checkbox in the Show all events drop-down list:
Resetting the event status
If you have initiated or planned a scheduled event by mistake, you can set it back to its previous status. If any data is entered on the event, the forms with data need to be reset before the event status can be reset.
Note! If a scheduled event with visibility conditions is reset and the conditions were not fulfilled, the event status is set as "Deleted".
To reset the event status for a scheduled event that was initiated/planned:
| 1 | Open the event and select Event date. The Event date form opens. |
| 2 |
Select the trash can icon next to the date. 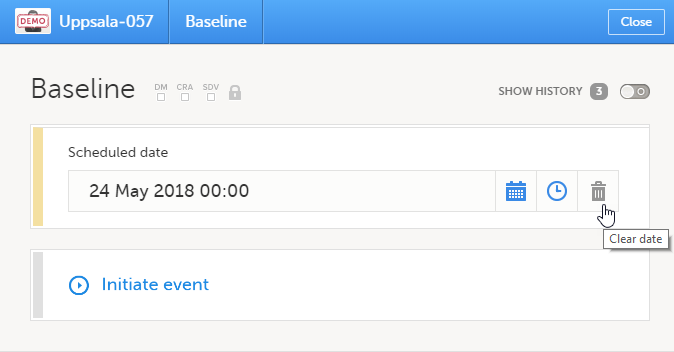
|
| 3 |
The date is now not set. |
| 4 | Provide the reason and select Ready: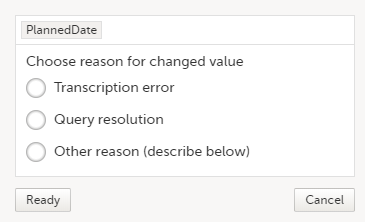 |

Deleting a subject
Note! A subject cannot be deleted if the form that was used to add the subject is locked.
To remove a subject from the study:
| 1 |
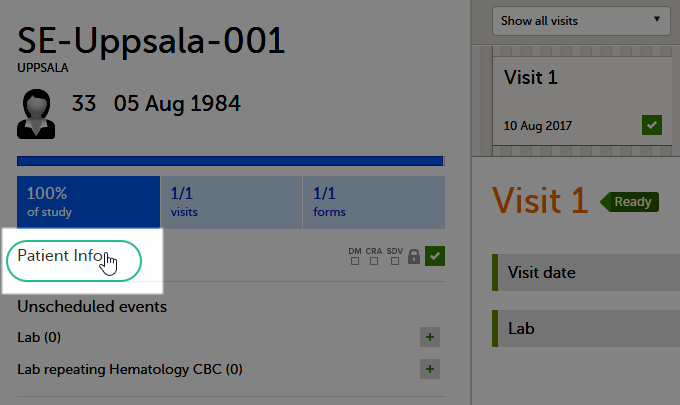
On the Details page, select the form that was used to add the subject. |
| 2 |
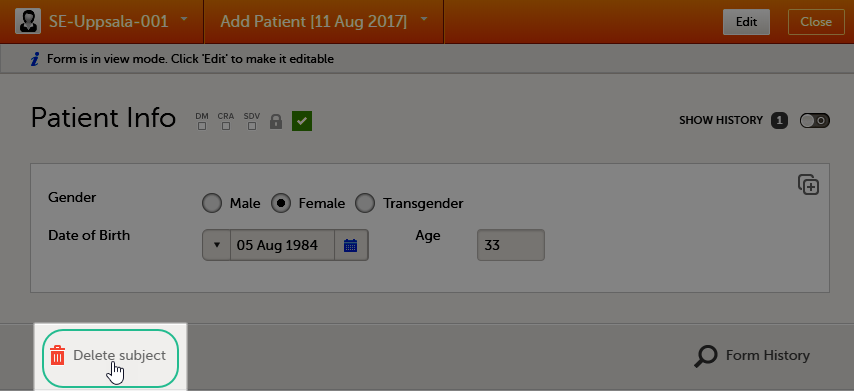
Select Delete subject. A confirmation pop-up appears. |
| 3 |
Select Continue. 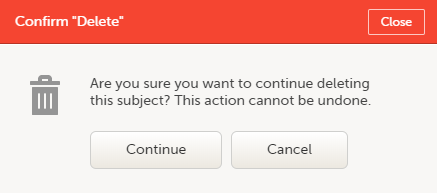
You will be prompted to enter the reason for deletion. |
| 4 | Provide a reason, enter your password and select Delete.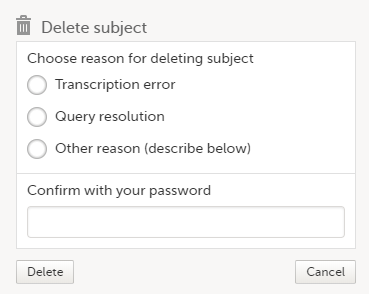 |
After deletion, the Details page is marked in grey, but all forms are still accessible.

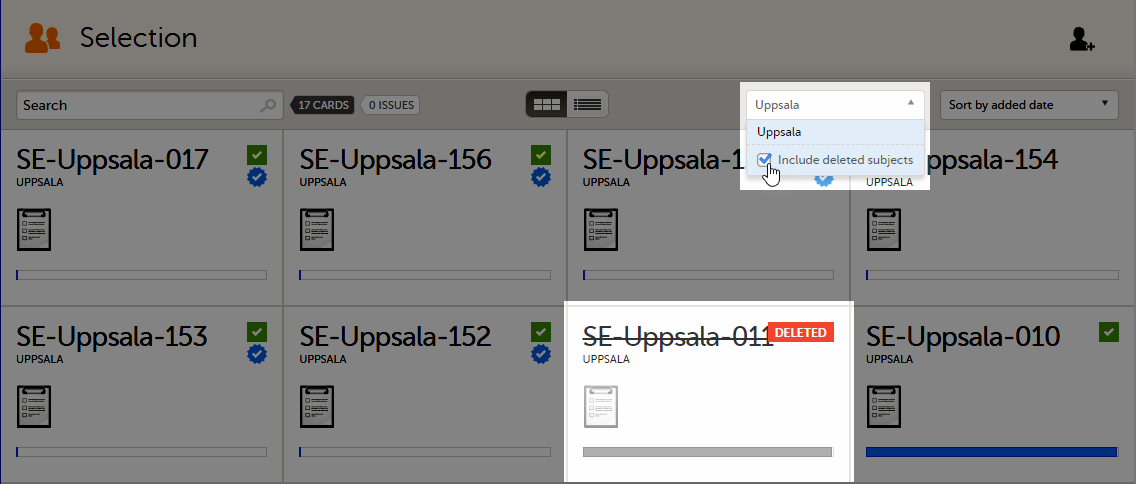
The subject card is also still visible on the Selection page. You can select to remove the subject card from the Selection page by clearing the Include deleted subjects checkbox in the drop-down list of the site in the top right corner of the Selection page.