Selection page
Introduction
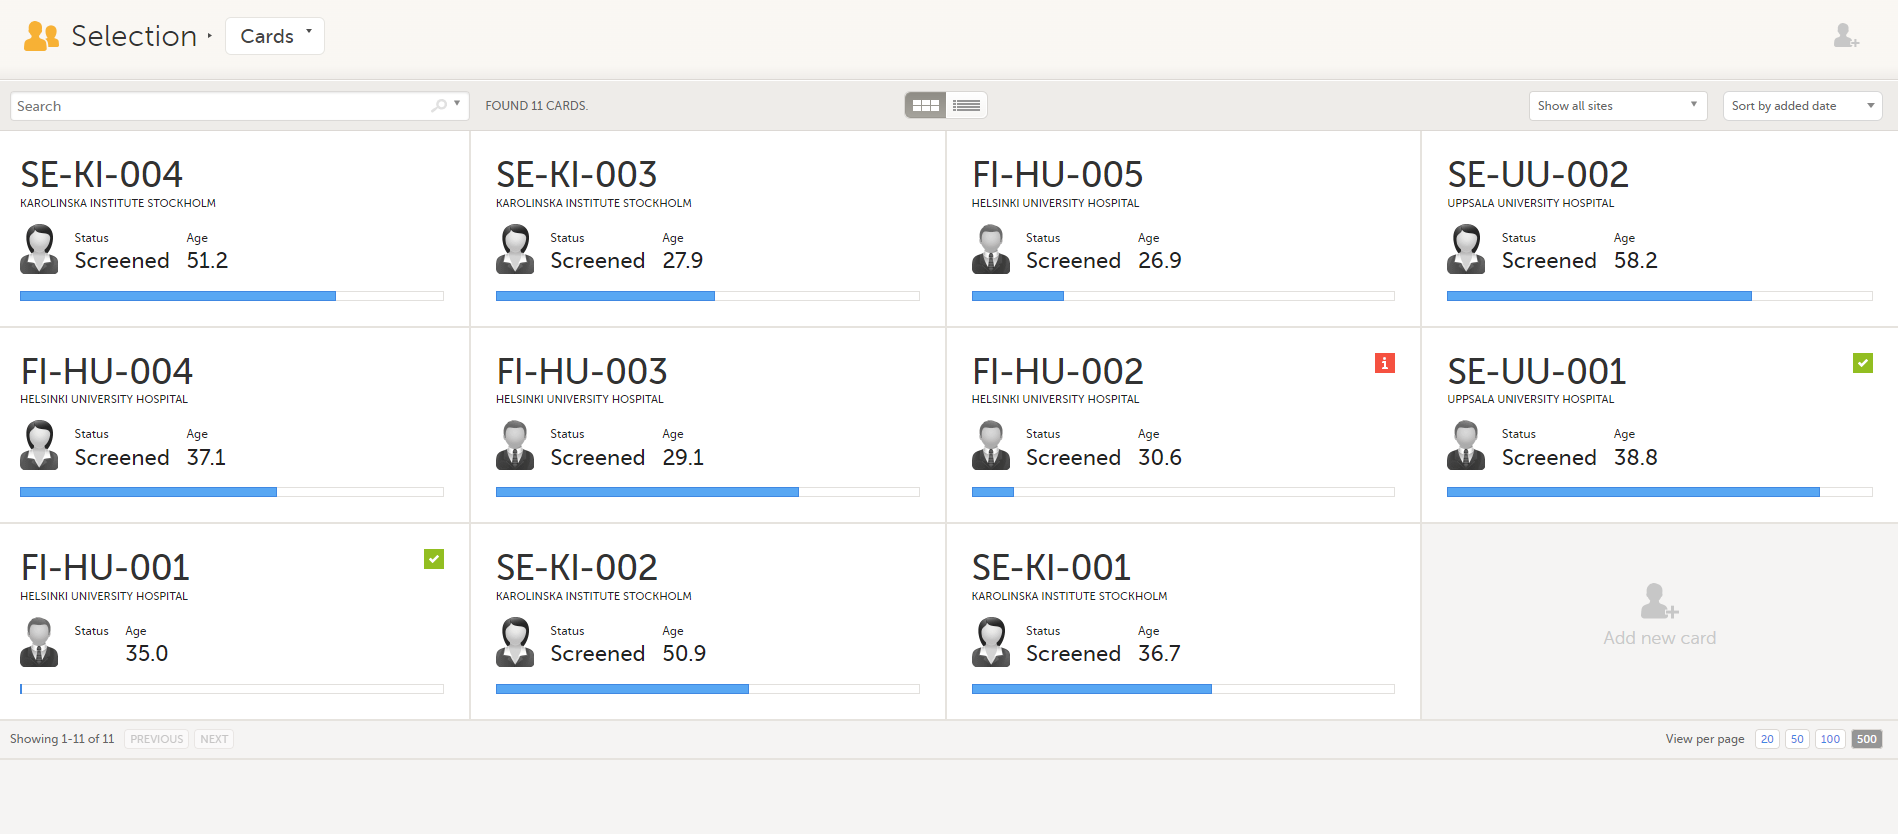
The Selection page displays all the subjects from all the sites you have access to:
In the default view, each subject is represented by a card. Depending on your study setup, the Selection page can be displayed in several ways. See Views of the Selection page.
Sorting and filtering
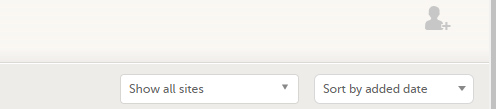
In the top right corner of the Selection page, you have dropdown menus to sort and filter the view. The options depend on the selected view. The selected sorting will be kept throughout your session.
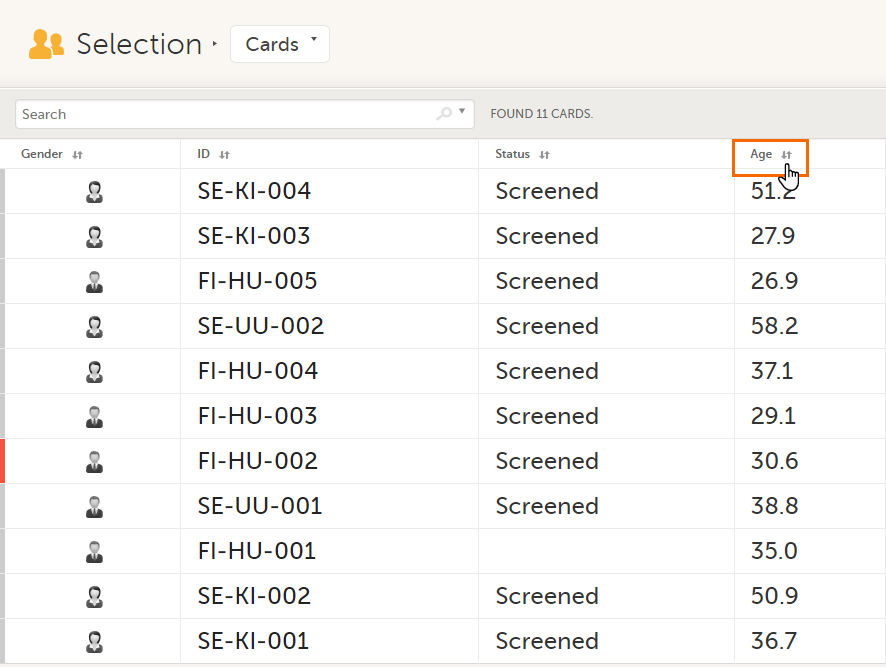
In the table view of the Selection page, you can also sort by column in descending or ascending order by selecting a column header with the arrow symbol. Lit-up arrows indicate the selected sorting in orange:
Notes!
- The descending sorting in the subject list view is not working properly.
- When clicking to sort a column containing dates in the subject list view, Viedoc sorts all dates using a numeric variant of US date representation (for example, 1977-NOV-16 comes before 1967-DEC-16 because the first is sorted like 11/16/1977 and the latter is sorted like 12/16/1967).
Searching
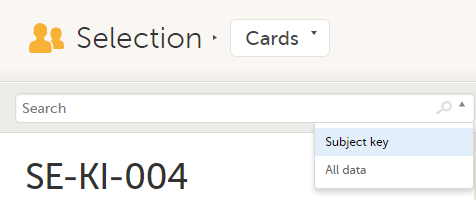
To search for a specific subject or any other information collected for a subject, you can type the text you are looking for in the search field:
The system will return the subjects with the information sought that has been entered in the Case Report Form (CRF).
Subject key and All data are two filters that can be applied to the search.
- Subject key will return results where the search term is part of the subject ID.
- All data will return results where the search term is mentioned.
- All data also requires specificity when you commit a search for visit name and form name. It does not return partial results in these instances.
Note! For faster searches, we recommend that you select the Subject key filter.
| Important! If your search returns nothing, it could indicate a problem with your study design. Please contact your Professional Services representative to assist you. |
Icons
The Selection page displays a number of icons explained in the following table:
| Icon | Description |
|---|---|
 |
Issue - at least one open query and/or missing data |
 |
Task - there are tasks to be completed, the number indicates the number of tasks |
 |
Complete - all initiated events have been completely filled in |
 |
Signed - all data that is possible to sign has been signed |
 |
Read-only - the card is being open for edit by another user. Note that the subject card can still be accessed for review or SDV by a user without edit permissions, for example a monitor or a data manager. |
 |
In progress - the event is initiated but not completed This icon is only shown when none of the other status icons apply |
 |
Locked - the data in all forms of the event is locked |
Note! The icons showing depend on your user role permissions.
Views of the Selection page
Depending on the study setup, the Selection page looks a bit different.
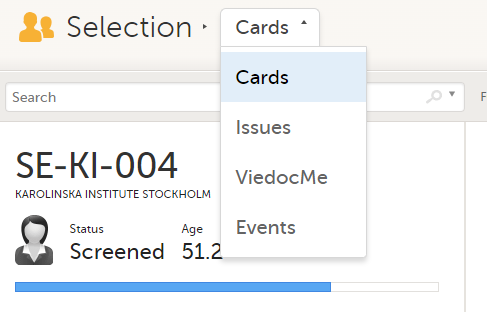
- If the study is configured with extended selection pages, you can select a view at the top of the page. Select Cards, Issues, Viedoc Me or Events from the dropdown menu to open the view. The Viedoc Me view is only available to select if the Viedoc Me feature is included in your study.
- If the study is not configured with extended selection pages, you can select between the views Cards and Issues by clicking the buttons next to the search field.
The Cards view
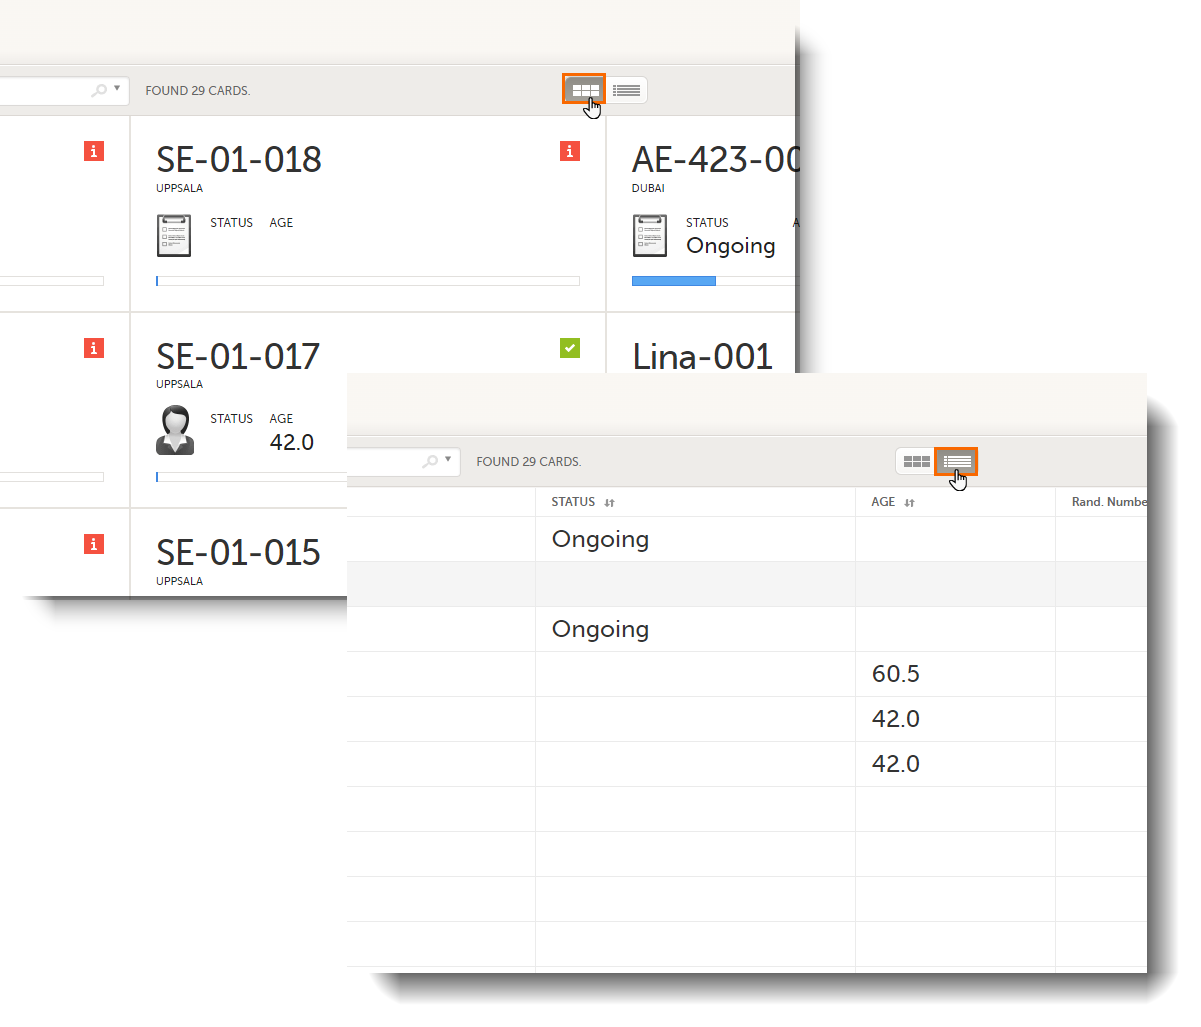
In the Cards view, you can see all the subjects from all the sites you have access to. Select to display the subject cards side-by-side (default) or in a table:
The subjects are sorted by added date, where the most recently added subject is displayed first. You can sort the subject cards by selecting an option in the upper right corner:
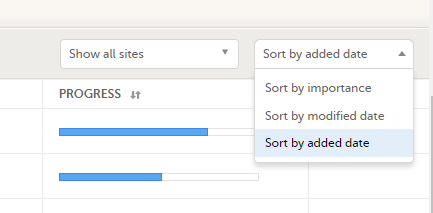
- Sort by importance - sort on forms with issues in descending order
- Sort by modified date - sort on modified forms in descending order
- Sort by added date - sort on added forms in descending order
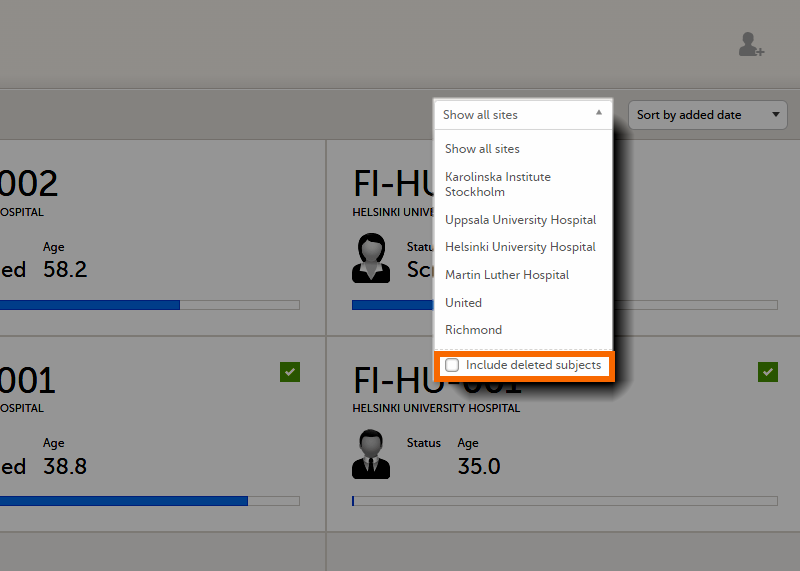
To display only the subjects for a particular site, select the site from the dropdown list. Click Include deleted subjects at the bottom of the dropdown menu to display deleted subjects:
The subject card overview
Each card provides subject information as per the respective study design:
- Subject ID
- Site name
- Gender indicated by an avatar
- Some CRF data
- Subject status indicated by the icon in the top right corner
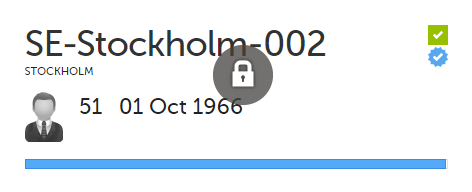
If all the forms were locked (typically by the Monitor), this is shown with a padlock icon on the respective subject card:
- Progress bar indicating the completion status (in blue)
Note! The Selection page does not consider the role visibility except for task count; therefore, the subject status reflects the general status of the subject in the study, regardless of the user who has work to be performed. The subject details view reflects the subject status considering the role visibility. This could result in a subject status where a subject could have a green check mark or be locked, while in the Selection page it is not (due to some other user role having unfinished work or forms to complete on the respective subject). See Entering and Editing data for more information on the subject details view.
The issues view
In the Issues view, you can see the existing issues listed in a table:
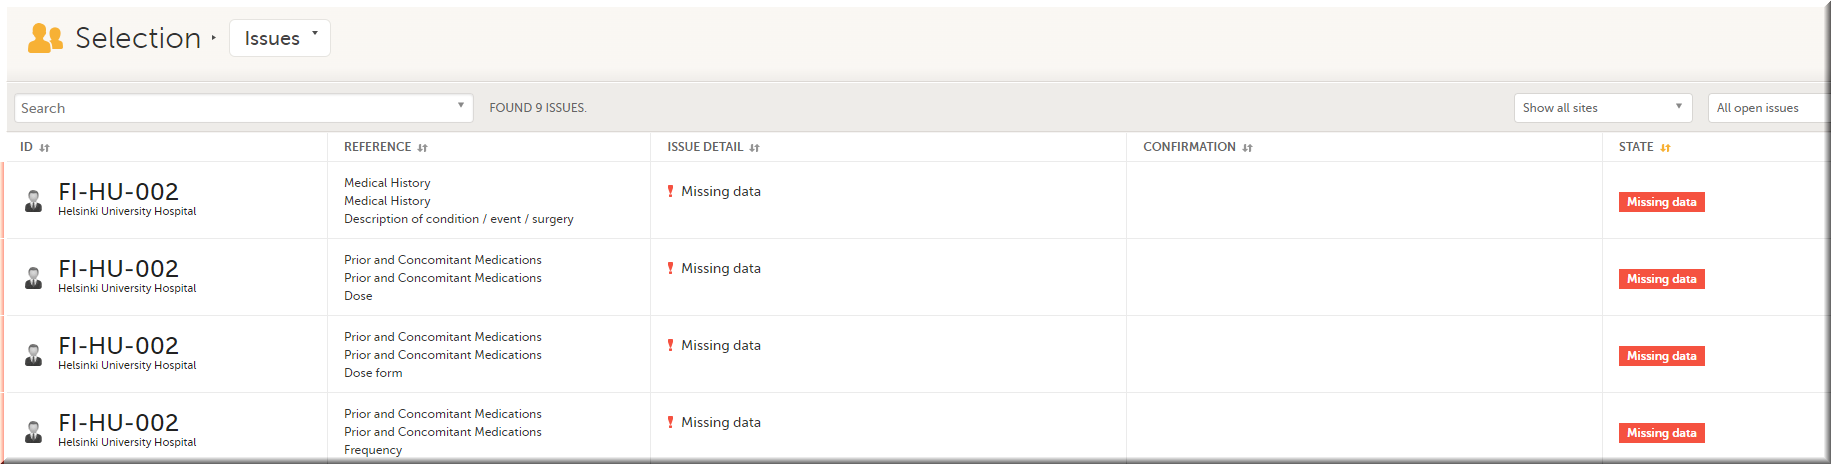
Click any row to open the form where the issue was raised:

Close the form to go back to the Issues list.
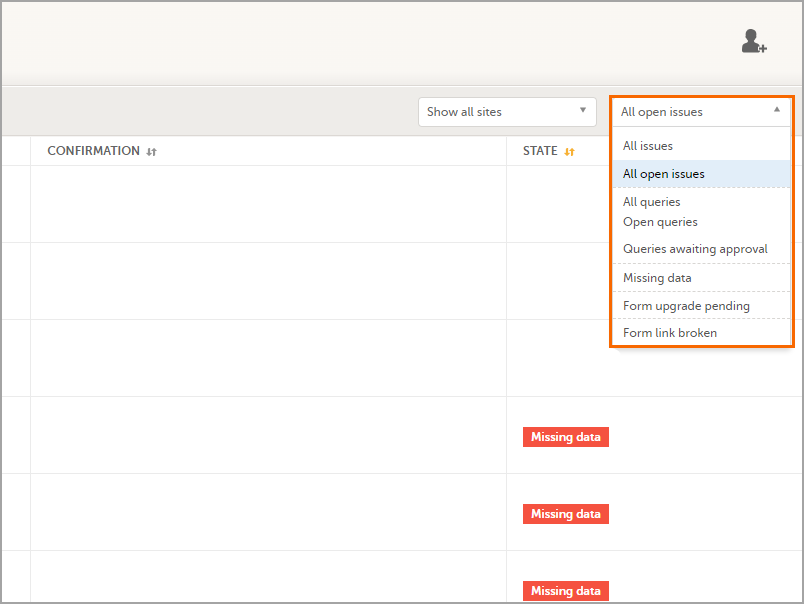
You can filter the Issues list using the dropdown lists in the upper right corner of the page:
- By site - view data from a specific site or from all sites
- Include deleted subjects
- By issue type/status:
- All issues:
- Missing data
- All queries, regardless of status
- Form upgrade pending
- Pending reference data upgrade
- All open issues:
- Missing data
- Queries with the status "Awaits answer"
- Form upgrade pending
- Pending reference data upgrade
- All queries
- Open queries
- Queries awaiting approval
- Missing data
- Form upgrade pending
- Form link broken
- All issues:
The Viedoc Me view
In the Viedoc Me account view, you can monitor and follow up on the subjects' expected Viedoc Me event submissions.
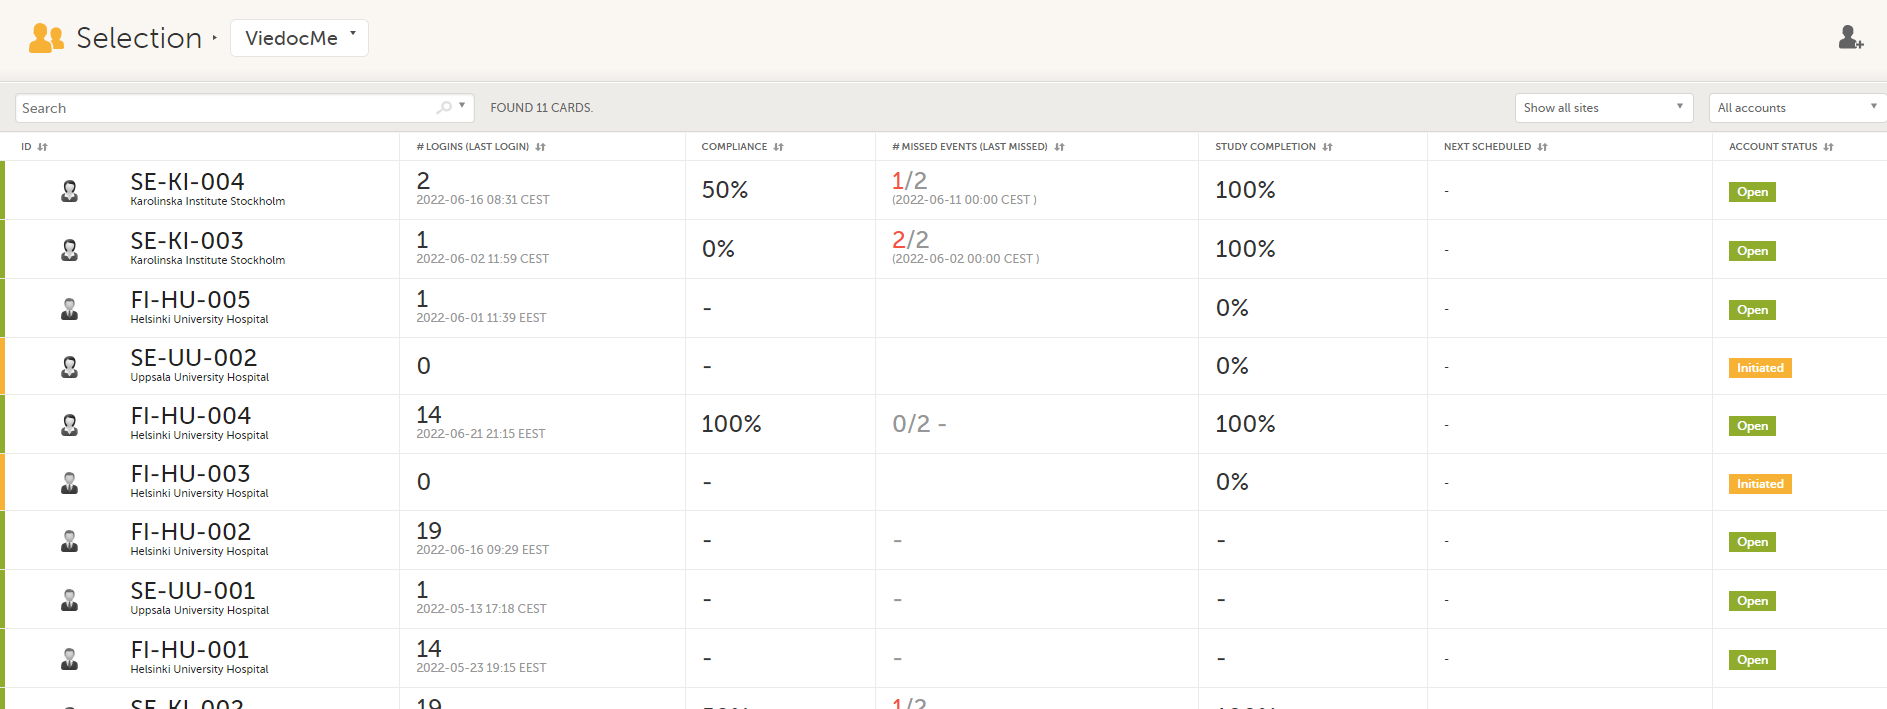
For each subject, the following information is listed:
- ID - the subject ID, avatar, and site
- # LOGINS (LAST LOGIN) - the total number of logins with the last login shown in parentheses
- COMPLIANCE - how well the subject is submitting events, counted on scheduled Viedoc Me events
- # MISSED EVENTS (LAST MISSED) - the total number of missed Viedoc Me events, with the last missed event shown in parentheses. The number in red is the number of missed assessments, and the number in grey is the total number of pending assessments. An assessment is counted as the number of pending activities within each event.
- STUDY COMPLETION - how far into the study the subject is, counted on scheduled Viedoc Me events
- NEXT SCHEDULED - the date and time of the next Viedoc Me event
- ACCOUNT STATUS - the current status of the subject account, which can be filtered in the upper right corner:
- All accounts - all created Viedoc Me accounts: Initiated/Open/Locked
- Initiated - accounts that are created but the subjects have never logged in to their accounts
- Open - accounts that the subjects have logged in to (at least once)
- Locked - accounts that are locked
- Not created - accounts that are not yet created
The Events view
In the Events view, you can see the status of each event for each subject listed in a table.
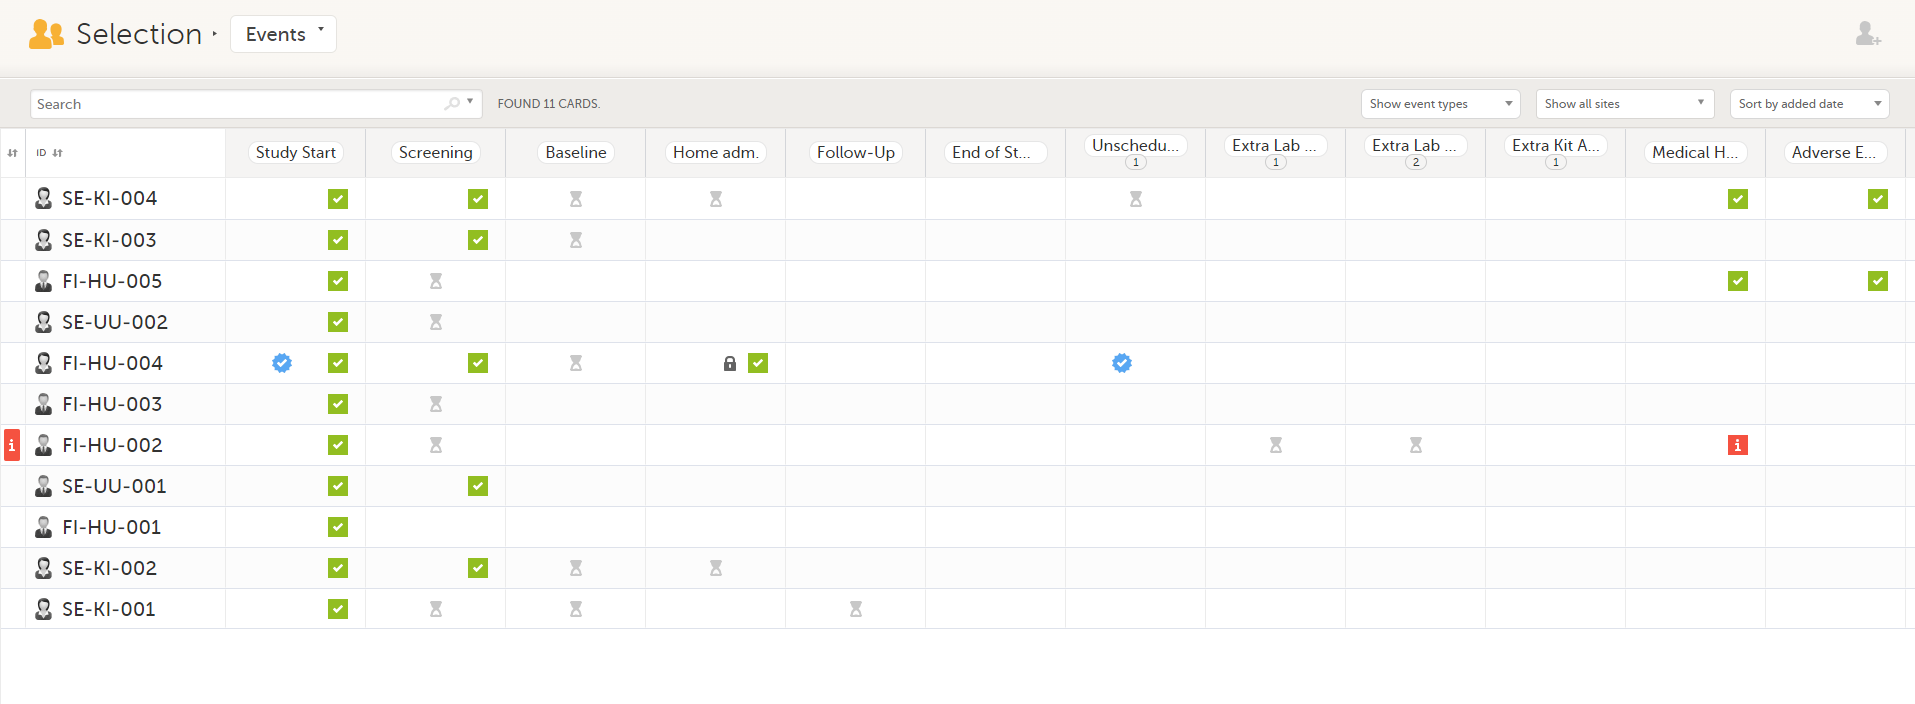
The first column indicates if there are issues/tasks in any of the subjects' events. If there are both issues and tasks for a subject, then issues [ i ] are shown in the column.
Select any cell to go to the event in the Details page:

Click back in the browser to return to the Events view.
Select an empty cell to view the subject's latest event.
The list of subjects can be filtered using the dropdown lists in the upper right corner of the page:
- By event type
- Scheduled events
- Unscheduled events
- Common events
- Subject-initiated events
- By site - select to view data from a specific site or from all sites
- Select to Include deleted subjects
Note! On the selection page, in the Events view, the event name (as set in the Study event settings in the study design) is displayed. If there is a recurring event, a counter is shown under the event name, for example: Follow up 1, Follow up 2.
Adding a new subject
To add a new subject:
| 1 |
Make sure that you have selected a site (center) from the sites dropdown list.
|
| 2 |
Complete the form and select Save changes on the top right side of the page. A new subject is now added. |
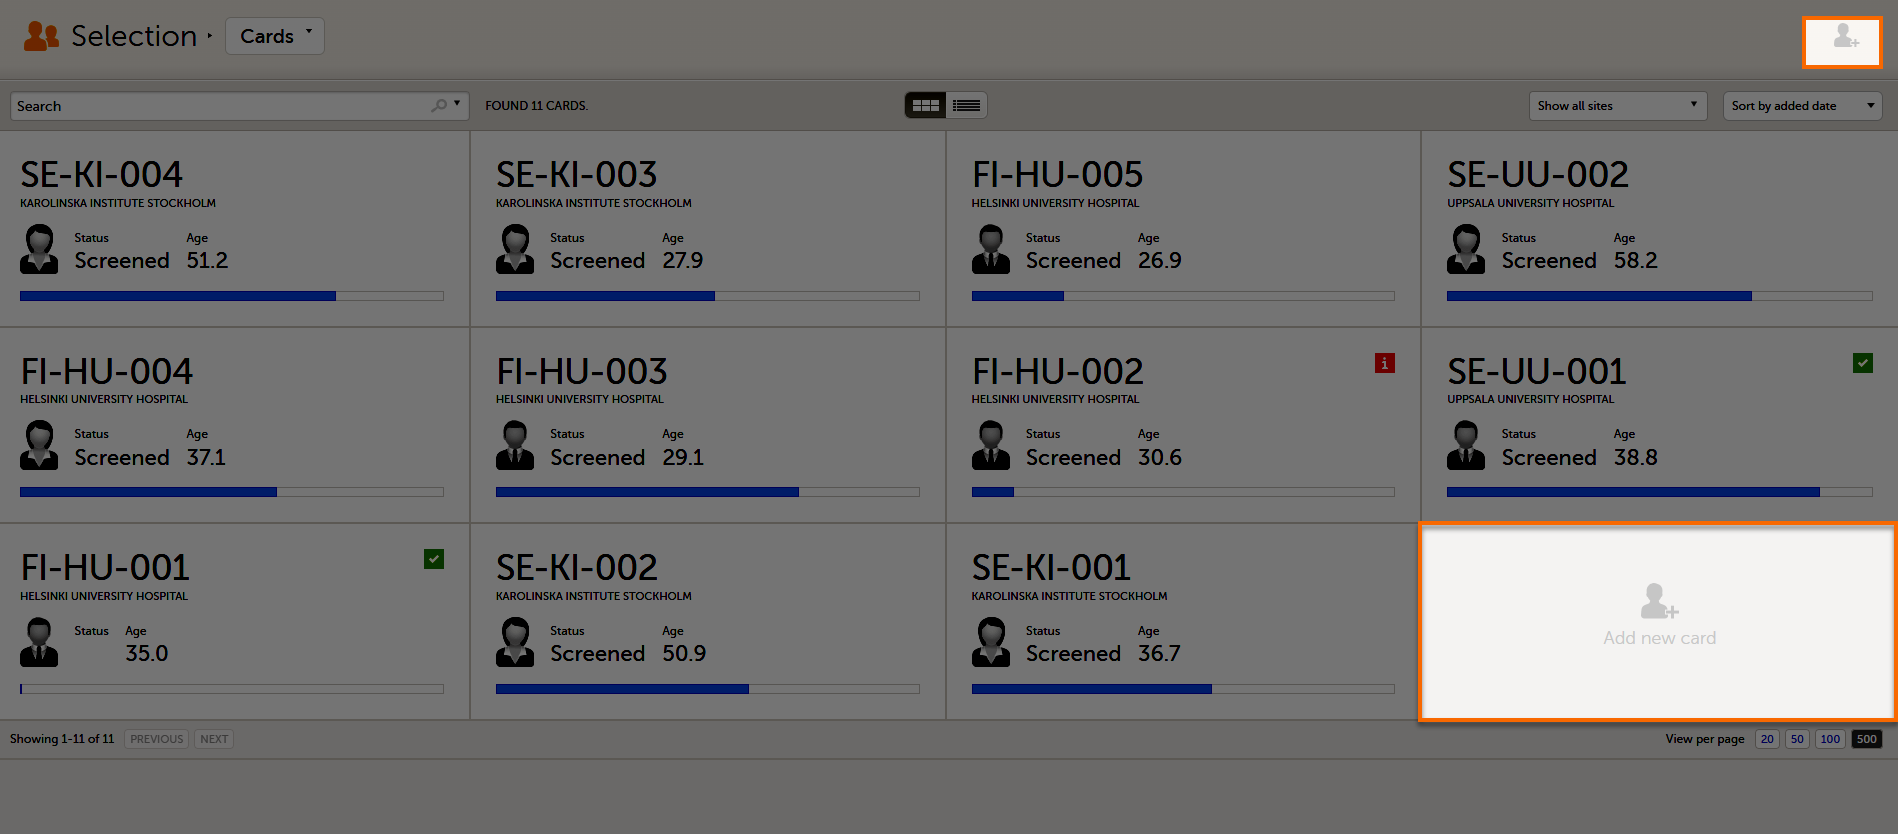
Note! Only user roles with editing permissions for the study start event form can add a new subject. If you do not have editing permissions, you cannot select Add new card and no icon is visible in the top right side of the page.
See also the video tutorial Add and select subjects.
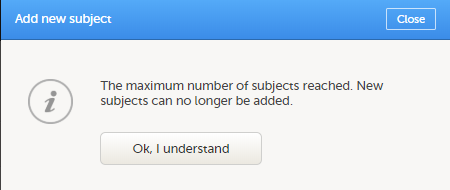
If you receive the following message, the maximum number of subjects that is configured for your site has been reached, and you cannot add new subjects. If you need to add a new subject anyway, contact your Study Manager.