Single sign-on
Introduction
Single sign-on (SSO) is a user verification method that lets you access multiple, independent software systems by using only one set of login credentials (username and password).
Once you have set up and activated SSO for your organization in Viedoc, all users with the same email domain will be authenticated via the external Identity Provider (IdP) that you specify.
The Viedoc SSO solution uses Security Assertion Markup Language (SAML) 2.0. It is an open Extensible Markup Language (XML)-based standard for exchanging authentication and authorization identities between security domains.
Note! If a user account is set up for SSO, Application Programming Interface (API) access to Viedoc is not allowed.
Before you activate SSO
Before you activate Single Sign-On (SSO), make sure the environment and your organization is fully prepared by completing the checklist below:
SSO preparation checklist for Hostmasters
-
Verify user email alignment
Ensure that the email addresses used for the Viedoc accounts match what is on file in the external IdP (for example, Google Workspace or Azure Active Directory). If the emails do not match, affected users will not be able to log in. -
Confirm domain ownership within your company
Check whether you are the only organization in Viedoc that is using this specific email domain. There may be other groups in your company that are using the same email domain and Viedoc. You will be activating SSO for them as well, so make sure they are also prepared (see item 1 above). -
Communicate the activation date and new login URL
Inform all users when SSO will be activated, and provide them with the new SSO login URL. Users will be redirected to the new URL if they use the old one, but communicating the change in advance helps avoid confusion. -
Plan for certificate renewal
The SSO certificate expires after one year. If you are manually adding the certificate, set an external reminder to renew the certificate before it expires. An expired SSO certificate will prevent users from logging in. Alternatively, enable the auto refresh option in the SSO settings (see more in Automatic certificate refresh below).
Configuring single sign-on for your organization
Configuring single sign-on in Viedoc is a four-step procedure, described in more detail in the next sections using a sample domain:
- Add domain
- Verify domain
- Validate setup
- Activate SSO
Tip! Example use cases for setting up Google Workspace or Microsoft Azure AD as IdPs are available in the SSO Configuration Examples lesson.
Add domain
To add a domain:
| 1 |
Navigate to Viedoc Admin and select Organization Settings. 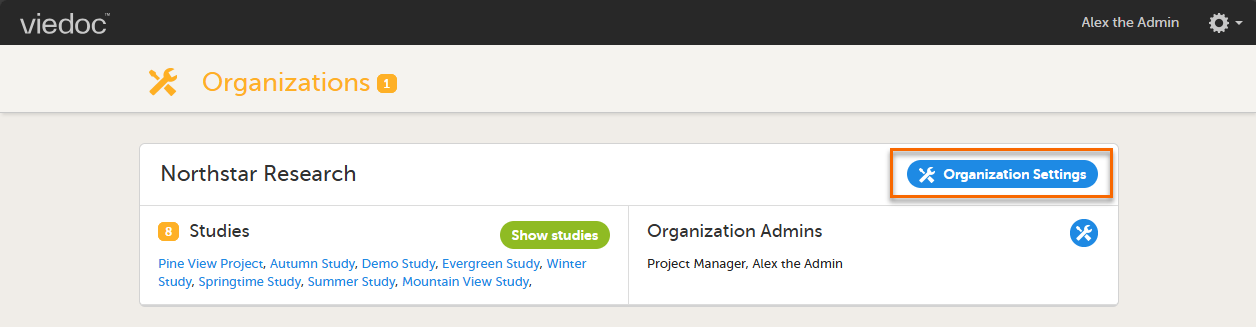
|
| 2 |
Select the SSO tab and select Add SSO configuration. 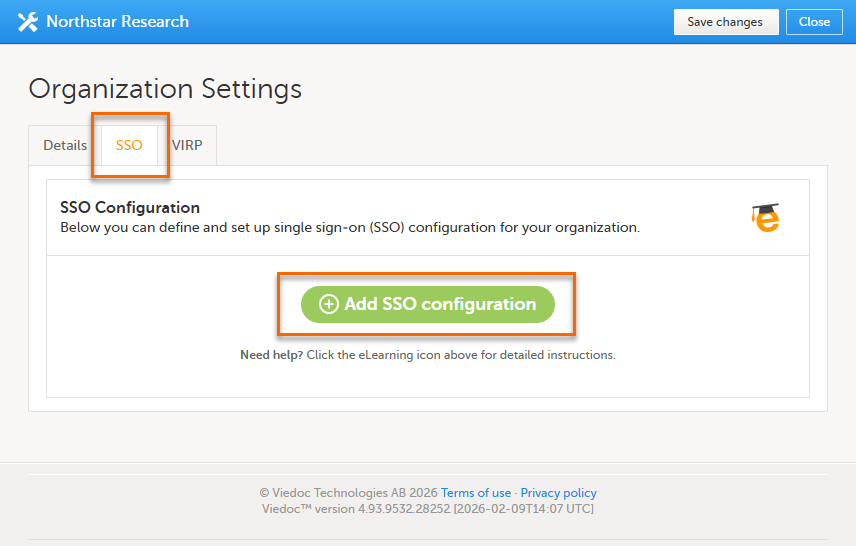
|
| 3 |
Enter the name of the domain that you want the SSO configuration to apply to. 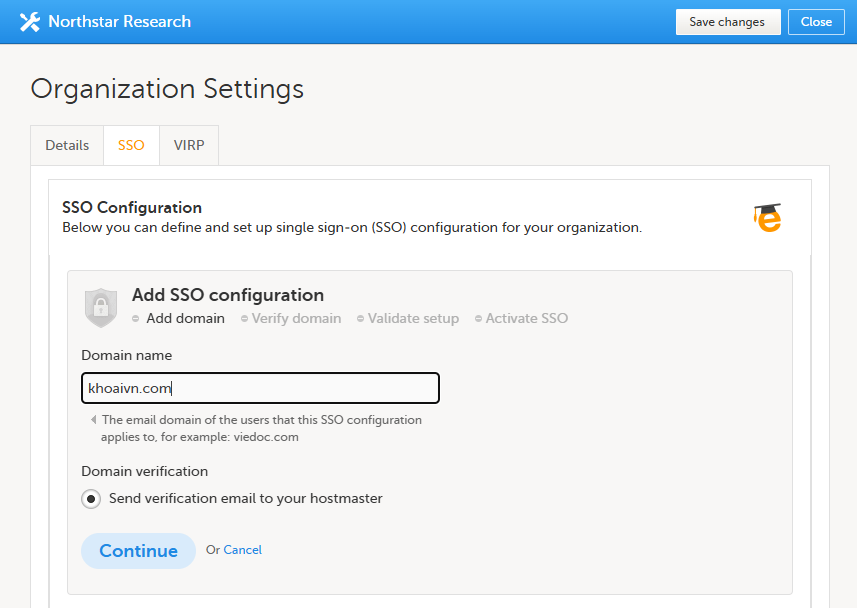
|
| 4 |
Select Continue. An email is sent to the hostmaster of the domain. The email contains a verification key that you will need in the next step to verify the domain. |
Verify domain
To ensure that you are authorized to set up single sign-on (SSO) for a specific domain, you need to verify ownership of the domain.
To verify the domain:
| 1 |
In Viedoc Admin, select Organization Settings, and select the SSO tab. |
| 2 |
If you are not automatically directed to the Verify domain step, select the corresponding link. Enter the verification key from the email that was sent to the domain hostmaster and select Verify. 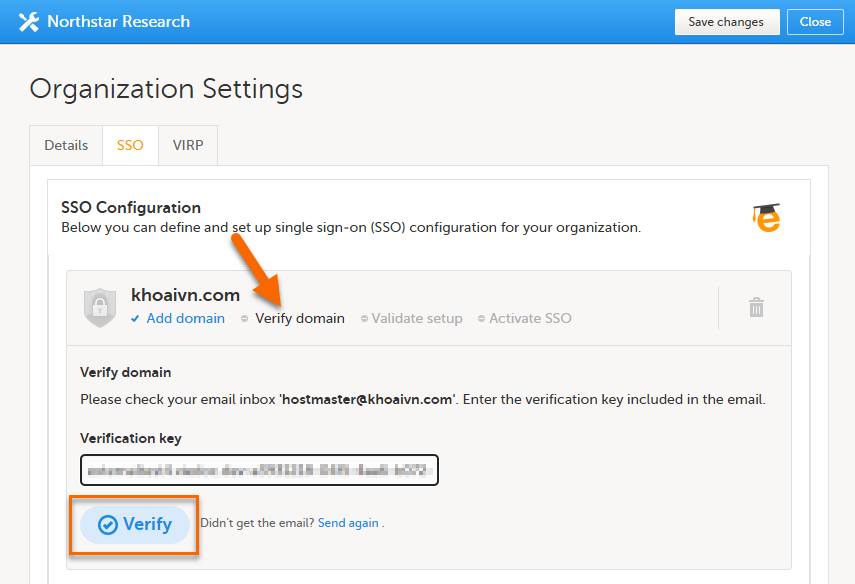
|
| 3 |
When the verification is successfully performed, Viedoc automatically redirects you to the Validate setup step. |
Validate setup
In this step, you provide the information required for the SAML setup.
There are two options to validate the setup, described below:
- Manual validation: enter the Endpoint URL and SSO Certificate. You must update these values manually in the future when the SSO certificate expires or changes.
- Automatic certificate refresh: enter the Federation Metadata URL and the Endpoint URL and SSO Certificate will be automatically updated when the SSO certificate expires or changes.
Tip! Example use cases for setting up Google Workspace or Microsoft Azure AD as IdPs are available in the SSO Configuration Examples lesson.
Manual validation
To validate the setup manually:
| 1 |
In Viedoc Admin, select Organization Settings, and select the SSO tab. |
| 2 |
If you are not automatically directed to the Validate setup step, select the corresponding link. The Redirect URL and Entity ID fields are automatically filled in based on the information from the previous step and cannot be edited. If you need to edit this information, select Verify domain to go back one step. Note! The Redirect URL field displays a hyphen ( 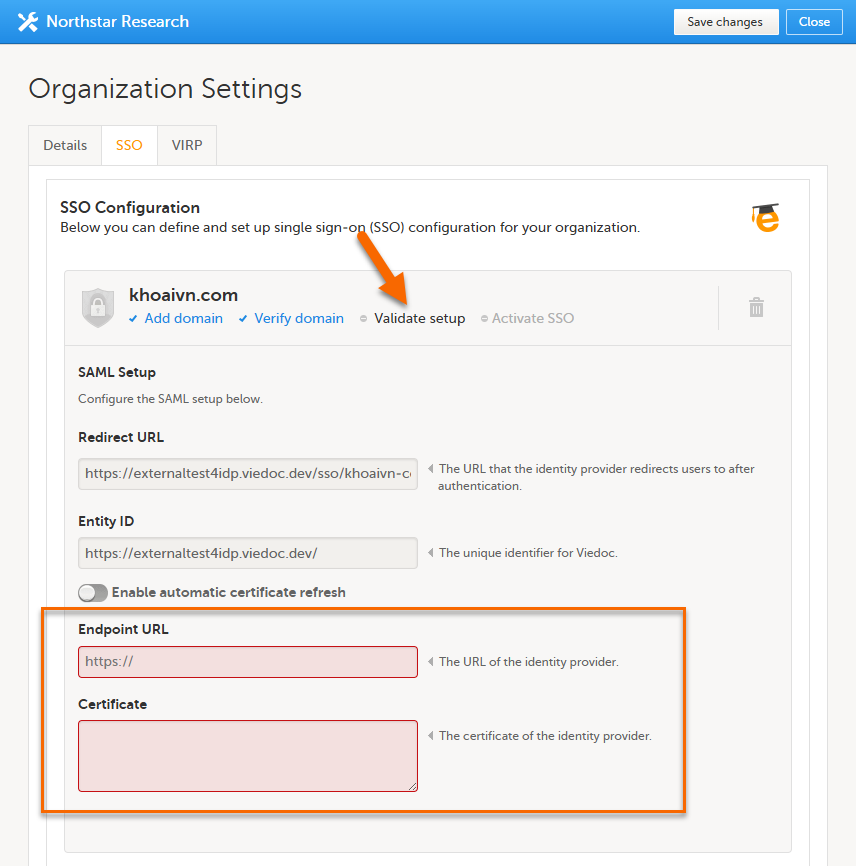
|
| 3 |
Enter the following information from your IdP configuration:
Important! The certificate has an expiry date. We recommend that you make sure your organization has procedures in place to keep track of the expiry date to avoid login failures. If the certificate is about to expire, please make sure to renew it and update the SSO configuration in Viedoc Admin. |
| 4 |
Select Validate to start a trial login sequence. This opens a new browser tab where you are prompted to log in to the specified IdP at the Endpoint URL. |
| 5 |
After logging in to the IdP, return to the Viedoc tab of your browser and select Next. 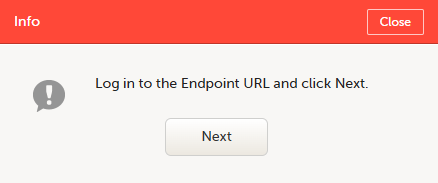
If the validation was not successful, please check your settings and try again. If the validation was successful, you are now ready to continue with the Activate SSO step. |
If your IdP provides a federation metadata URL, we recommend using automatic certificate refresh.
Automatic certificate refresh
Enabling Automatic certificate refresh allows Viedoc to retrieve identity certificates via a Federation Metadata URL. When the certificate is renewed or updated in your Identity Provider (IdP), Viedoc automatically updates the certificate in the SSO configuration, helping to prevent login interruptions due to expired certificates.
To enable automatic certificate refresh and validate the setup:
| 1 |
In Viedoc Admin, select Organization Settings, and select the SSO tab. |
| 2 |
If you are not automatically directed to the Validate setup step, select the corresponding link. Select the Enable automatic certificate refresh switch. A new Federation Metadata URL field is displayed. 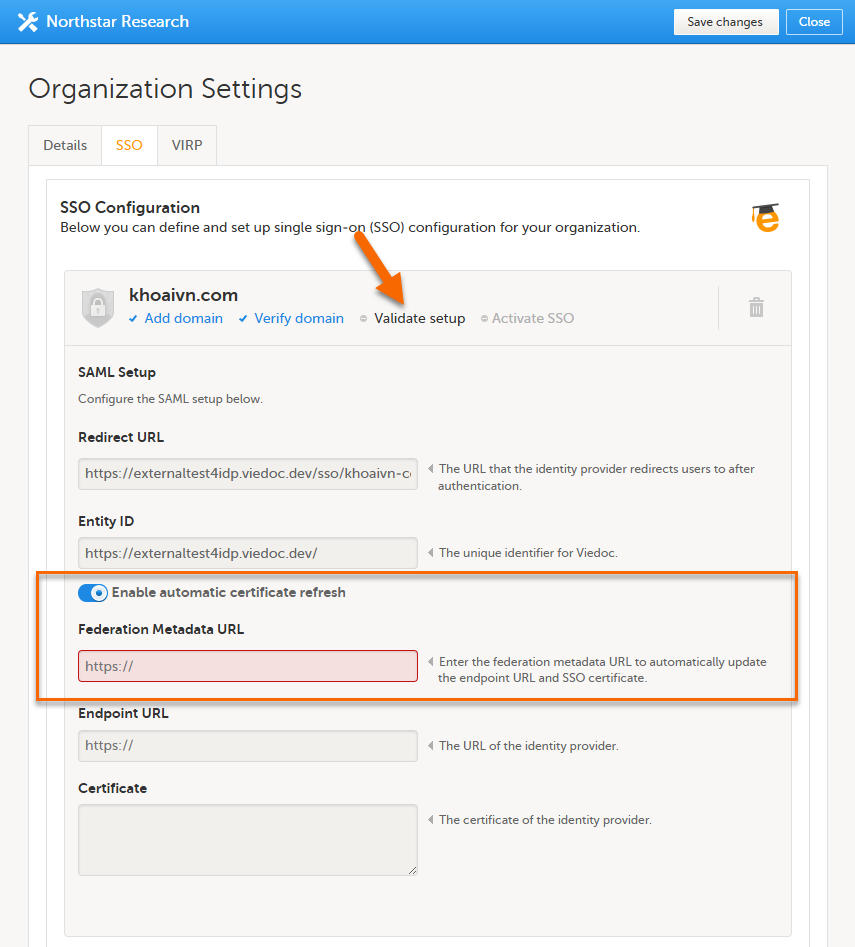
|
| 3 |
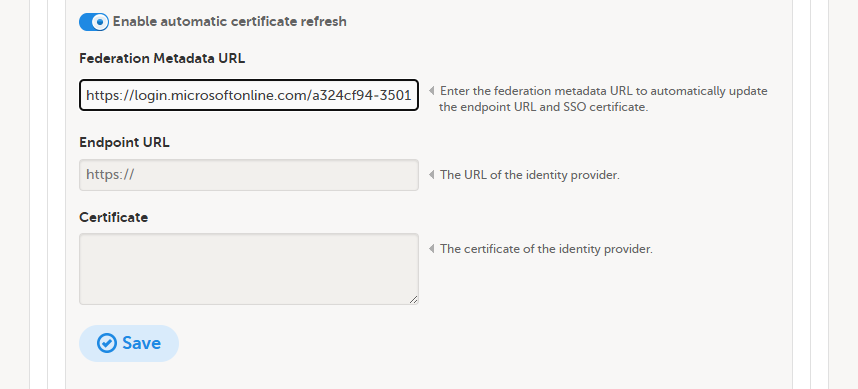
Enter the following information from your IdP configuration:
|
| 4 |
Select Save. Viedoc retrieves the SAML configuration from the metadata URL and updates the the Endpoint URL and Certificate fields. These fields cannot be edited when automatic certificate refresh is enabled. 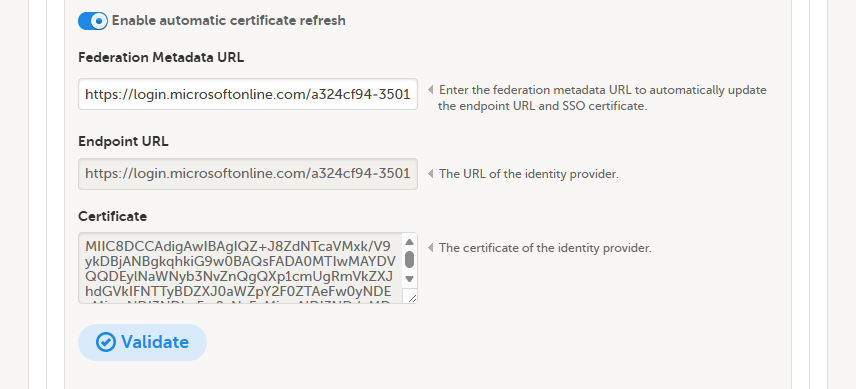
|
| 5 | Select Validate to start a trial login sequence. This opens a new browser tab where you are prompted to log in to the specified IdP at the Endpoint URL. |
| 6 |
After logging in to the IdP, return to the Viedoc tab of your browser and select Next.
If the validation was not successful, please check your settings and try again. If the validation was successful, you are now ready to continue with the Activate SSO step. |
Activating SSO
When the steps Add domain, Verify domain, and Validate setup have been successfully completed, you can activate the SSO configuration for your organization.
To activate SSO:
| 1 | In Viedoc Admin, select Organization Settings, and select the SSO tab. |
| 2 |
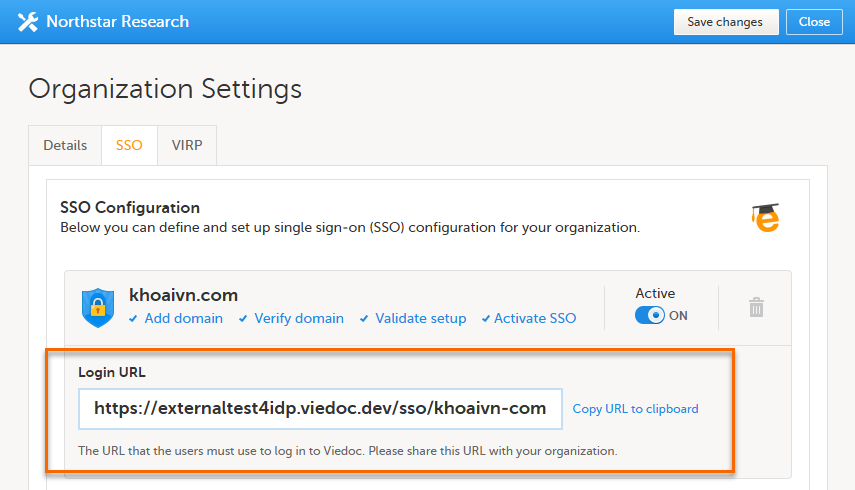
If you are not automatically directed to the Activate SSO step, select the corresponding link. Select the Active switch to turn it on. 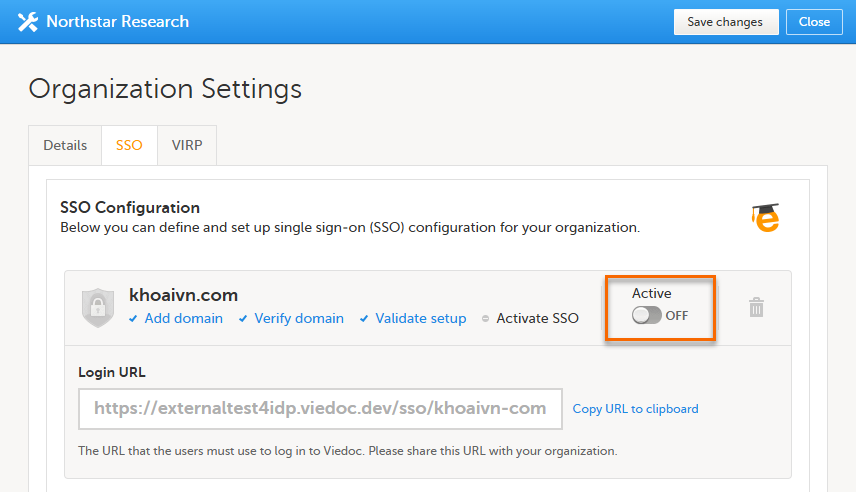
|
| 3 |
If all your SSO settings are correct and your organization has been informed of the new login routine, select Yes. 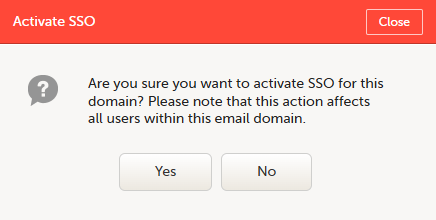
|
Sharing the SSO Login URL
Copy the Login URL and share it with the users in your organization. When you activate the SSO configuration, this is the URL that they must use to log in to Viedoc.
Deactivating SSO for your organization
To deactivate SSO:
| 1 | In Viedoc Admin, select Organization Settings, and select the SSO tab. |
| 2 |
Select the Active switch to turn it off. 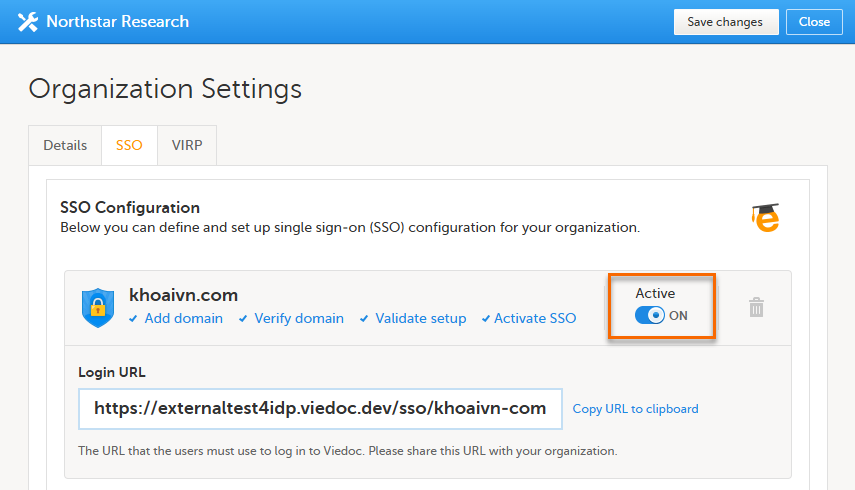
|
| 3 |
In the pop-up box that is displayed, select Yes. 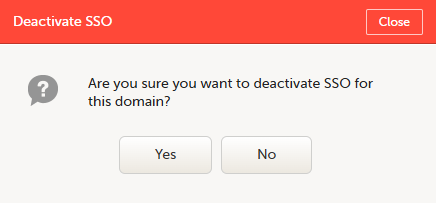
Note! Deactivating an SSO configuration does not delete the configuration information from Viedoc. |
Deleting an SSO configuration
To delete an SSO configuration:
| 1 | In Viedoc Admin, select Organization Settings, and select the SSO tab. |
| 2 |
Select the trash can icon. 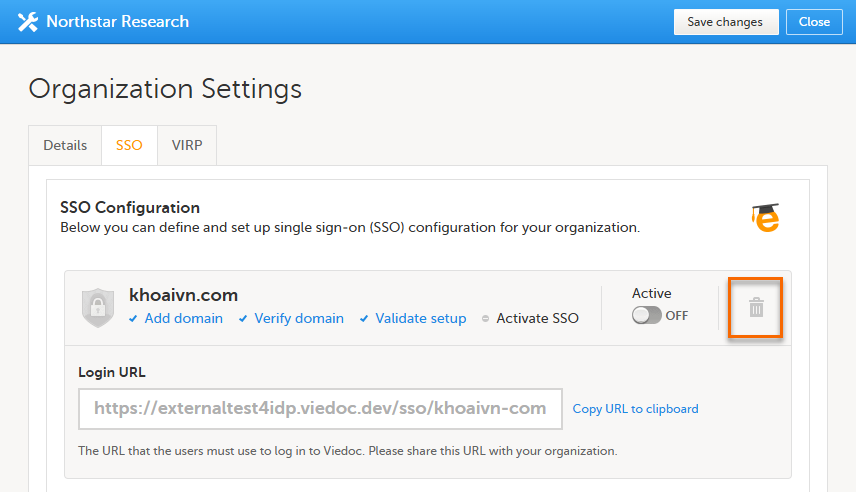
|
| 3 |
In the pop-up box that is displayed, select Yes. 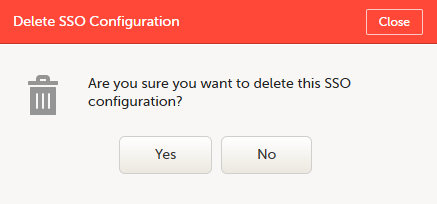
Note: Deleting an SSO configuration affects all Viedoc organizations that use the same SSO configuration. |