Setting up user documentation and training
Introduction
If the Enable documentation and training option is checked under Study Settings (see General study settings), a separate Documentation section is available in Viedoc Admin under Study Settings, that allows to:
- Make the Viedoc eLearning curriculums available for clinic users.
- Enable site user certification, by setting up mandatory documentation to be read and signed by the users.
- Add new URL(s) or upload file(s) and make them available to clinic users.
For ongoing studies started before Viedoc release 4.51
If the Enable documentation and training option is checked under Study Settings in Viedoc Admin for ongoing studies (started before Viedoc release 4.51), any already configured eLearning sections in Viedoc Designer will not be available anymore. Instead, these can be copied and transferred from Viedoc Designer to Viedoc Admin, by clicking the link that is available when accessing the Documentation page, as illustrated below:
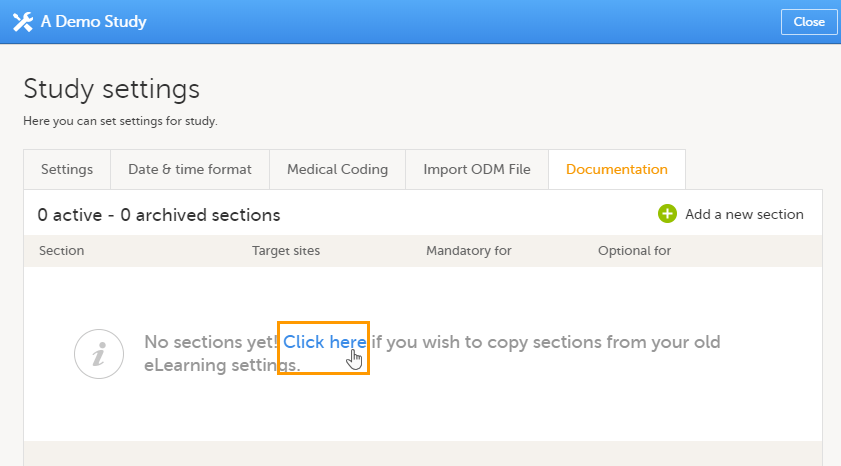
Note! This operation can be performed only:
- if there were existing eLearning sections defined in Viedoc Designer before selecting the Enable documentation and training option under Study Settings in Viedoc Admin, and
- before any new sections are added in Viedoc Admin under Documentation.
As a result, the existing eLearning sections from Viedoc Designer are copied and listed under the Documentation tab and can be further configured (that is, assigned to specific roles/sites), as described later in this lesson.
For new studies starting after Viedoc release 4.51
For new studies, starting after Viedoc release 4.51 in May 2019, the following 5 role-based Viedoc eLearning curriculums for site staff are provided by default as training sections:
| Viedoc eLearning curriculum | Section URL |
|---|---|
| Viedoc User Guide for Site Users | https://help.viedoc.net/c/94d6f0 |
| Viedoc User Guide for Monitors | https://help.viedoc.net/c/c63e06 |
| Viedoc User Guide for Data Managers | https://help.viedoc.net/c/1994d8 |
| Viedoc User Guide for Project Managers | https://help.viedoc.net/c/04361f |
| Viedoc User Guide for Medical Coders | https://help.viedoc.net/c/3108de |
| Viedoc User Guide for Supply Managers (for Logistics) | https://help.viedoc.net/c/4a40d5/ |
| Viedoc PMS User Guide for Clinic Side Users | https://help.viedoc.net/c/91715f |
| Viedoc PMS User Guide for Sponsor Side Users | https://help.viedoc.net/c/590df1 |
In order to make these curriculums available for the different clinic roles, you need to edit each of the training sections, as described in section Editing a training section below.
Overview of Documentation page
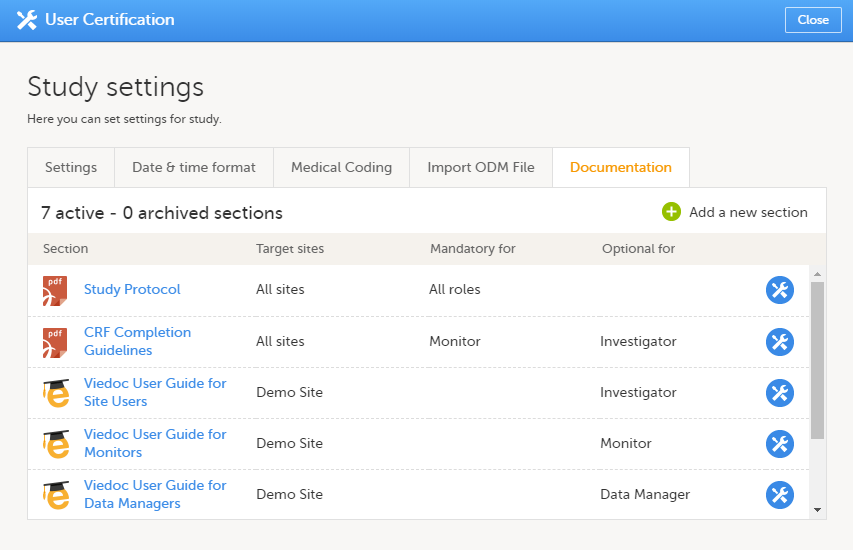
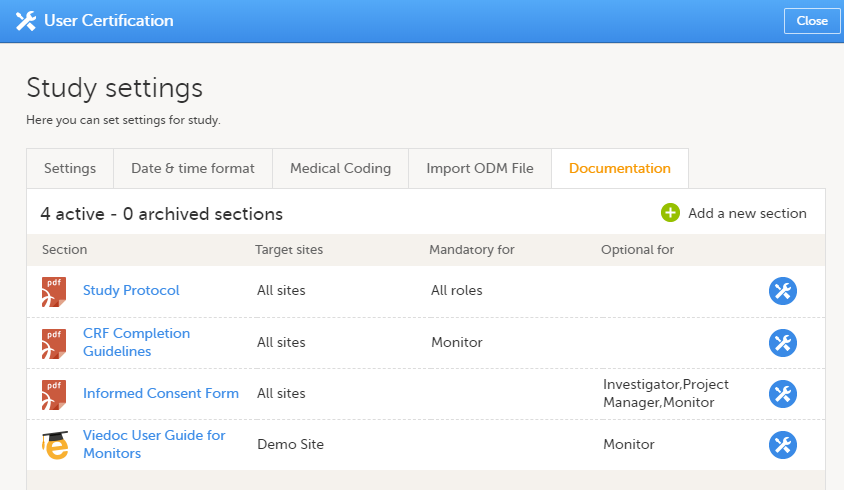
The Documentation tab under Study Settings provides a list of all the existing sections, as illustrated in the following image.
A training section is a piece of documentation (either a file or an URL) that can be made available (as optional or mandatory) for specific user roles within specific sites, as instructed in Managing training sections below.
 On the top bar you can see:
- to the left - a summary of the total number of sections as well the number of archived sections.
- to the right - the plus-icon for adding a new section. See Adding a new section below.
For each section in the list the following information is provided:
- Section - the icon illustrating the section type, as listed in the table below, followed by the section name as set when adding or editing the section (see Editing a section below). By clicking the section name link you can open the respective file/URL.
- Target sites - the site(s) the section is set for.
- Mandatory for - the roles for which the section is set as mandatory.
- Optional for - the roles for which the section is set as optional.
- Edit section - the tools icon link that allows you to open the section page where you can edit/archive/delete the section. See Editing a section below.
The section icons for various types of files/URLs used are listed in the table below:
| Icon | Description |
|---|---|
 |
URL to Viedoc eLearning system |
 |
URL (other than Viedoc eLearning, mentioned above) |
 |
PDF file |
 |
Word document |
 |
Excel file |
 |
Power Point file |
 |
Other file type than the ones mentioned above |
Managing training sections
Adding a new section
To add a new section, follow the steps below.
| 1 | Click Add a new section link on the top right of the Documentation page. The Add a new training section page is displayed.
Here you can set the following:
|
||
| 2 | Click Add section on the top right of the page. The section will be added to the list under the Documentation page. |
Editing an existing section
To edit an existing section, follow the steps below.
| 1 | Click the toolbox icon to the right of the section in the list: The edit section page opens. |
| 2 | Perform the changes you need and click Save changes in the top right of the page. You can edit all the fields, except for the Section URL/file. For a detailed description of the fields, see Adding a new section. |
Archiving/Restoring a section
It is possible to archive an existing section, for versioning purposes. For example, if we have an existing section with the study protocol file (version 1), and, at some point, we get an updated version of the file (version 2) that we want to make accessible for clinic users. In this case, we would archive the section that contains the version 1 of the file and would add a new section where we upload the version 2 of the study protocol.
An archived section will no longer be accessible in Viedoc Clinic under Documentation & training (as illustrated in section How it looks in Viedoc Clinic). An archived section can be restored at any time, becoming accessible again in Viedoc Clinic, according to the settings made for the section.
To archive an existing section, follow the steps below.
| 1 | Click the toolbox icon to the right of the section in the list: The edit section page opens. |
| 2 | Click Archive: The edit section page closes and the section is displayed as Archived in the list under the Documentation tab: 
An archived section will no longer be accessible in Viedoc Clinic. An archived section can be restored at any time, becoming accessible again in Viedoc Clinic, according to the settings made for the section. |
To restore an archived section, follow the steps below:
| 1 | Click the toolbox icon to the right of the archived section in the list: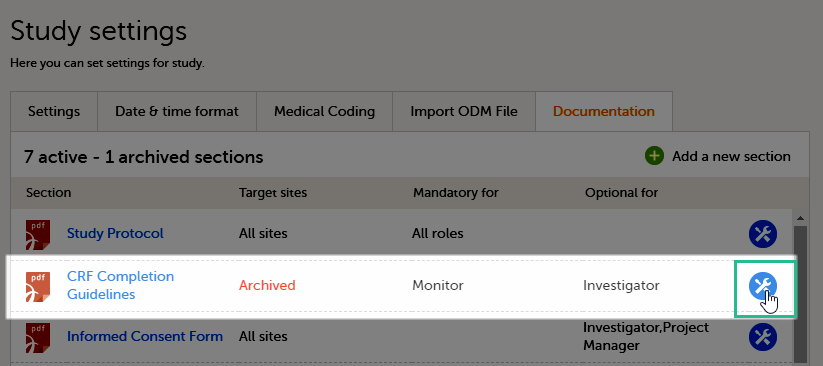 The edit section page opens. The edit section page opens. |
| 2 | Click Restore:
The section will be restored and become accessible again in Viedoc Clinic, according to the section settings. |
Deleting a section
It is possible to delete an existing section. Deleting a section cannot be undone, so if you need to re-use the section, you might want to archive it instead (see Archiving/Restoring a section above). An archived section can be restored afterwards, while a deleted section will be completely removed. Therefore, if you like to keep a history over the documentation versions that have been available for reading throughout the study it is recommended to archive instead of deleting.
A deleted section will no longer be visible in Viedoc Clinic.
To delete an existing section follow the steps below:
| 1 | Click toolbox icon to the right of the section in the list: The edit section page opens. |
| 2 | Click Delete this section in the bottom of the page: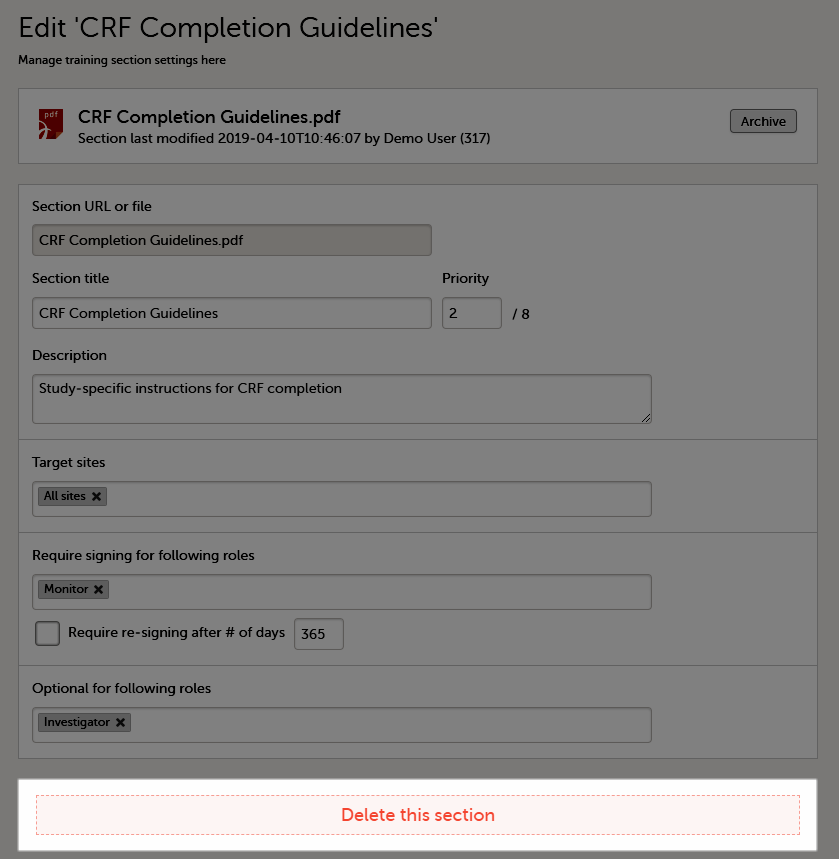 A confirmation pop-up is displayed. A confirmation pop-up is displayed. |
| 3 | Click Confirm to delete the section, or Cancel to return to the edit section page without deleting.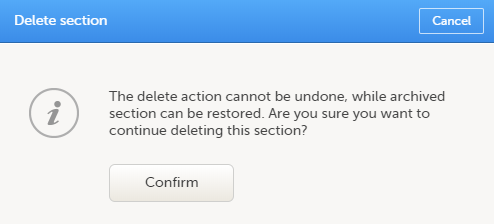 |
How it looks in Viedoc Clinic
For example, if we have the following sections defined in Viedoc Admin under Study Settings > Documentation:
 The user having the Monitor role for the Demo Site, will see in Viedoc Clinic, on the Study Start page, under Documentation and training, the following:
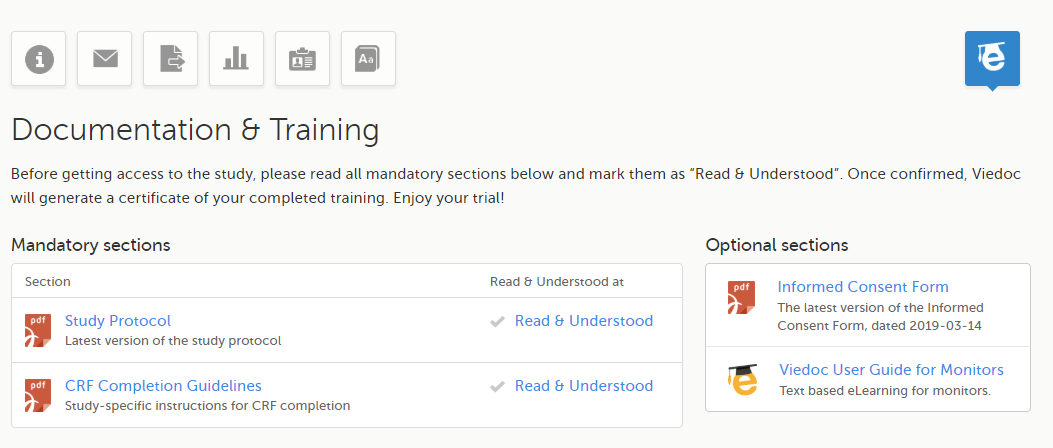
For more details about the Documentation and training section in Viedoc Clinic, see Documentation and Training.
Users not certified
The clinic users having mandatory documentation assigned who have not read and signed all the mandatory documentation yet, are displayed in the user listings in Viedoc Admin with the status Not certified. For details about user status see Managing users.
Information on which users have been certified, for which roles and which sections, is also included in the 'Log of users and roles' PDF report that can be downloaded from Viedoc Admin, as described in Managing users.