Creating and editing forms
Creating and editing forms
To create a new form, follow the steps below:
| 1 |
Select Edit in the study design name section in the Projects window to open the Overview of study design page. 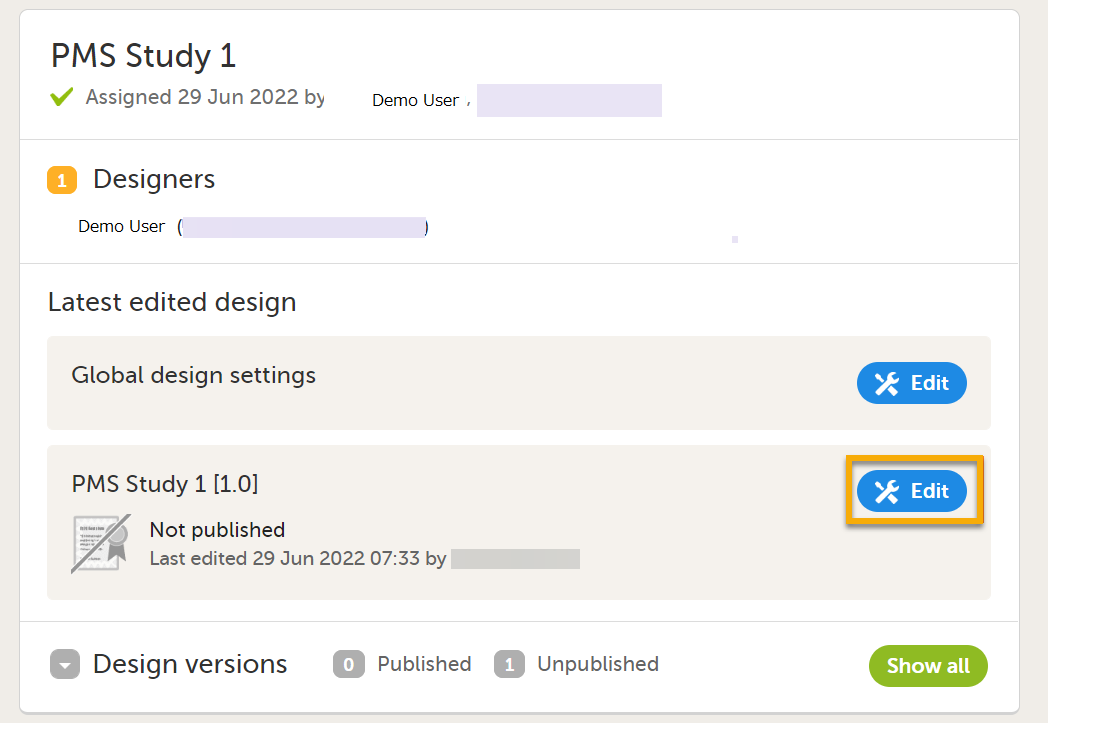 
|
| 2 |
On the Overview of study design page, select Edit in the Forms field. The Forms page opens. 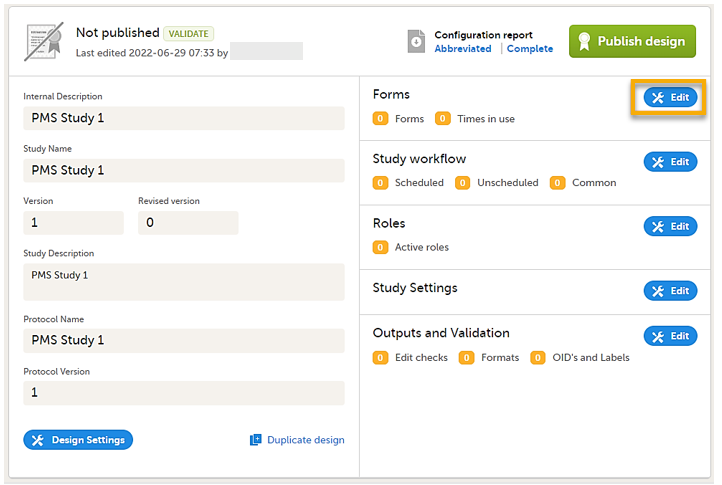
|
| 3 |
Select Add a new form. A new form is created, and then the Form Settings dialog opens. 
|
| 4 |
In the Form Settings dialog on the General tab, enter the form ID and the name of the form. A form ID must be set for each form and it must be unique. Also, an item ID must be set for each item in the form, and the item ID must be unique within each form. The form ID will be used to identify the form in the database and in the export output. It is also used when referring to the form in JavaScript expressions. 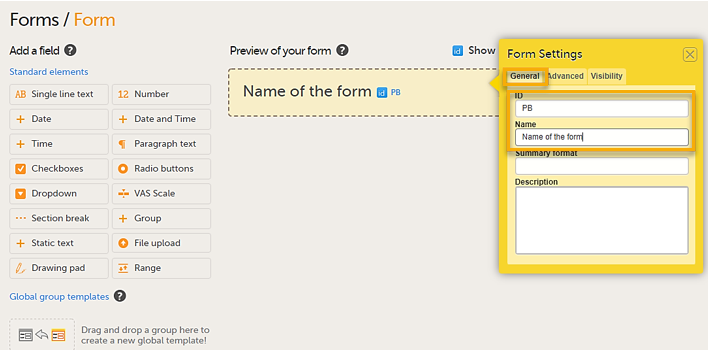
|
| 5 |
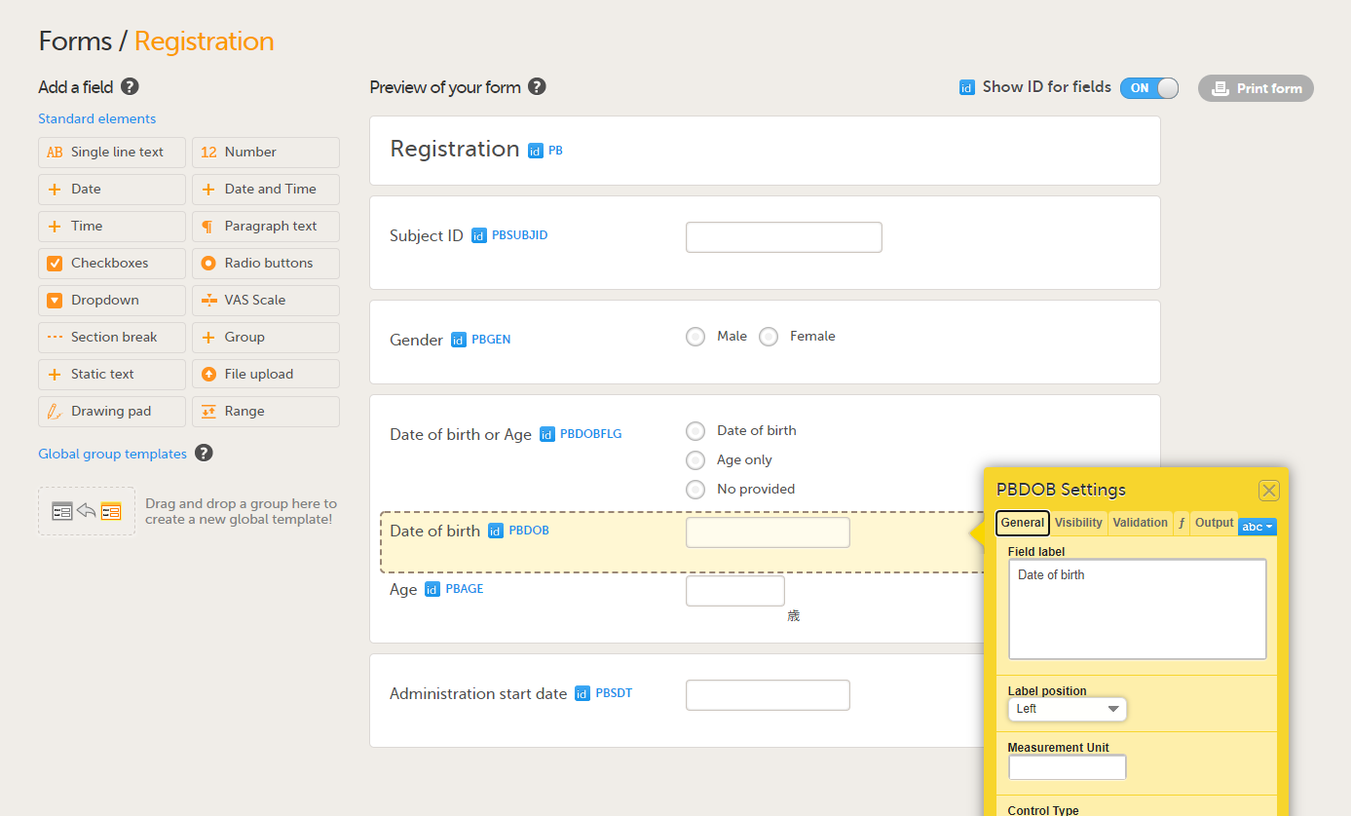
Select the required item type from the standard elements menu and click to place all required items on the form and set the required attributes for each. To add an item to the form:
On the Visibility tab, you can set the visibility conditions of the item. 
On the Validation tab, you can set the ID of the item and add data checks that validate the item. 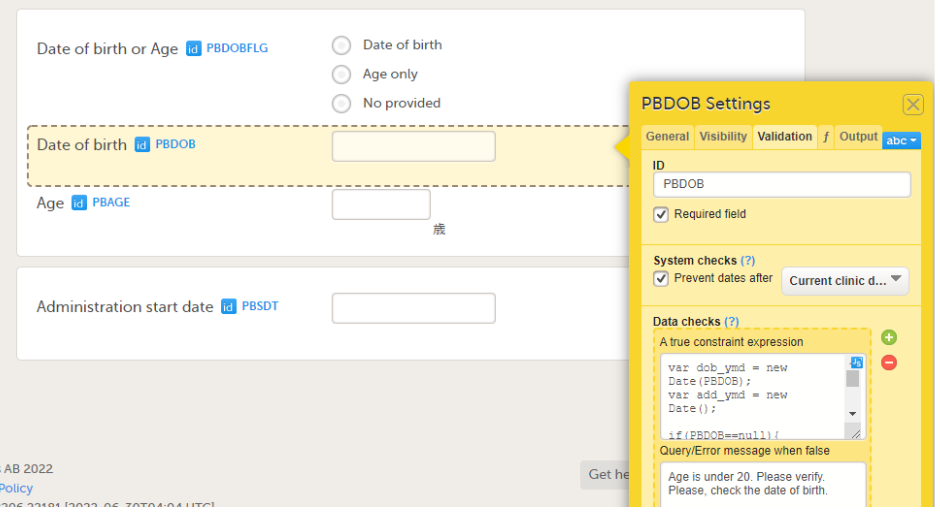
|
| 6 | Select Save changes to finish creating the form. For more information, see Creating and editing forms and Configuring an item. |
| 7 |
Note! For PMS studies, you should first create the initial registration form and then add all forms required for each booklet. The completed forms for the study are listed on the Forms page. 
|
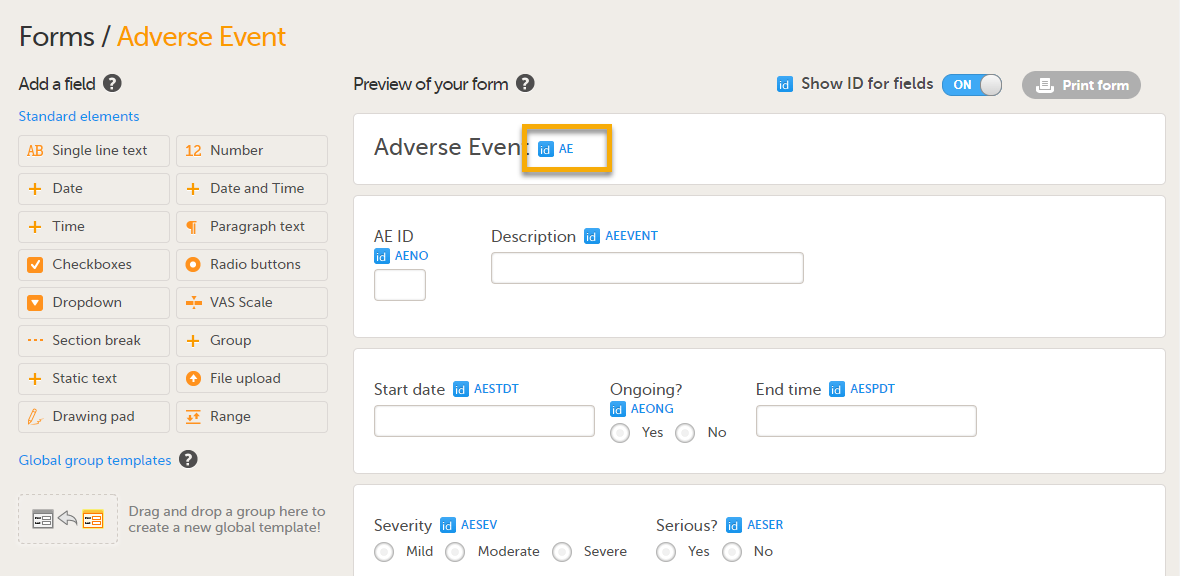
Note! For PMS studies, if you set a form ID to AE, this form becomes an Adverse Event (AE) form. When the AE form is completed and saved on the Clinic side, it can be submitted to the Sponsor side independently of the booklet. For more details about the Adverse Event form, see Adding Adverse Event forms.
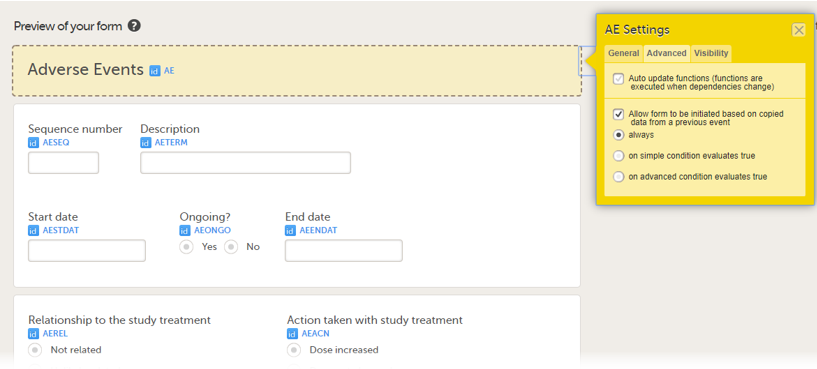
Allow a form to be copied
When the option Allow form to be initiated based on copied data from a previous event is selected on the Advanced tab of the form, the data can be copied from a form within one booklet to another instance of the same form within another booklet.
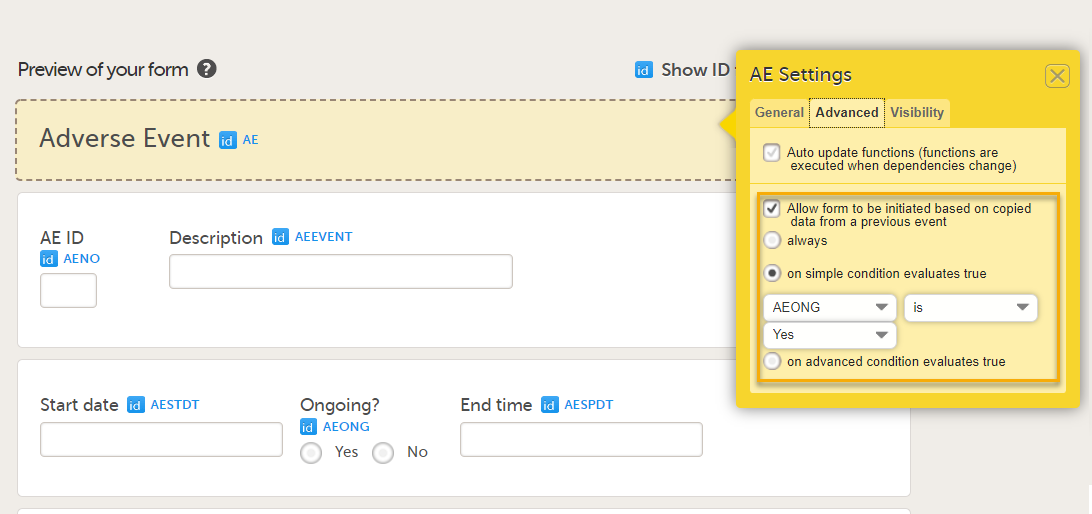
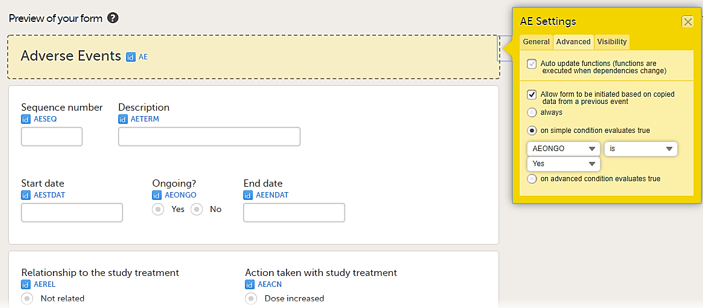
In the example in the figure above, the data is copied when on simple condition evaluates true condition and AEONG (ongoing) are selected.
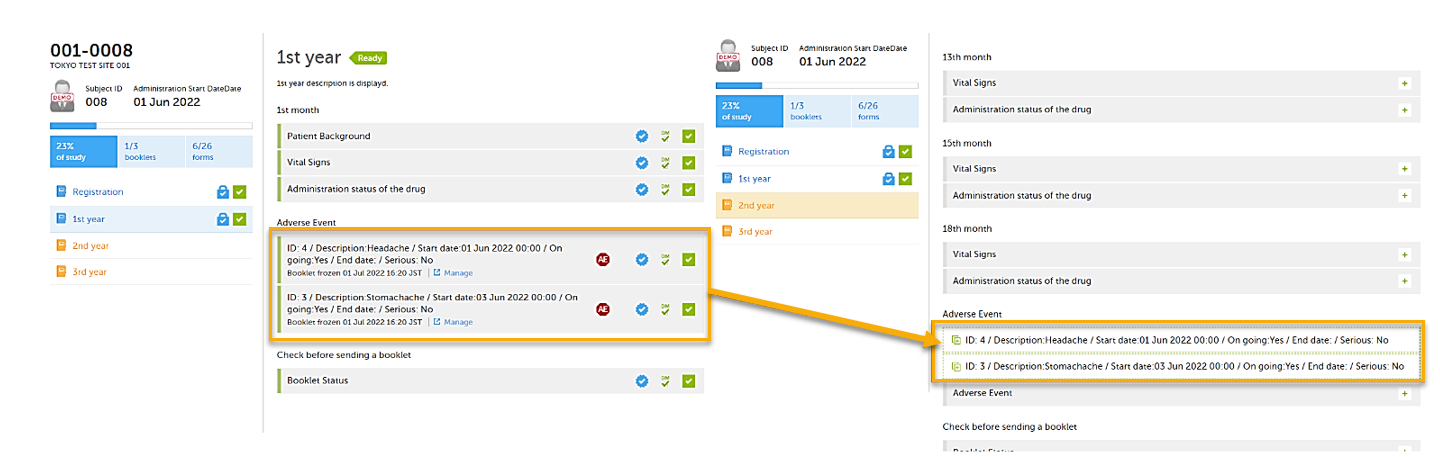
This is a useful feature especially for the Adverse Event form. When an Adverse Event form is added in a booklet and the adverse event continues to the next booklet period, you can add an Adverse Event form in the next booklet with data copied from the Adverse Event form of the previous booklet.
You can add an Adverse Event form which copies data from the adverse event in the previous booklet, when ongoing is selected in the previous booklet.
You can select the form to be copyable: always, on simple condition evaluates true, or on advanced condition evaluates true, as shown below.
• always
• on simple condition evaluates true. From the dropdown menus, select the item in the form that the condition should be based on, select is or is not, and select the code list item to specify the condition.
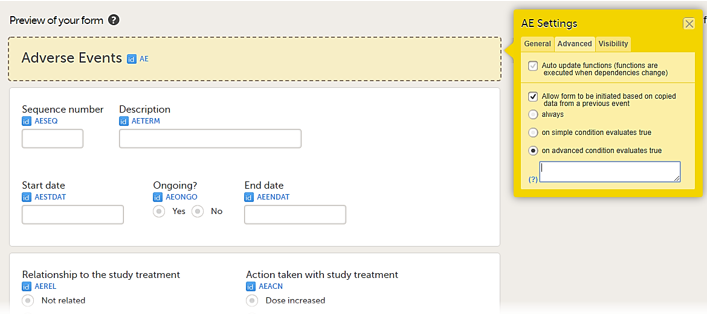
• on advanced condition evaluates true. Enter an expression in JavaScript to specify the condition.
For more information, see Allow form to be copied.
Form link item
The form link item allows Clinic users to add links between different events and forms containing related/dependent data. For example, while editing the Prior and Concomitant Medications form, users can link to several registered Medical History events.
Note!
- Form link item is also available for Japanese PMS studies.
- Subject-initiated events (Viedoc Me) do not support form link items.
To create and configure form link items:
| 1 |
Add the form link item to any of the forms included in your study design (see Adding items to a form below). |
| 2 |
Click Form link to open the form link item. 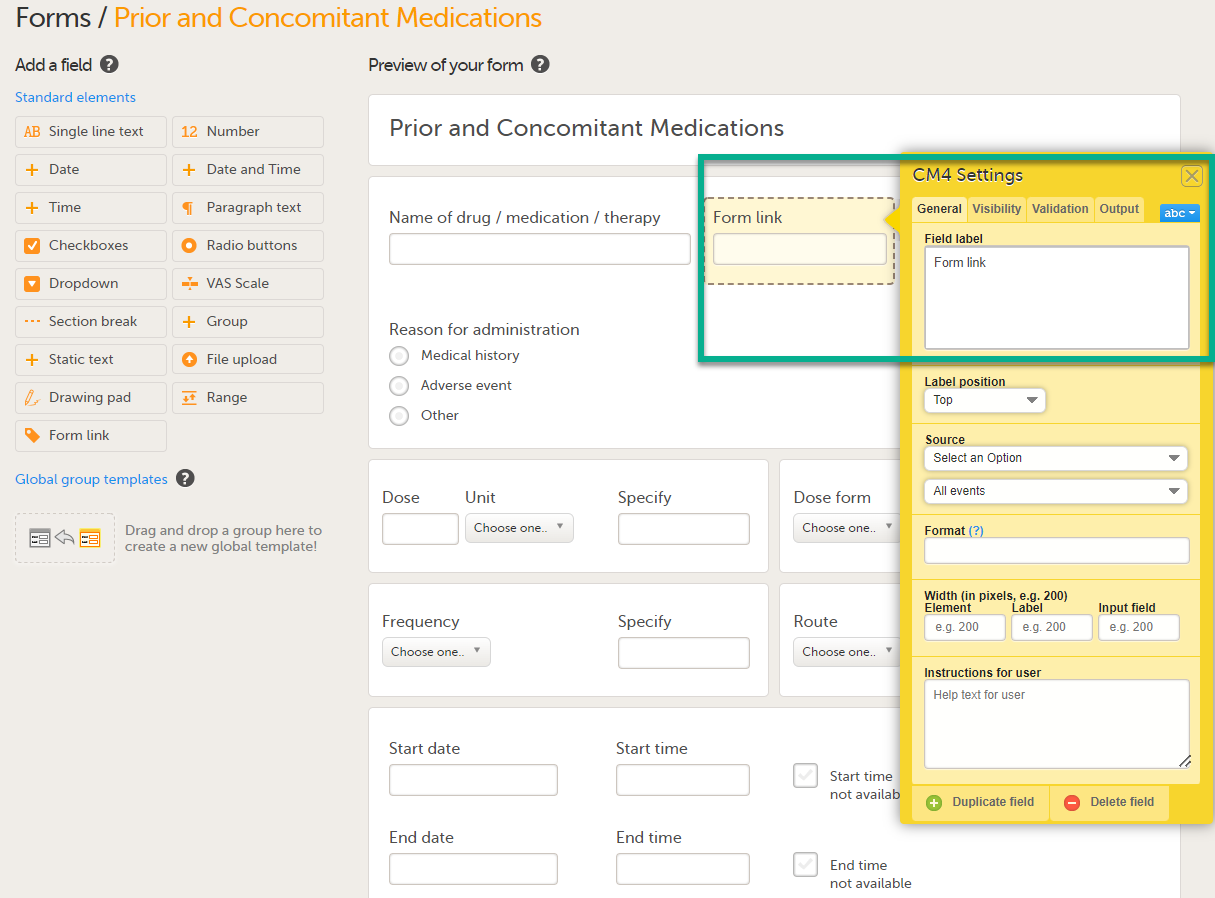
|
| 3 |
In Settings, there are four different tabs, General, Visibility, Validation and Output. See Configuring an item for more information about the tabs. 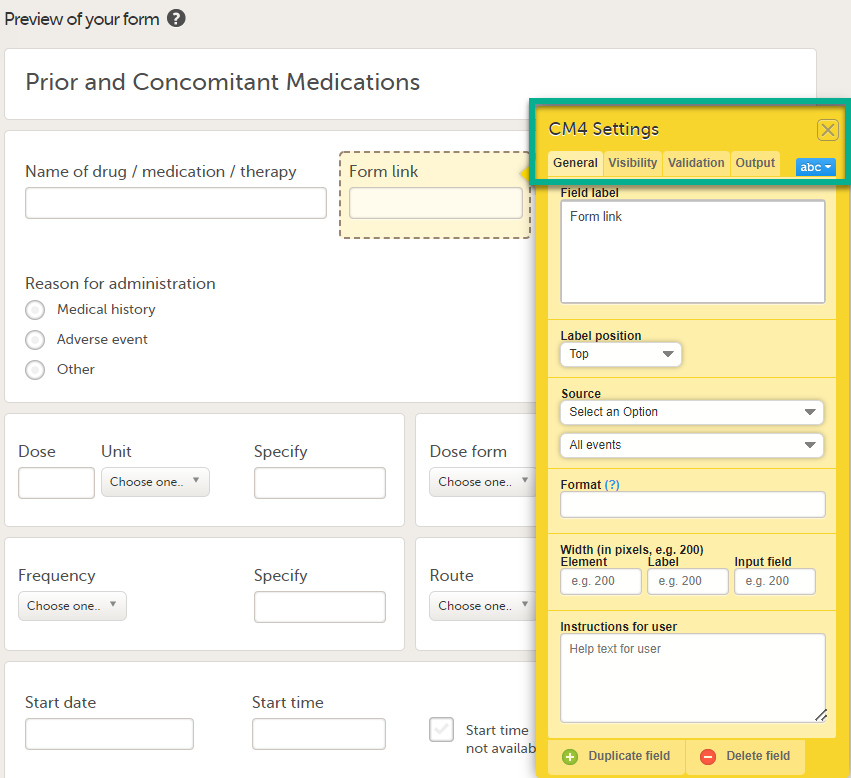
|
| 4 |
Under Source: 1. Click Select an Option to open a dropdown menu and select the form you want to display. In this case Medical History. 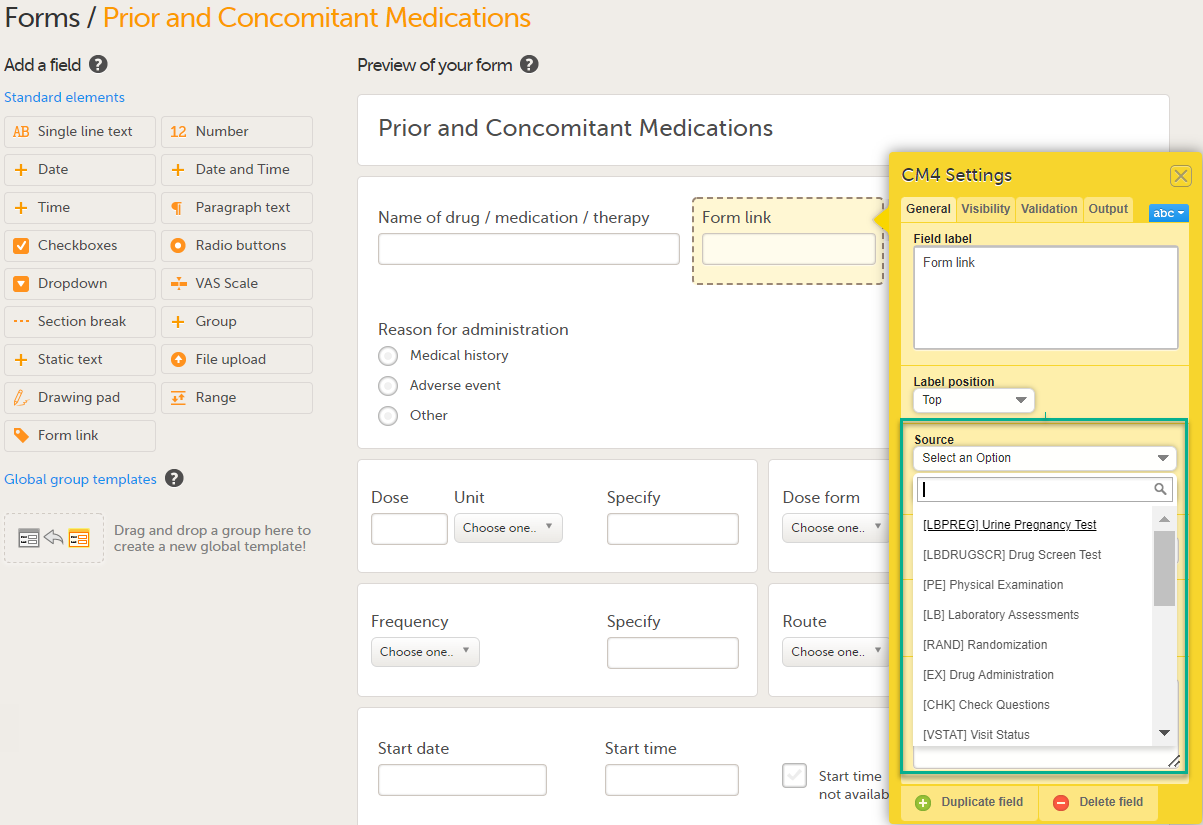
Note! You can either search in the Source field menu or scroll in the dropdown list . 2. Select the Event. In this example the Medical History event is selected in Common events. Note! Depending on your study design, in the Study workflow, you can choose to link the form either to all events with a specific form added (in this case Medical History) or to a single event. In the image below you can see that both the Medical History form in Source and the Medical History Event in Common Events have been added. In this example, all instances of the form type Medical History in Common Events are available for the Clinic user to link to. 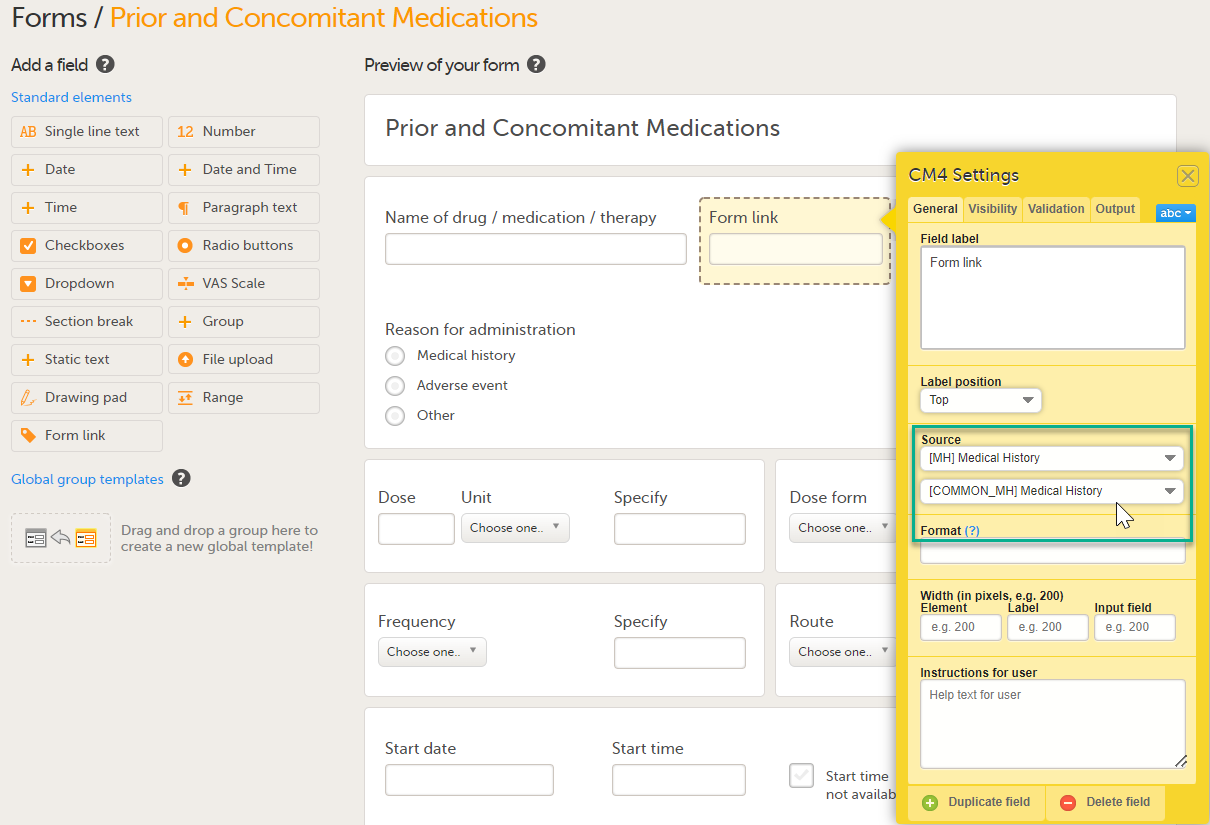
|
| 5 |
Under Format, add the items to be displayed for the available form link(s). For example the Term, Sequence number, and Start, Ongoing and End date for the Medical History. This defines how the form will be displayed in Viedoc Clinic. TIP! Click on the question mark for information about summary formats. For more information see Summary format of the form. 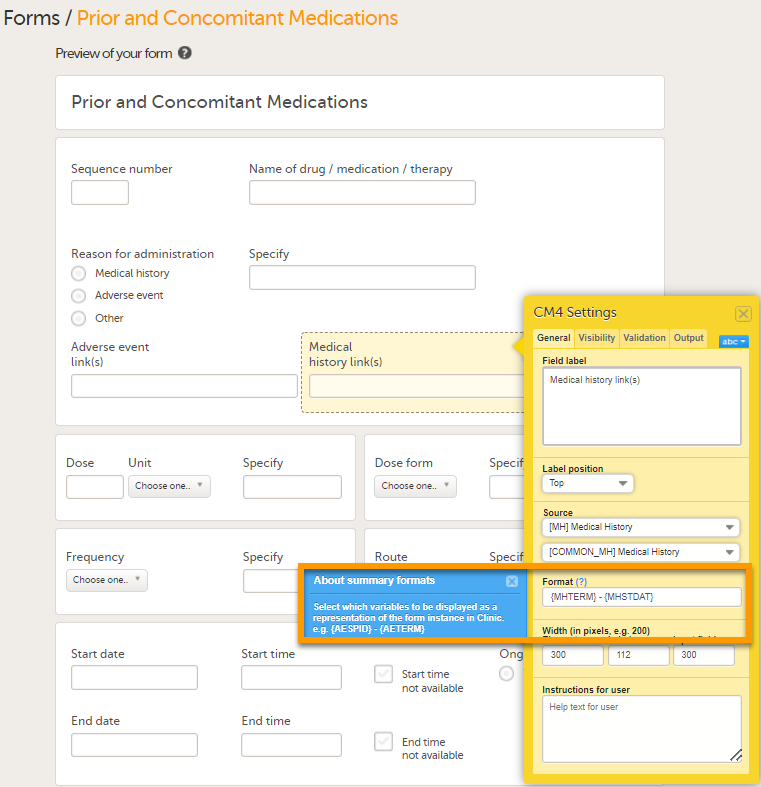
|
| 6 |
Click Save Changes Note!
|
Form link validation
A design with form link validation errors cannot be published. If validation fails, the design will not be published and an error message is displayed:

The format string must refer to the valid item ID of the source form for the display format to be populated and displayed in Viedoc Clinic.
If there is a circular reference between source forms, for example a form link having source form as the form containing the form link, an error message is displayed which identifies the forms with the issue.