Home assignment #1
Assignment #1
Summary: Create a simple study, invite yourself as an investigator, and enter data for a new patient to verify the setup is working as expected.
Follow the steps below to complete the assignment:
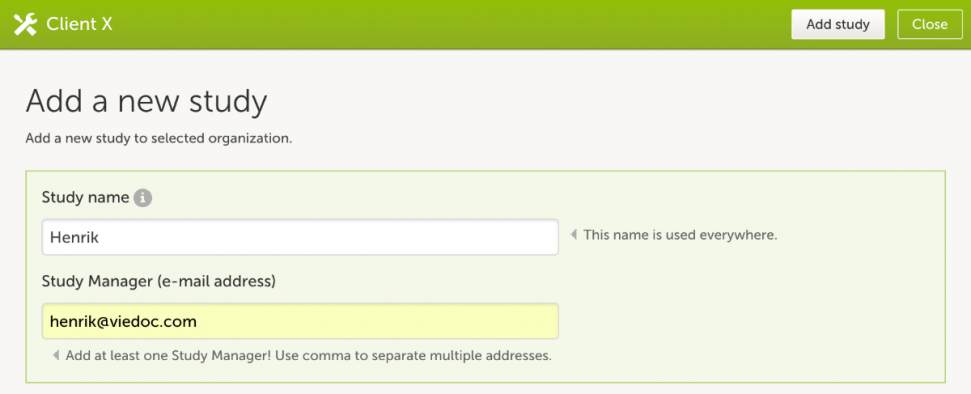
- Open Viedoc Admin, click Add a new study.

- Add info regarding the study.
- Name your study as your first name in the Study name field.
- Enter your email address in the Study Manager field.
- Click Add study.
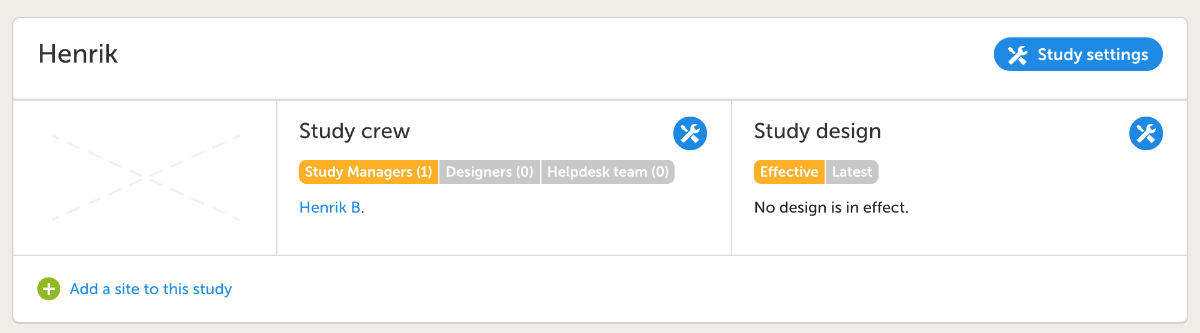
- In the Study crew section, click Edit to open the study crew page.
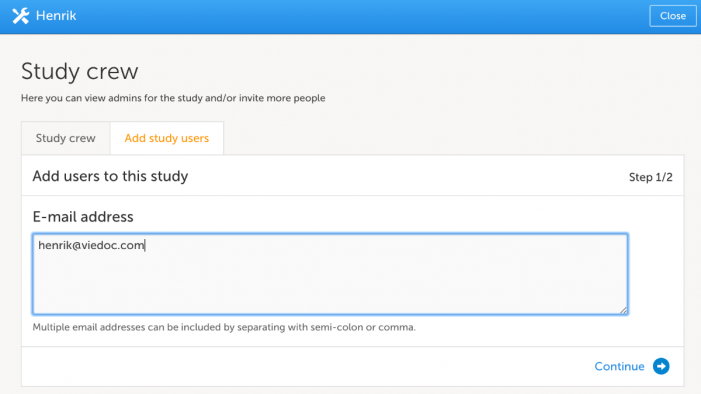
- Click Add study users, enter your email address in the text field, click Continue.
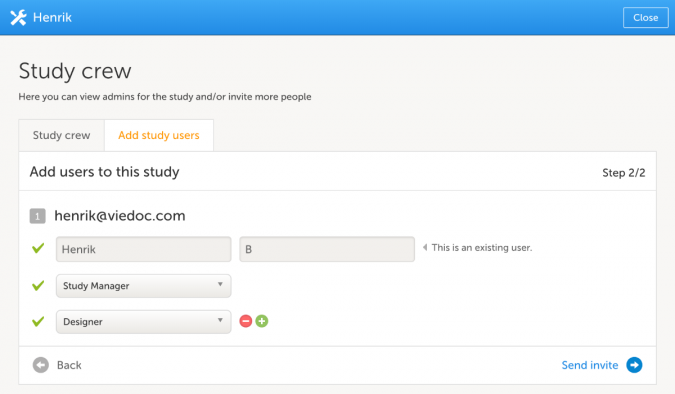
- Choose Designer as role in the drop down menu, click Send invite.
- Open Viedoc Designer.
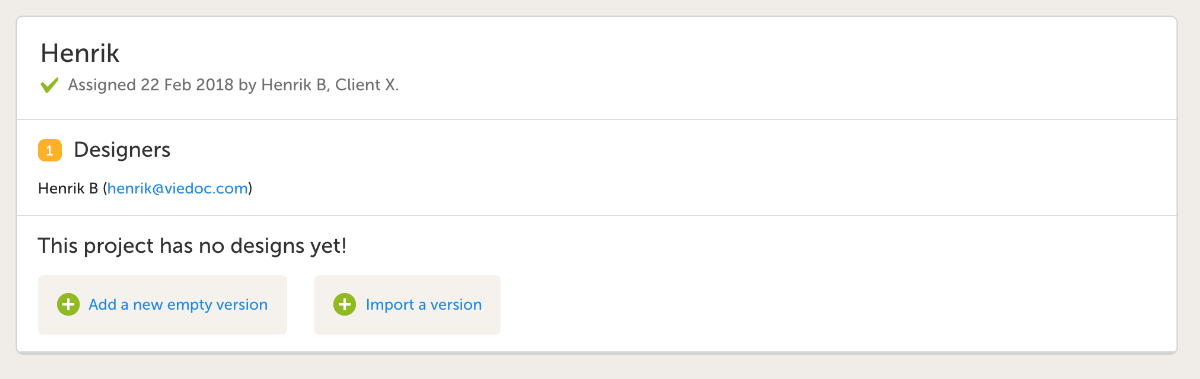
- The study will appear in the projects window in Designer. Click on the study with your name under Projects.

- For a new design version you have two options; choose Add new empty design version
- Fill out Internal Description, Study Name, Study Description(optional), Protocol Name and Version and click Save study settings.

- You will end up at the Design Overview page. Should you need to edit any study information, click Design Settings.
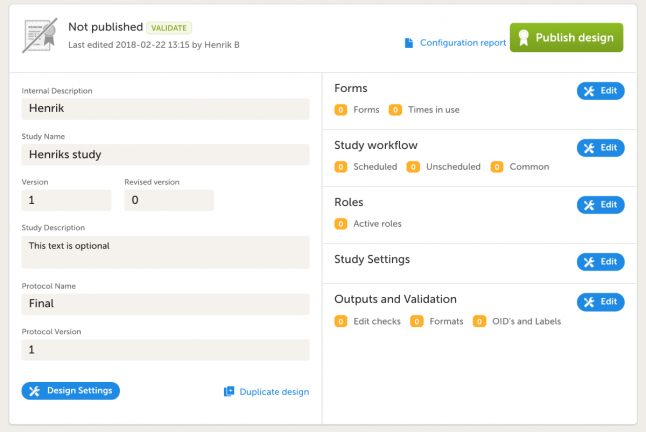
- In the Forms section, click Edit and create the following form by clicking Add a new form:
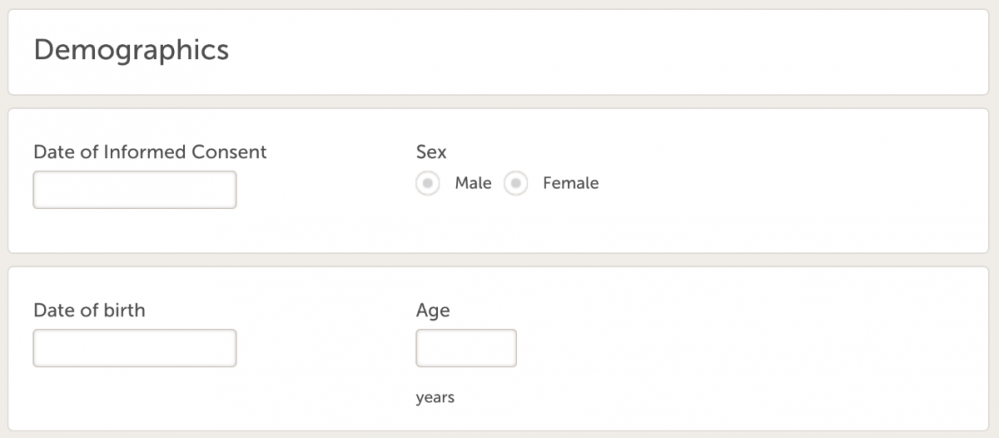
- Demographics (ID = DM), with following variables:
- Date of Informed Consent
- Sex
- Date of birth
- Age (derived), use eLearning to find how to calculate age.
- Demographics (ID = DM), with following variables:
- Create another form:
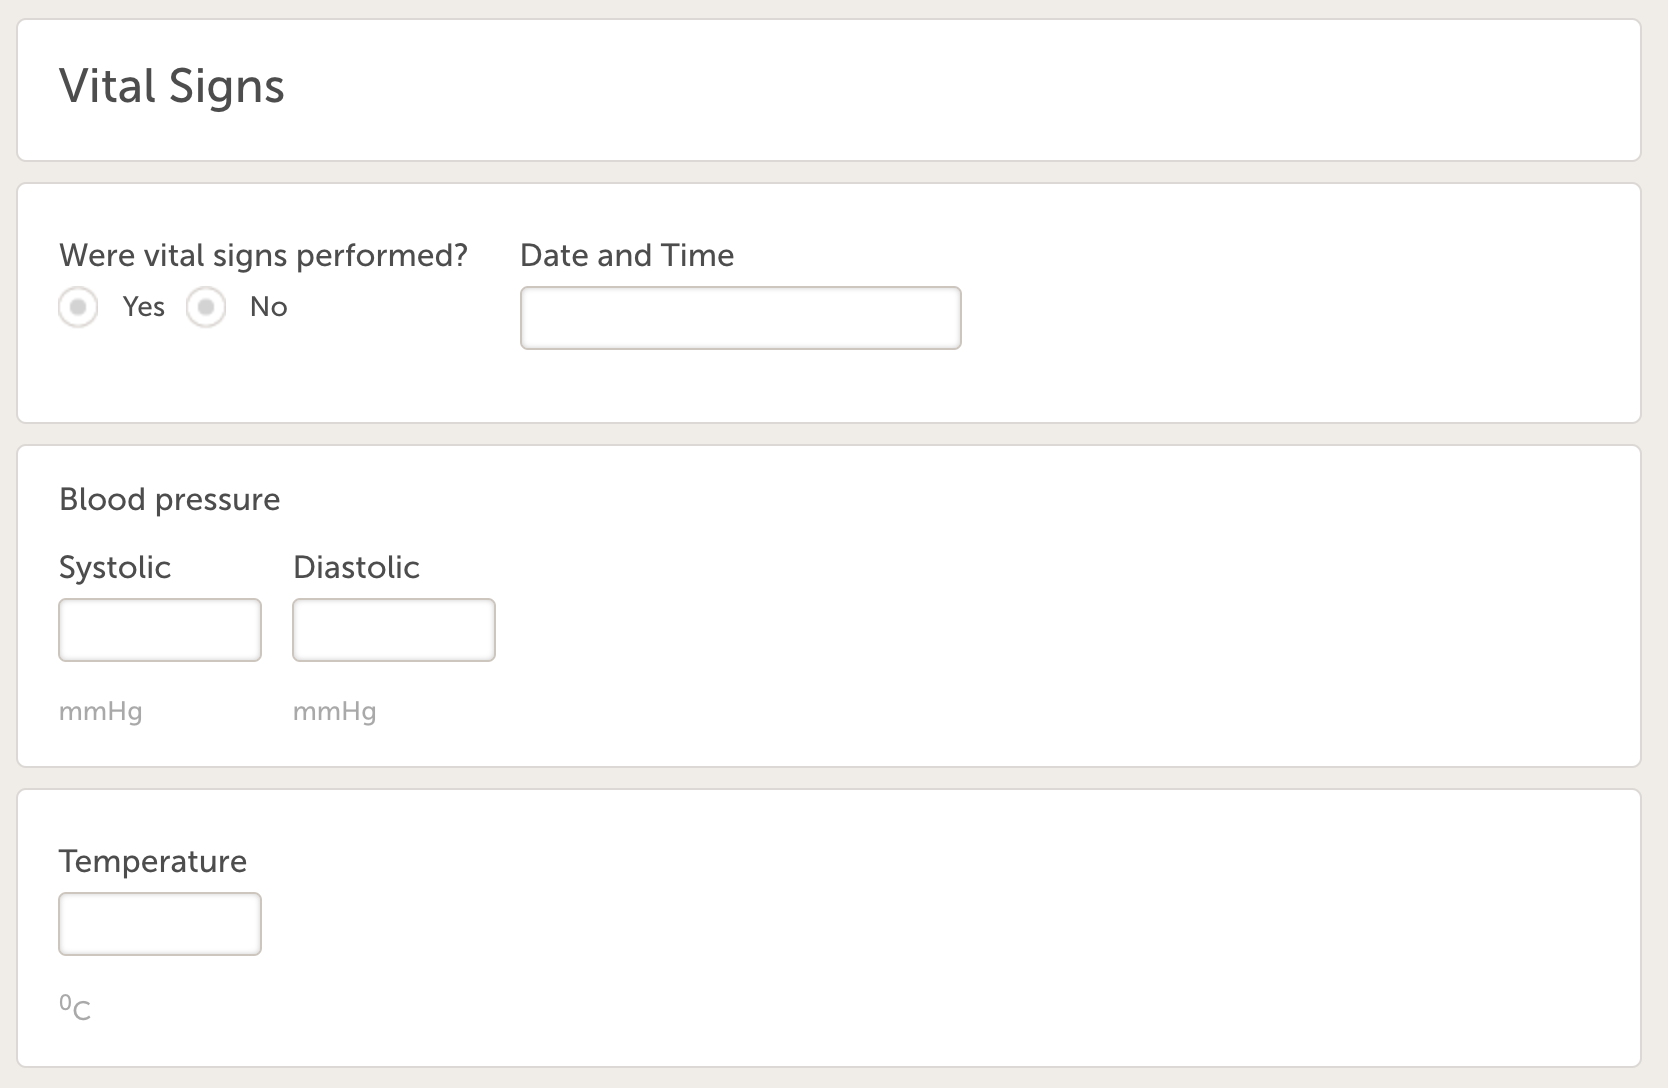
- Vital signs (ID=VS), with following variables:
- Were vital signs performed?
- Date and time
- Systolic BP
- Diastolic BP
- Add a data check that prevents the form from saving if
VSSYS<VSDIA.
- Add a data check that prevents the form from saving if
- Temperature (allowing one decimal).
- Add a data check to control for values between 36.5 and 38.
- Vital signs (ID=VS), with following variables:
Don't forget also to add relevant visibility conditions.
14. Create another form:
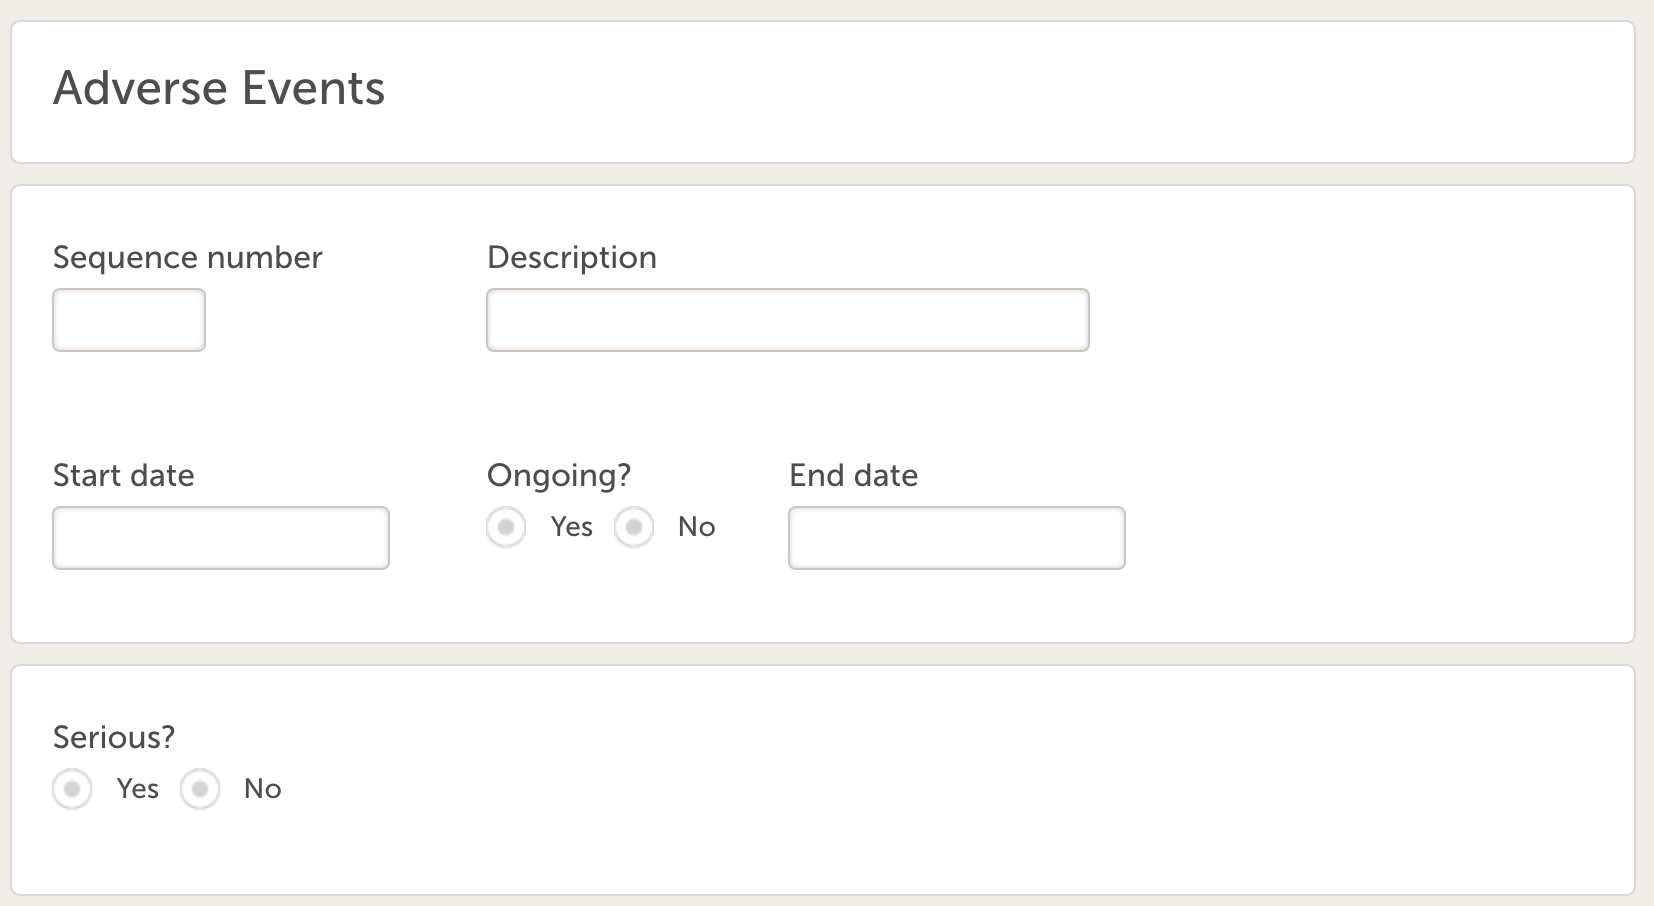
- Adverse Event (ID = AE) with the following variables:
- Sequence number
- Use eLearning to learn how to add a counter for the sequence number. Hint!
StudyEventRepeatKey
- Use eLearning to learn how to add a counter for the sequence number. Hint!
- Description
- Start date
- Add an edit check to control for dates before informed consent Hint!
EventID.FormID.ItemID
- Add an edit check to control for dates before informed consent Hint!
- Ongoing?
- End date date
- Add an edit check for end date to occur after start date
- SAE?
- Sequence number
Remember to also add all relevant visibility conditions.
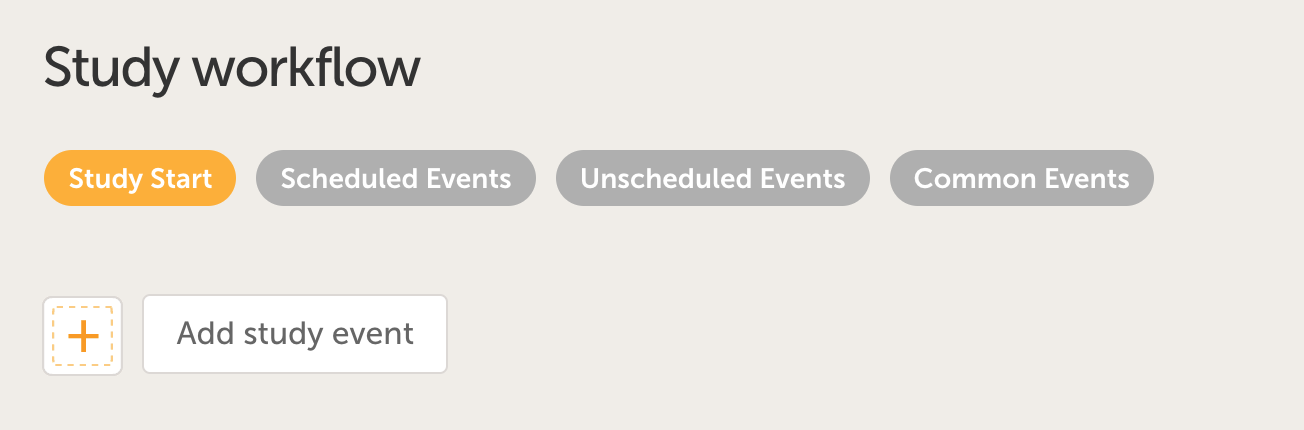
15. Go to Study workflow, click Edit.
- Start by adding the start event by clicking Study Start and Add study event
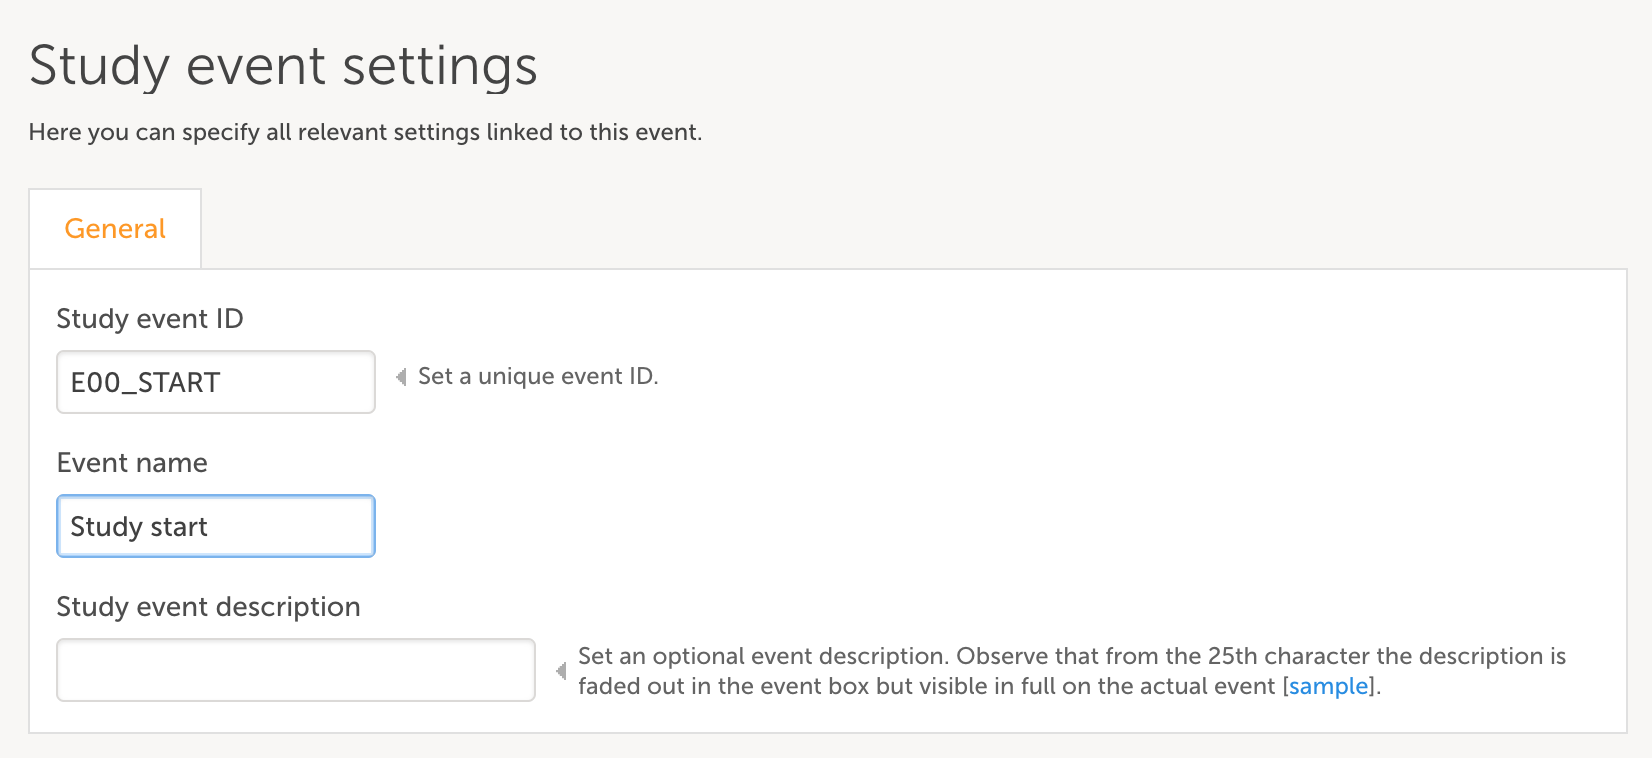
- Complete the pop-up with info on Study event ID and Event name
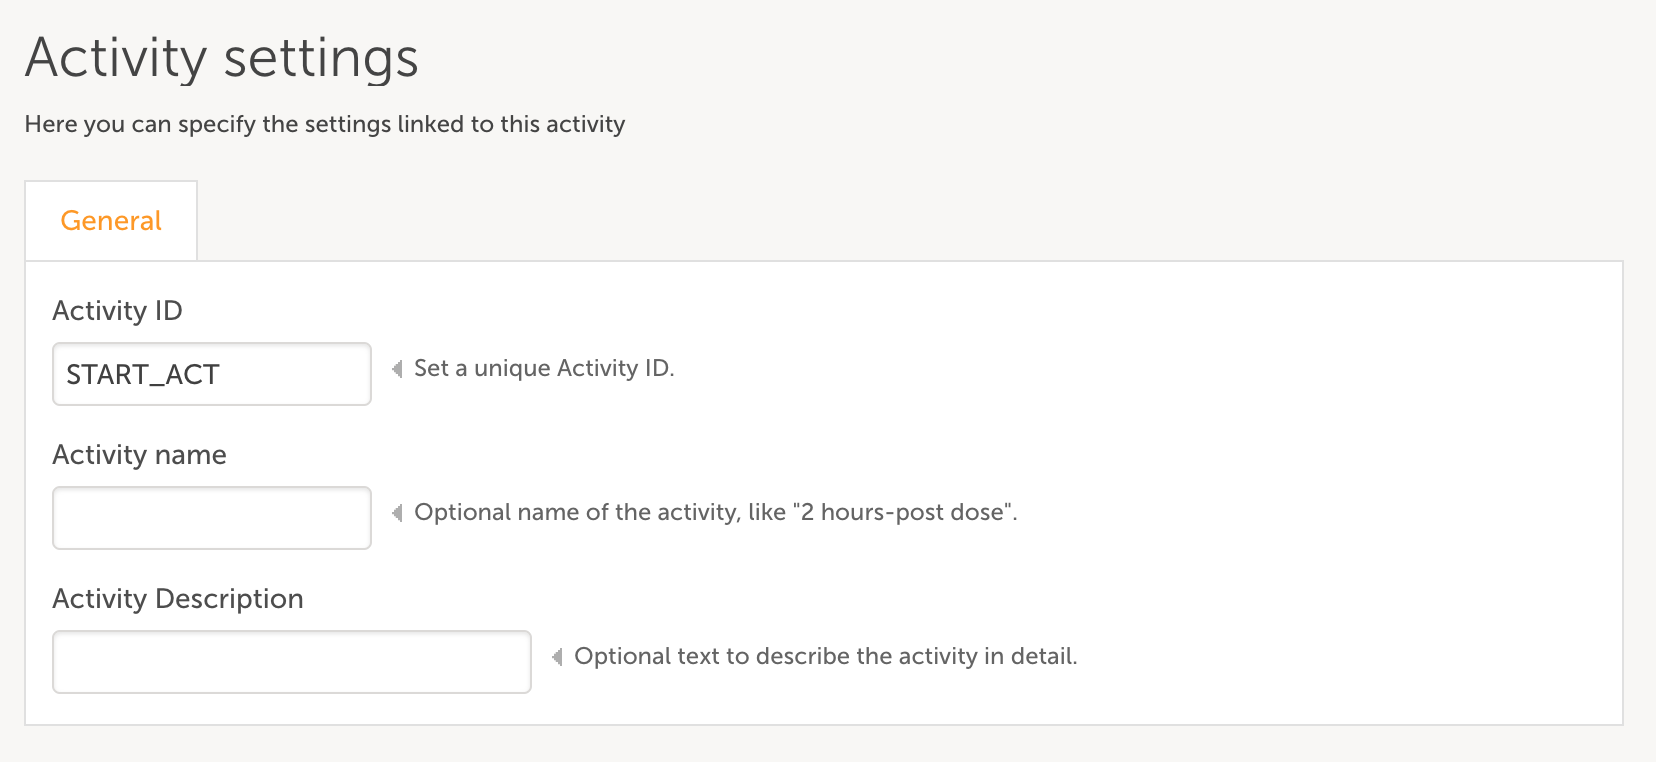
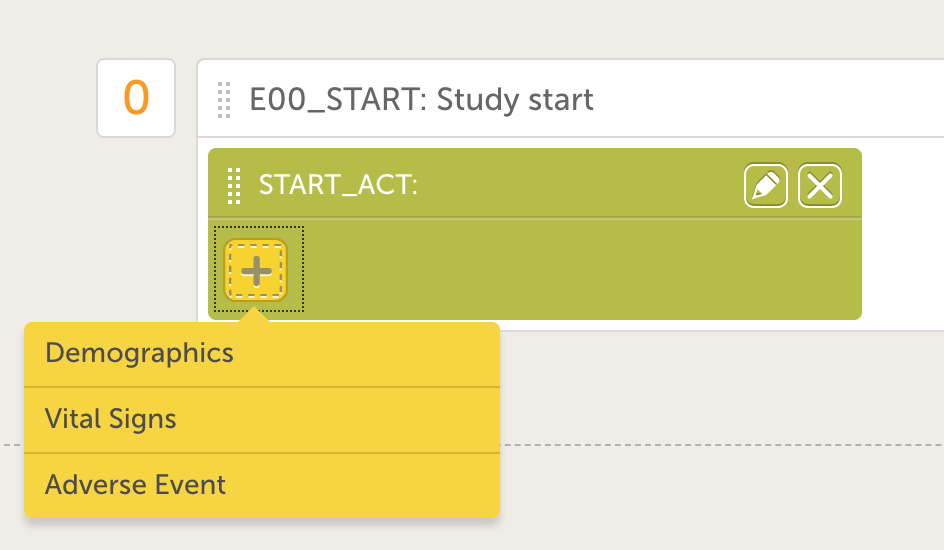
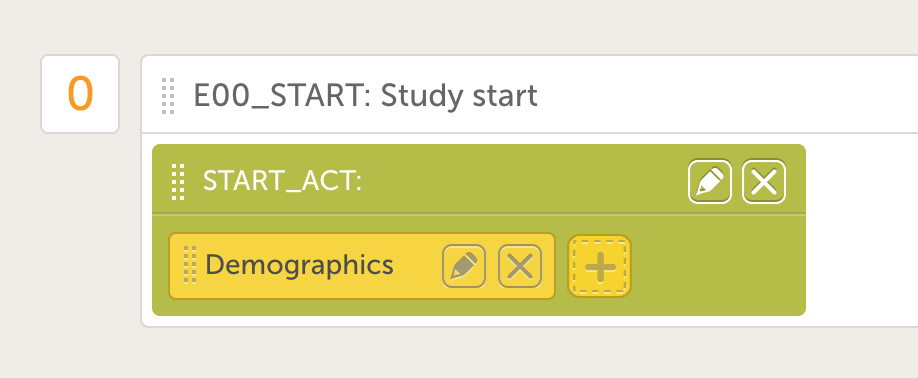
- Add an activity to the event by clicking the green plus icon and set an Activity ID
- Add a form to the activity by clicking the yellow plus icon and choose the Demographics form in the drop down menu. The screen will now look like the image to the right.
- Click on Scheduled Events and add a screening visit with ID "E01_SCR" and name "Screening". Add an activity the same way as for the screening event.
- Add the vital signs form to the activity but prevent the temperature item from appearing at specifically this visit. Hint! Customize Item Visibility.
- Go to Common Events
- Add an event for the Adverse Events and which includes the AE form
- Set the summary format as {AE.AENO} - {AE.AEDESC} - {AE.AESTDAT}
- Go back to Scheduled Events Add a second Event, "Follow-up" with ID “FUP”)
- Add pre- and post-dose activities and include the vital signs form in both activities
- Set the vital signs form in the post-dose activity to repeat 3 times
- Set the visit to repeat a total of 3 times
- Set the Short Summary Format as “
Follow Up V{StudyEventRepeatKey}” - Set the visit schedule so that all visits, starting with the Screening visit are 1 week apart from each other.
- Set all visits to have a +/- 3 day window
- Go to Roles:
- Enable the Investigator role
- Enable the Monitor role
- Go to Study settings:
- Selection view settings
- Map the sex variable to the avatars and the next variable to the Age item
- Patient ID settings
- Create a patient ID with a prefix "SCR" followed by the site ID and a four-digit patient sequence number
{CountryCode}-{SiteCode}-{SiteSubjectSeqNo}.
- Create a patient ID with a prefix "SCR" followed by the site ID and a four-digit patient sequence number
- Selection view settings
- Go back to the Designer start page and click Validate and correct any errors.
- Click Publish design.
In Viedoc Admin:
- Click on Add a site to this study
- Click Study Design, assign the design on 01 JAN 2019
- Go to Study crew, invite yourself as an investigator and create a new patient in Viedoc Clinic
- If you need to make corrections, create a new, fully-customizable version.
- Publish again on the same date as before: 01 JAN 2019
Extra credit (optional)
In Viedoc Designer go to the latest effective design, create a new, fully-customizable version.
- Study settings / Alerts
- Add an alert titled “New Patient”
- Have the alert send when the informed consent variable has data and the form is saved
- Send an email to the investigator and monitor roles
- In the body of the message, include the SubjectKey of the added patient
- Add activity-dependent labeling within a form.
- On the VS form, add a static text item with the following text, “Vital Signs post dose must be collected 3 times.”
- Make this text large, green, and bold.
- Program a visibility condition for this item so that it only appears on the post-dose activity.
- Create a Lab form (for use with reference data feature)
- In a separate group at the top of the form, add a field for collection date
- For a single lab parameter, create a group with the following items:
- Dropdown list (labeled “prefix”) with following options:
- “=” (should be default selection)
- “<”
- “>”
- Number field for the result and allow for 6 decimals
- Dropdown list for the unit
- Range field allowing for 6 decimals
- A Yes/No response for “Clinically Significant” with the following advanced visibility condition:
- !inRange(RANGEID, RESULTID)
- Dropdown list (labeled “prefix”) with following options:
- Add an alert titled “New Patient”
- ViedocMe (ePRO) (see instructions related to "subject initiated events" in this lesson - https://help.viedoc.net/c/e311e6/2eae19/en/)
- Create a form labeled “Dosing Diary” with ID “DD” and containing a Visual Analog Scale item with ID “DDVAS”
- In study Workflow, create an event that is “Subject Initiated” (instructions in section 2.4 of the above mentioned lesson)
- Set the Short Summary Format as “
Diary Day {StudyEventRepeatKey}” - Set the visit so that it occurs for 28 days straight, and beginning on the screening visit
- Create two activities for morning and evening assessments, and add the Dosing Diary form to each activity
- For each Activity, create a 12-hour window for each assessment.
- The morning assessment should start at midnight and end at noon.
- The evening assessment should start at noon and end at midnight
- Add two reminders for each assessment:
- For each reminder, include the link that the patient should connect to in the message body.
- Reminder 1, morning assessment should send at 09:00
- Reminder 2, morning assessment should send at 10:00
- Reminder 1, evening assessment should send at 21:00
- Reminder 2, evening assessment should send at 22:00