Managing your Viedoc account
Viedoc user account management
| Important! All information related to managing your Viedoc account can be found in the following user guide: Viedoc User Account Management |
From the settings button (wheel) you can perform all actions related to managing your Viedoc account by selecting any of the following: Edit your profile, Change Password, Security Settings:
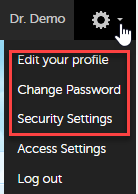
Selecting any of these options opens a new page, in the example below, the User Settings page. Select the Viedoc learning link to open the Viedoc User Account Management Guide:
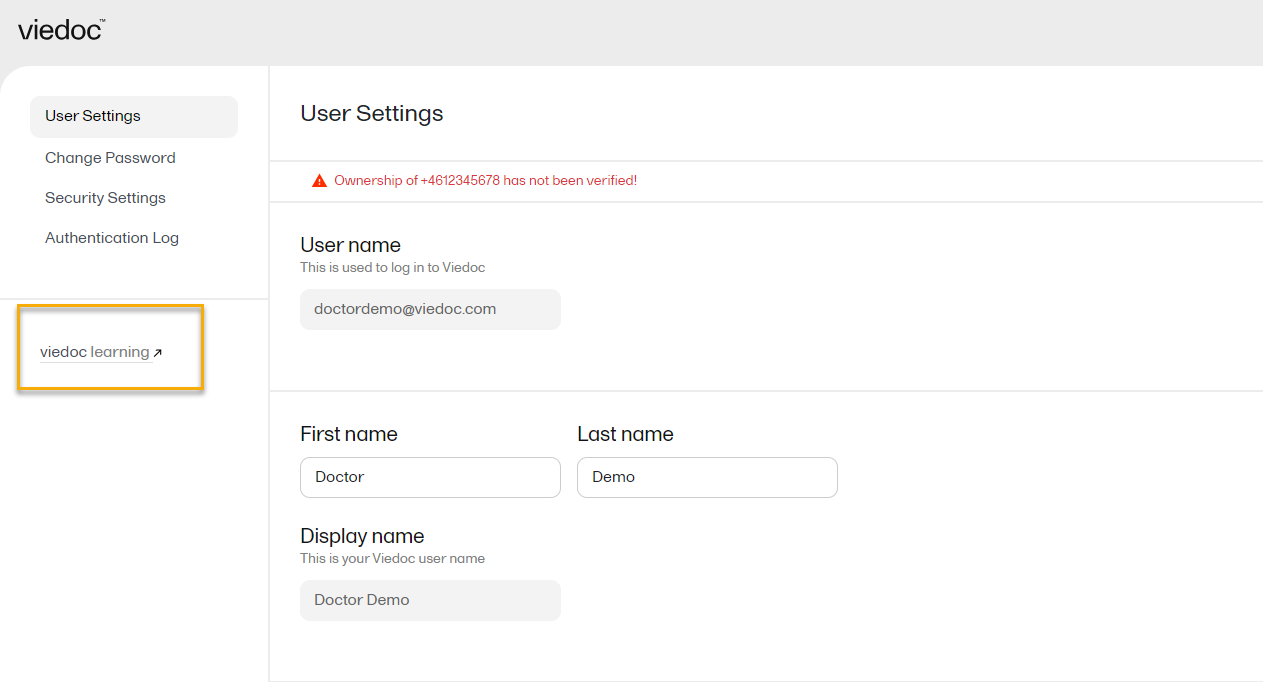
User settings
Once logged in, you can edit your profile.
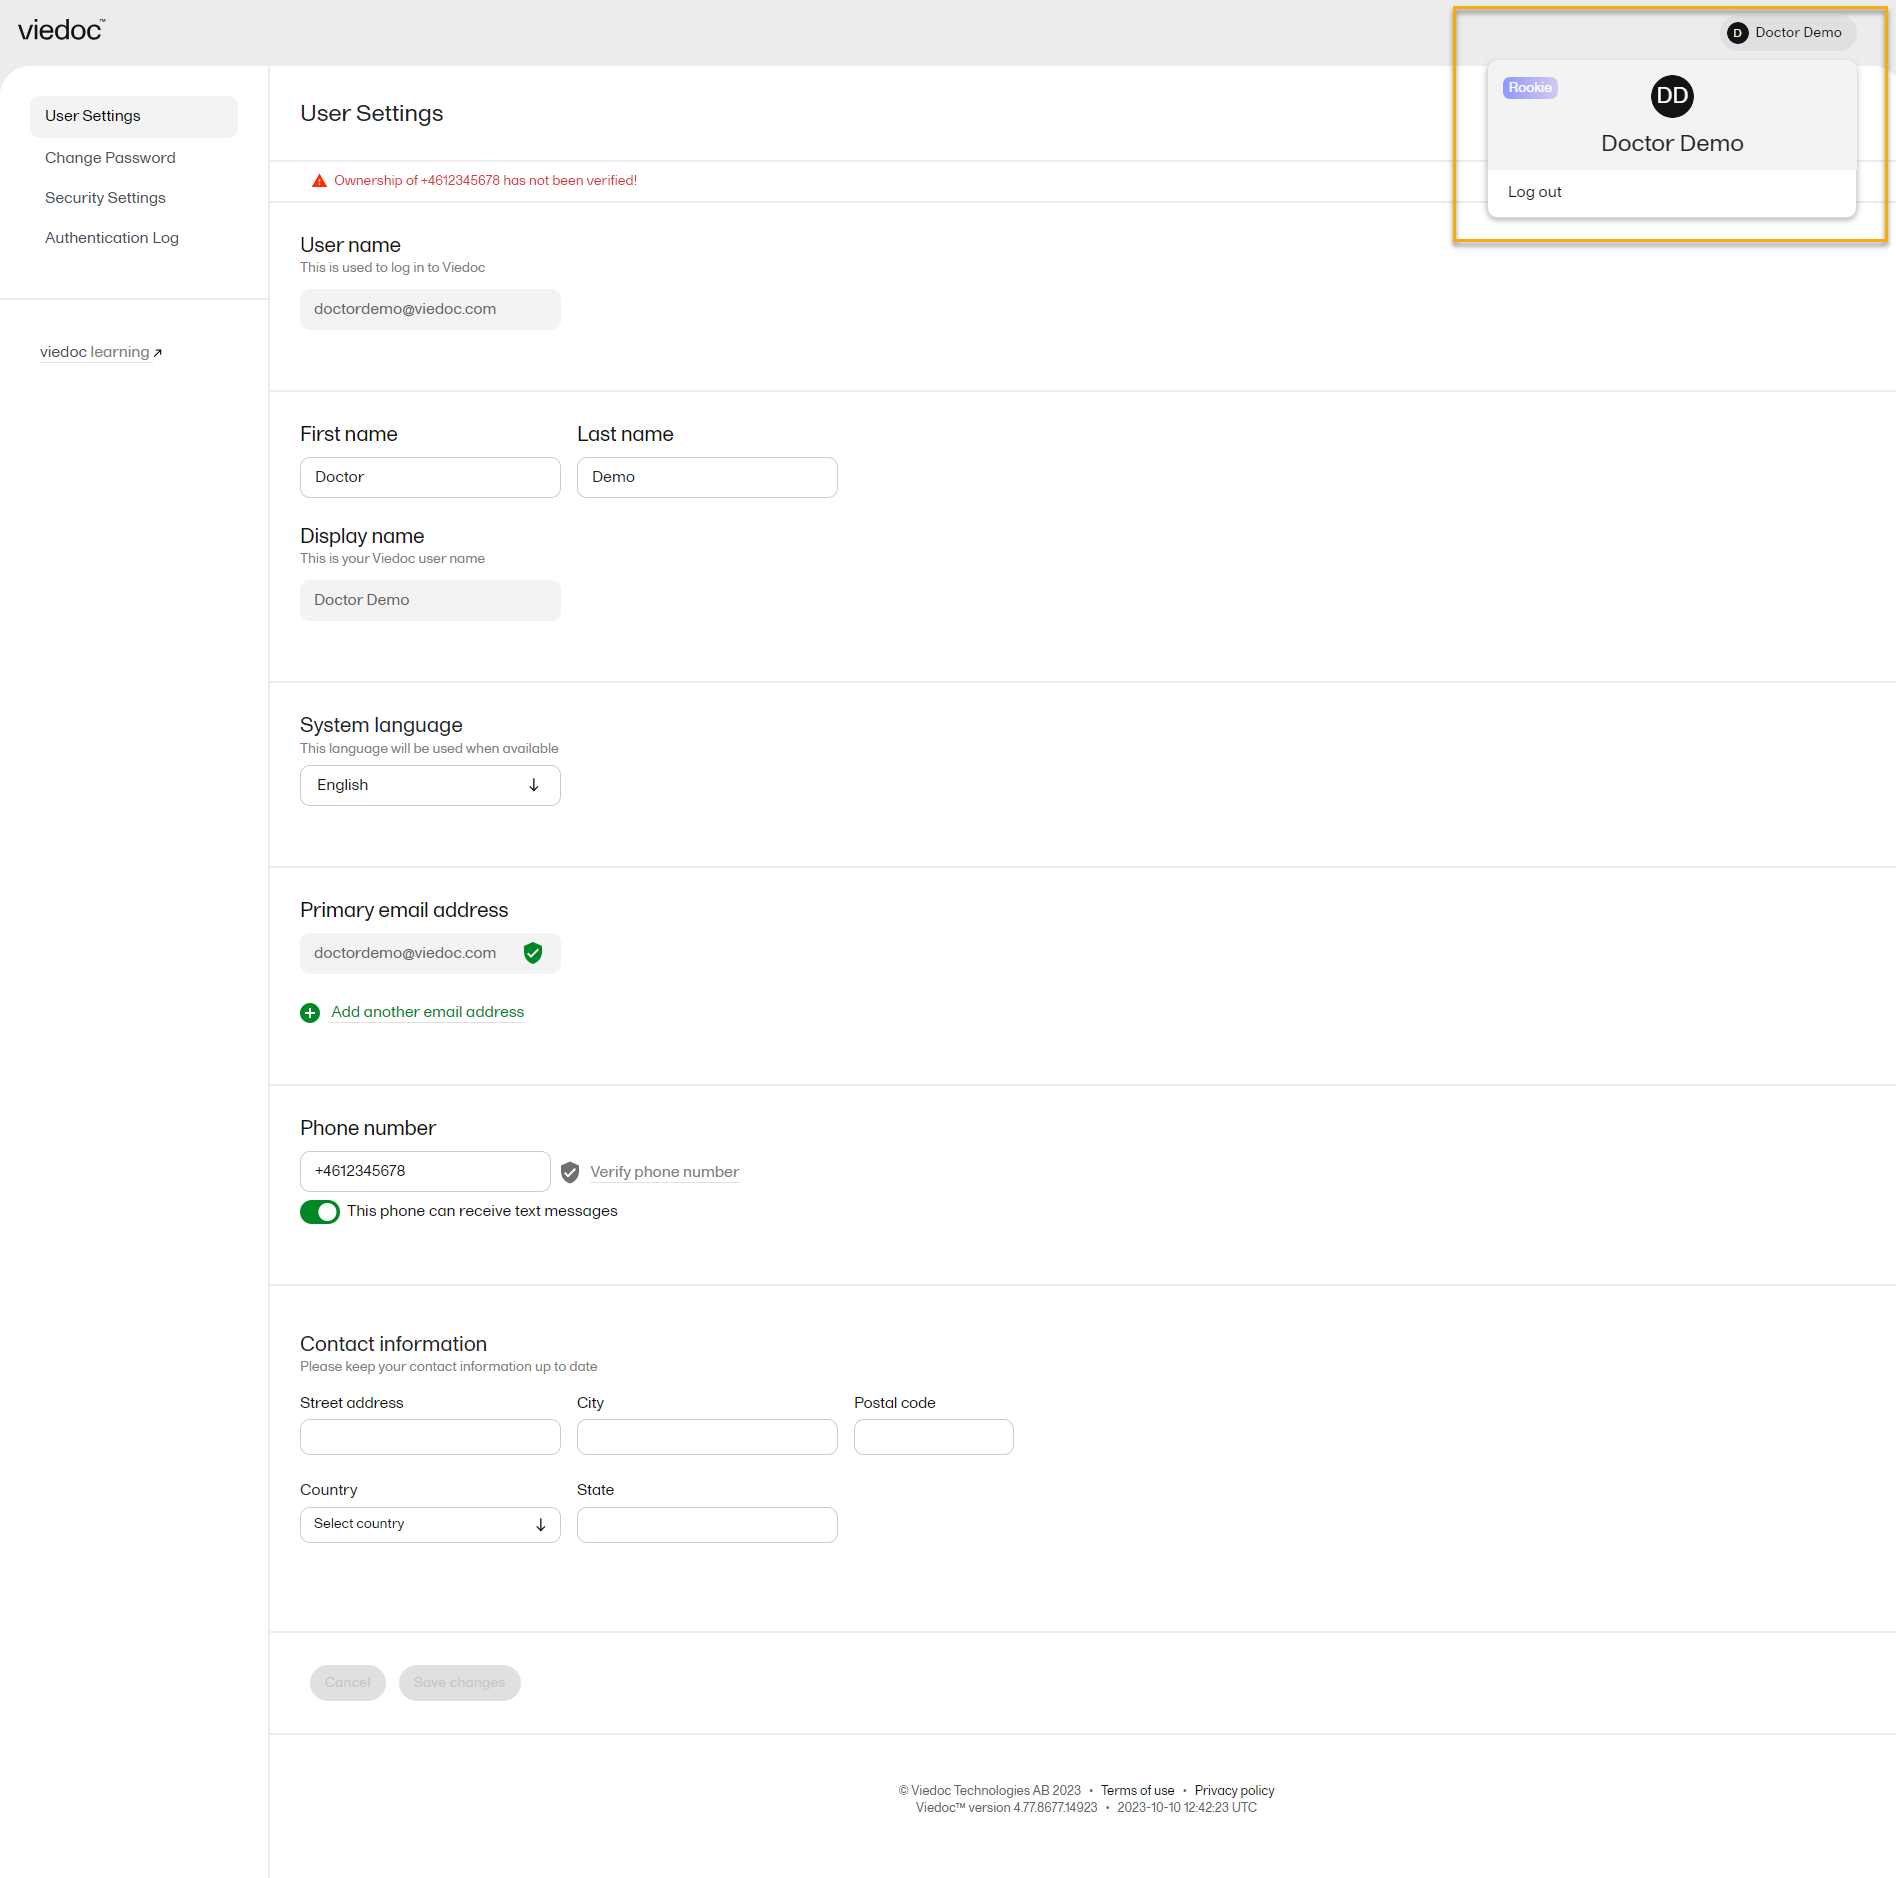
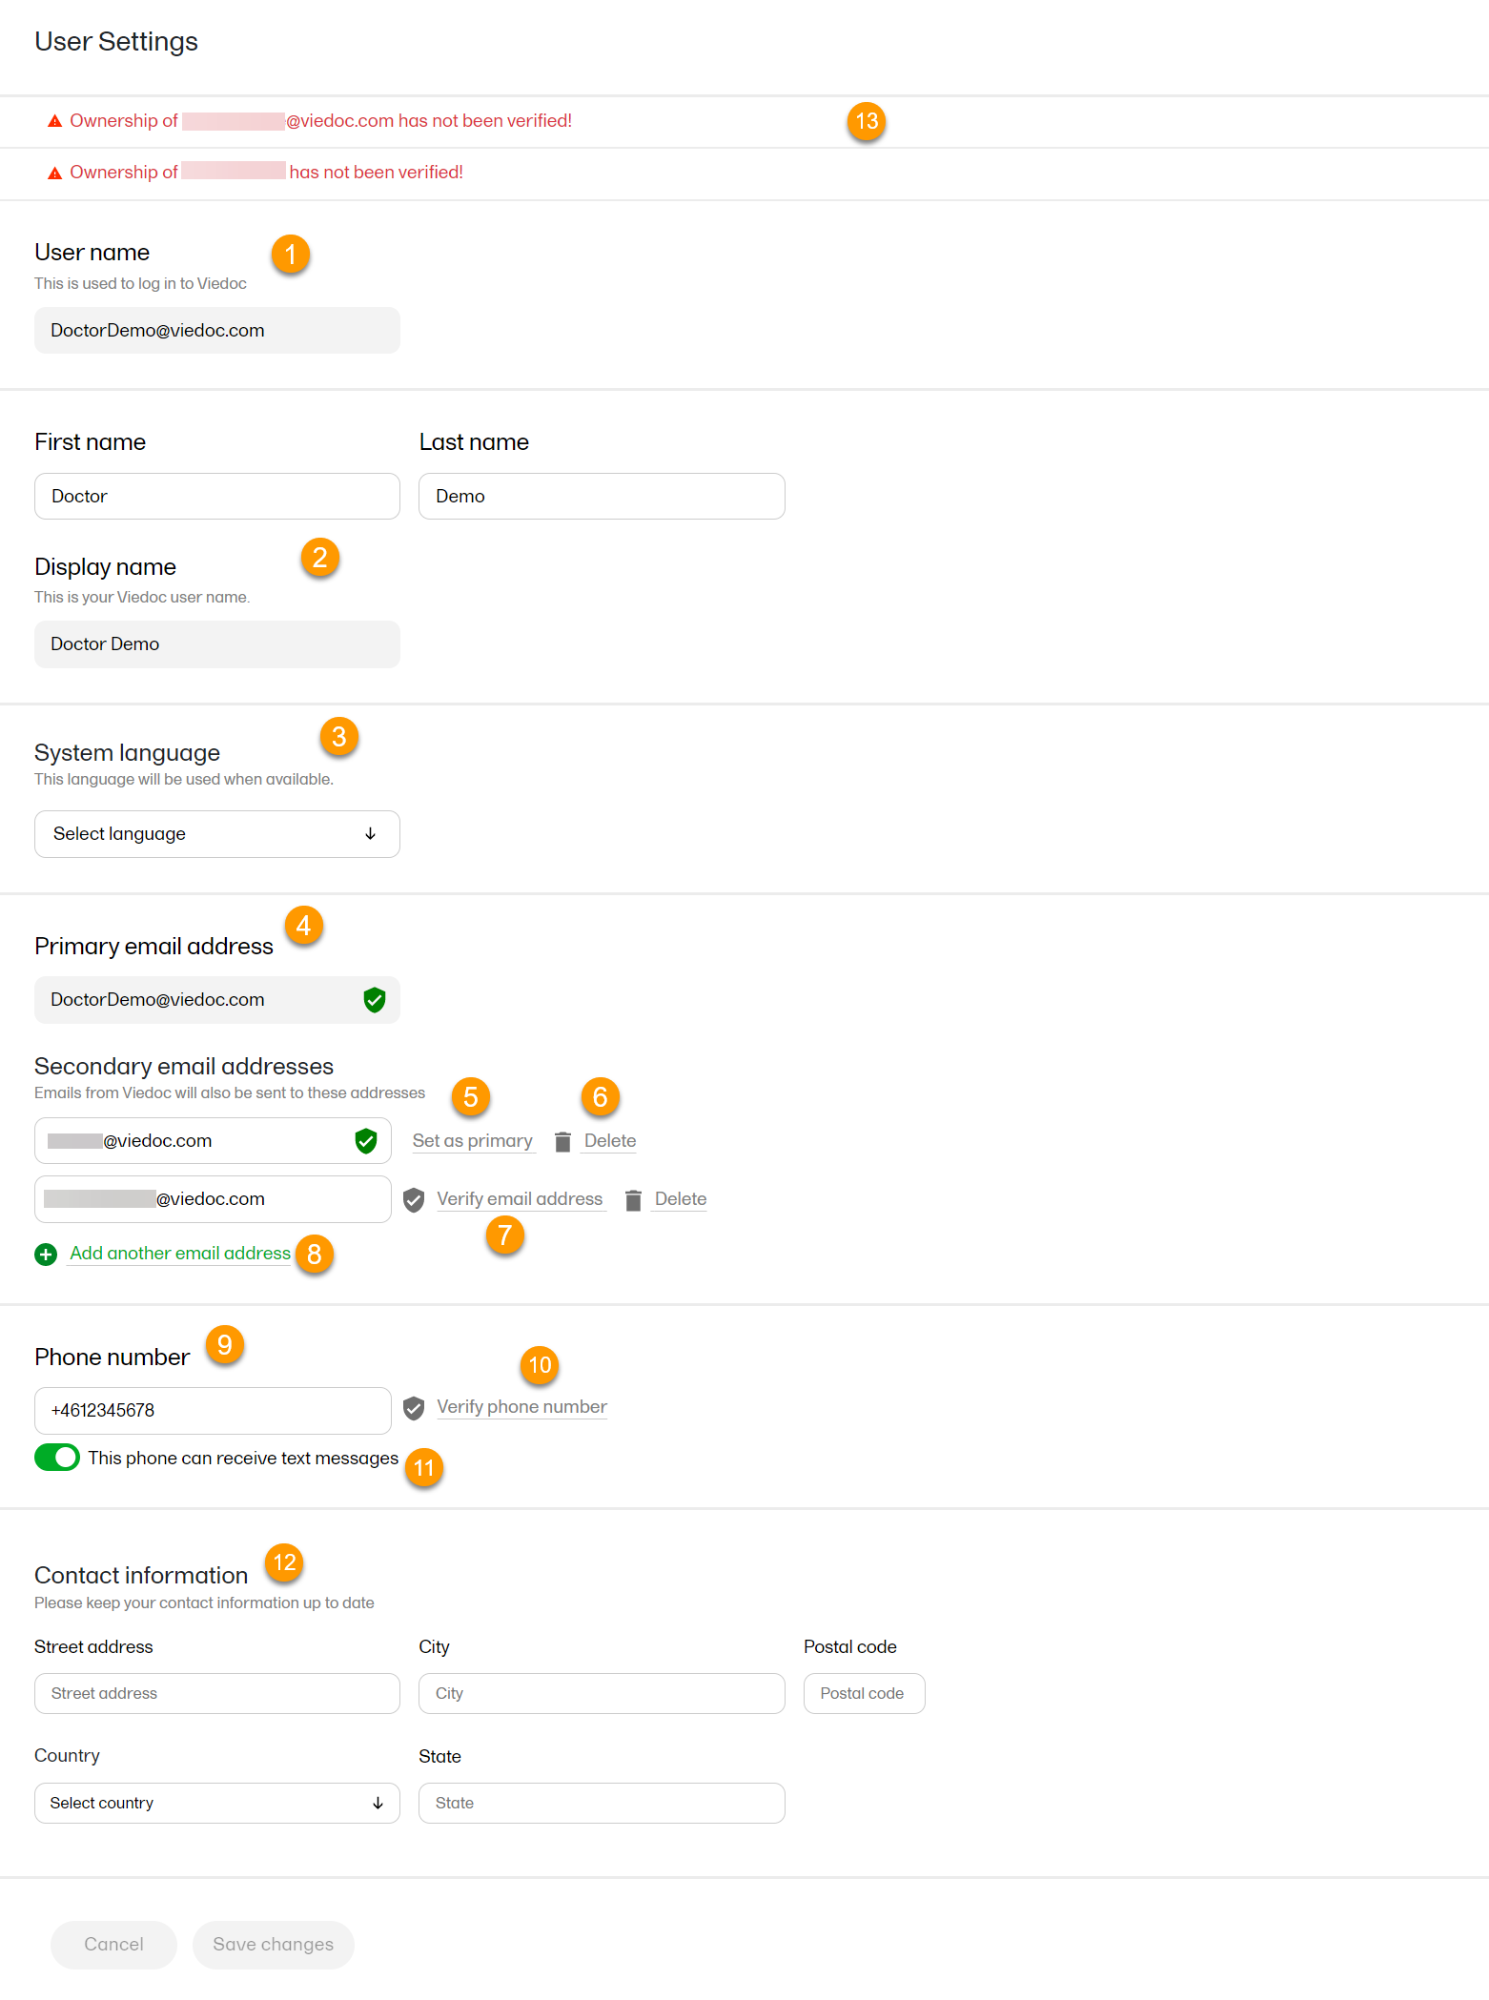
To view or edit your user settings, select the settings button (wheel) in the top right corner of the landing page, and select Edit your profile. The User Settings page opens, where you can configure the following:
1. User name - this is your primary email address used for your Viedoc account. This is the user name you use to log in to Viedoc. See below information on primary email address.
2. First name and Last name - fill in these fields that will be used to compose the Display name which will be used in Viedoc to identify your user.
3. System language - select the language of your choice from the drop-down menu.
4. Primary email address - this is the same as the User name described above. It is the email address used in Viedoc to log in, as well as for Viedoc user account-related operations (account setup, password recovery, study invitations).
By default, this is set to the email address used to initiate the Viedoc user account.
The primary email address must be unique and is mandatory. Therefore, it is not possible to delete the primary email address.
See Changing the primary email address.
5, 6, 7, 8. Secondary email addresses - you can add up to 3 additional email addresses that will be used by Viedoc to send notifications on alerts and trackers as configured in Viedoc Designer. Viedoc alert emails will be sent to all the primary and verified secondary email addresses set up for your account.
See Adding a secondary email address and Verifying a secondary email address.
9, 10, 11. Phone number - enter your phone number in format +[CountryCodePhoneNumber] (for example +46123456789) and if you want to receive text messages, select This phone can receive text messages.
See Editing your phone number and Verifying your phone number.
Notes!
Phone number formats are also supported with:
- Separators between number groups, for example spaces, hyphens, and dots.
- Parentheses around area codes or other number groups.
- An optional country code with a plus sign is also permitted.
- Extensions marked by "x" or "ext"
Important!
|
12. Contact information - fill in the following fields: your street address, city, state, postal code and country.
Adding a secondary email address
To add a new (secondary) email address to your account:
| 1 | Select Add another email address link (8) next to the current primary email address. |
| 2 | Enter the email address in the new field under Secondary email addresses. |
| 3 | Select Save changes. A notification email is sent to both the primary email address and to the newly added email address to inform you about the change. At the top of the Edit your profile window, you will see a warning message saying that the newly entered email address is not verified (13). |
Verifying a secondary email address
To verify a secondary email address:
| 1 |
Select the Verify email (7) link next to the newly added email address. A six-digit code will be sent to your new email address and a Verify ownership window is displayed asking you to provide the code in order to verify the new email address. Note! The verification link for the secondary email address is shown only after having saved the changes you may have performed on the other fields on the same page. |
| 2 | Enter the received code and select Confirm. The newly added secondary email address is now verified. |
Changing the primary email address
To change the primary address to one of the existing secondary email addresses:
| 1 | Select Set as primary (5) next to the secondary email address that is to be set as the primary email address. |
| 2 | Select Save changes. A notification email will be sent to both email addresses to inform you about the change. You will use the new primary email address the next time you log in to Viedoc. |
Note! For a secondary email address to be able to be set as primary, it has to be verified first.
Editing your phone number
To edit your phone number:
| 1 | Enter the number in the Phone number field in the format +[CountryCodePhoneNumber] (for example: +46123456789). |
| 2 | Select Save changes. A notification email will be sent to your primary email address to inform you about the change. |
Verifying your phone number
To verify your phone number:
| 1 | Make sure that the phone number is correctly entered and that the Phone can receive text messages option is selected. |
| 2 | Select the Verify phone number link. A six-digit code will be sent as a text message to your phone and a Verify ownership window is displayed. It will ask you to provide the code in order to verify the phone number. |
| 3 | Enter the code and select Confirm. The phone number is now verified. |
Study access management
From the settings button (wheel) you can perform all actions related to study access management in Access Settings.

Access settings
Select the settings button (wheel) in the top right corner of the window, and select Access settings.
Study membership
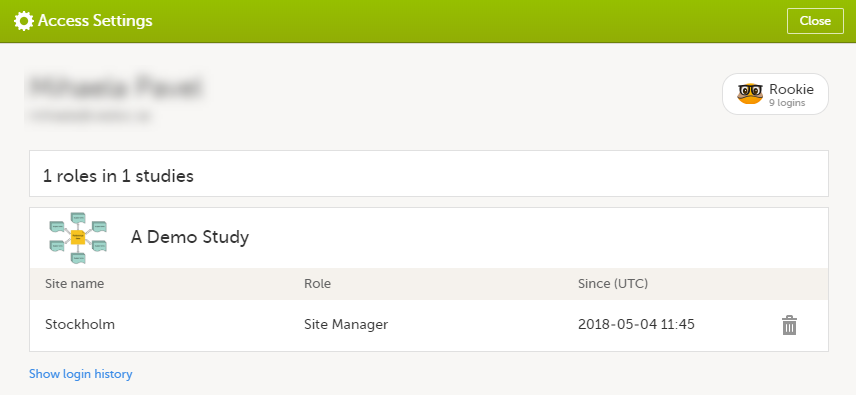
The following information is provided, grouped by study:
- Site name
- Role
- Since (UTC) - the date and time when the membership was approved, in Coordinated Universal Time (UTC)
For users with organization roles, these are listed in the top of the page, in a separate section, providing the following information:
- Organization name
- Role
- Since (UTC) - the date and time when the membership was approved, in UTC
Deleting study access
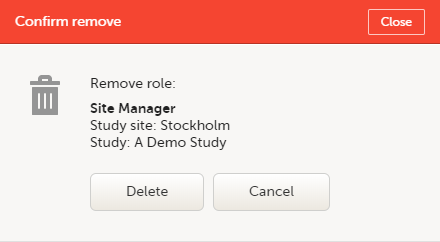
To remove yourself from a certain role within a study:
| 1 |
Select the trash can icon on the right, corresponding to the role, site and study to be removed from: A confirmation window is displayed. |
| 2 |
Select Delete to confirm the deletion: A notification email will be sent to all the Study Managers, or to the Site Managers if any roles are delegated. |
Deleting your Viedoc account
You can remove your Viedoc account when you have no study memberships left, that is, 0 roles in 0 studies.
To delete your Viedoc account:
| 1 | Go to Access Settings. To be able to remove your account, you should have no roles left in any study and no pending invitations: |
| 2 | Select Remove account from Viedoc. You will be prompted to confirm the account removal by entering your password: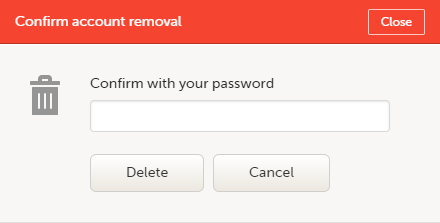 |
| 3 | Enter your password and select Delete. A confirmation message is displayed and a notification email will be sent to your primary email address: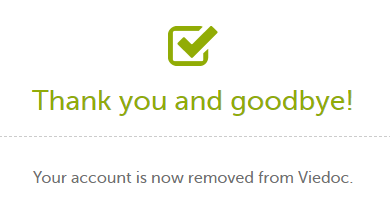
For identification purposes, Viedoc will keep: the user ID, display name, primary email address, and login history. They are kept until all the studies you have participated in are deleted. All other information related to your account will be removed from Viedoc. |
Pending invitations
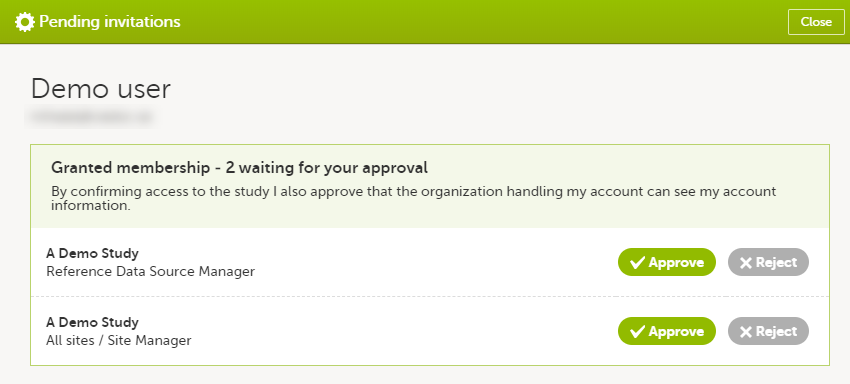
In case you have study invitations that you have not accepted or rejected yet, the Pending invitations window displays a list of all your pending study invitations:
Approving a study invitation
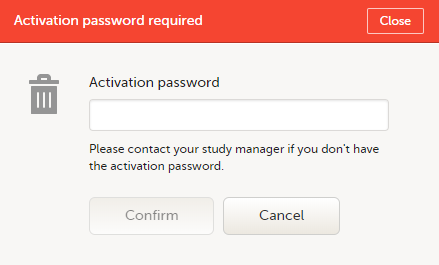
To accept a study invitation, select Approve next to the respective study role. If this is the first role you have in the respective study, and if the study requires an activation password, you will be prompted to enter it:
Note! All the pending role invitations for a user are automatically approved when the Application Programming Interface (API) method GetToken/Token is used.
Rejecting a study invitation
To reject a study invitation, select Reject next to the respective study role. The invitation will be removed from the Pending invitations list.
Postponing the approval/rejection of a study invitation
To postpone the approval or rejection of study invitations, select Close in the top right corner of the Pending invitations window and postpone providing an answer to the study invitation.
To access the pending invitations again, the Pending invitations window is shown:
- Automatically, after logging in.
- By selecting Pending invitations on top of the landing page.
Logging out
From Viedoc you can log out from different locations:

- To log out from settings, select the settings button (wheel) in the top right corner of the window, and select Log out. Use this link every time you leave the application from this location.
Note! If you exit the system without logging out, any subject you are currently working with will be locked for other users. After 5 minutes, the subject will be automatically unlocked.
- To log out from User Settings, Security Settings, Change password or Authentication Log: select your avatar on the top right hand side and select Log out.
