Randomization, allocation, and emergency unblinding
Introduction
If randomization and allocation are used in your study, some specific forms are used for randomization and allocation, that have a specific behaviour compared to the other forms. This lesson describes the particularities of the randomization and allocation forms and how to work with these.
Randomization
It is important to know that the randomization form will be locked after the randomization was performed, so the form won't be possible to edit.
An example of a simple randomization form:
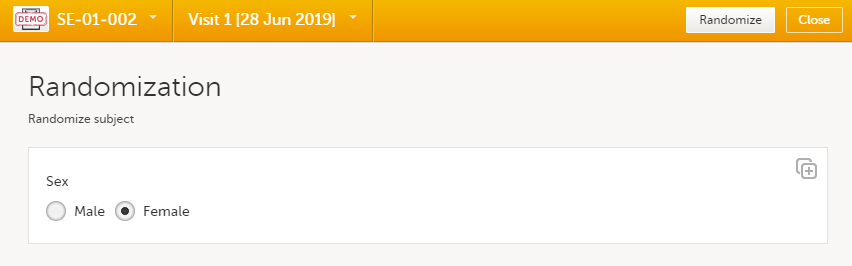 You can notice that, compared to the other forms, here the Edit option is replaced by the Randomize (or something else, depending on the configurations in your study).
Note! If the randomization is configured for the study start event, there is no Randomize button. Instead, the randomization happens when saving the form.
To randomize the subject, click Randomize. The randomization is performed and the form is locked:

Emergency unblinding
In case of any medical emergency or serious medical condition that occurs while the participant is taking part in a study, the participant may not be able to be treated adequately unless it becomes known which treatment they have been receiving. In such situations, unblinding may become necessary.
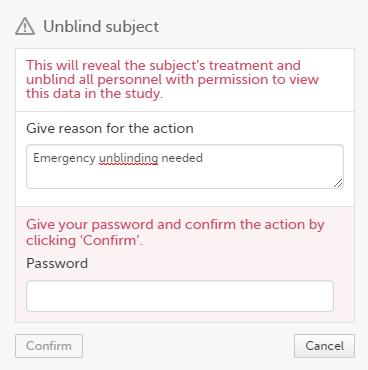
| Important! Unblinding a subject will reveal the subject's treatment and unblind all personnel with permission to view this data in the study. |
If you have permission to perform an emergency unblinding, the Unblind subject appears on the randomization form, after the subject was randomized:

To unblind a subject:
| 1 | Click Unblind subject: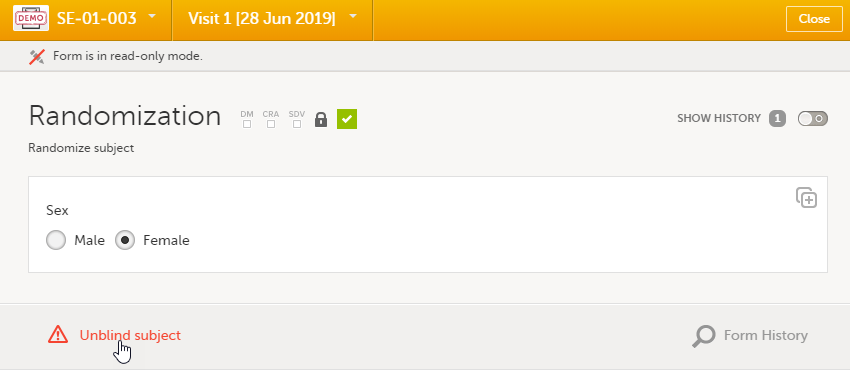 The Unblind subject pop-up will be displayed. The Unblind subject pop-up will be displayed. |
| 2 | Type the reason for unblinding and select Continue. |
| 3 |
Enter your password and select Confirm. The treatment is now visible in the randomization form for the unblinded subject, for all the roles with permission to view the data: |

Allocation
If configured for your study, allocation can be performed additionally to the randomization. This can be performed within the same form as the randomization or in a separate allocation form.
It is important to know that the allocation form will be locked after the allocation is performed, so the form won't be possible to edit. Still, the following actions can be performed after the allocation:
- Undo allocation - if the allocation was performed by mistake, for example at the wrong time. This will remove the existing allocation by reverting the allocation to its previous state and making the previously allocated kit available for other subjects.
- Replace allocation - allocate a new kit, for example if the subject lost the previous one. This will replace the existing allocated kit with a new one. The previously allocated kit will continue to be allocated to the same subject.
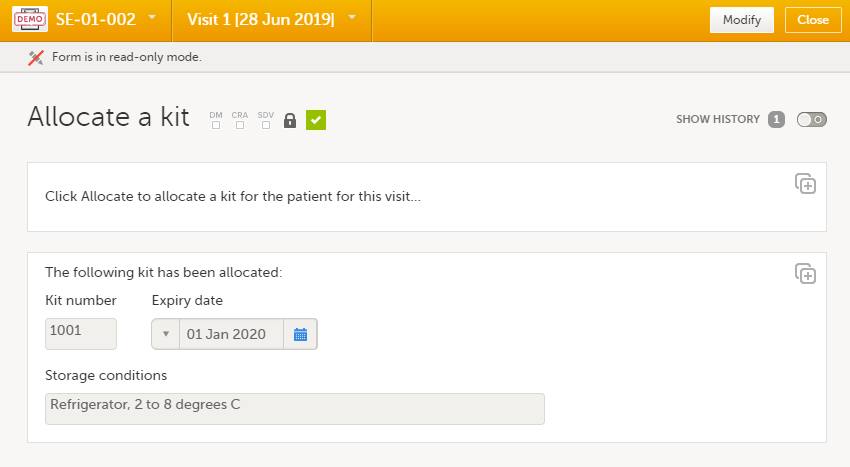
An example of an allocation form:
 To perform the allocation for the first time to a subject, click Allocate (or something else, depending on the configurations in your study). The allocation is performed and the form is locked:
The action is registered in the audit trailed as Initial data entry and a new version of the form PDF is generated (see Allocation actions in audit trail).
Note! To perform an allocation after the existing allocation was undone, see Undo allocation.
Undo allocation
To undo an existing allocation:
| 1 | Open the allocation form and click Modify. A pop-up is displayed: |
| 2 | Select Undo allocation. |
| 3 | If multiple allocations are performed within the same form, select from the dropdown list the allocation you want to undo under Select allocation: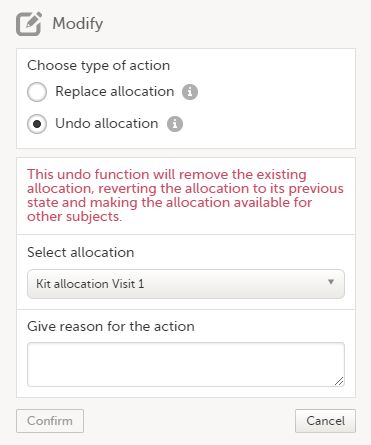 |
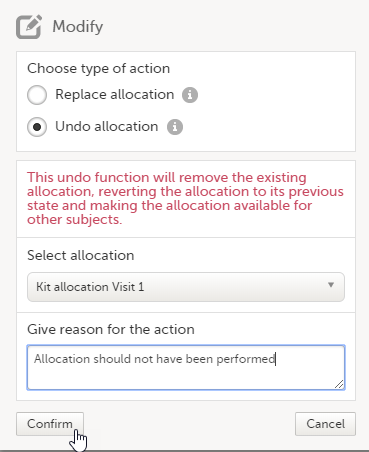
| 4 |
Type the reason for undoing the allocation (this text will be shown in the audit trail afterwards, see Allocation actions in audit trail) and select Confirm: The allocation is undone and a message is displayed on the top of the form: This will remove the existing allocation by reverting the allocation to its previous state and making the previously allocated kit available for other subjects. A new version of the form PDF is generated (see Allocation actions in audit trail). A new allocation can be performed for the subject, as described below. |
To perform a new allocation, for a subject for which a previous allocation was undone:
| 1 | Select Modify on the allocation form for a subject for which the previous allocation was undone: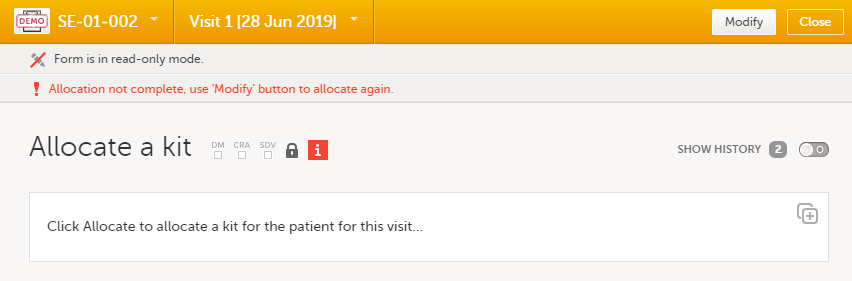
The Modify pop-up is displayed: 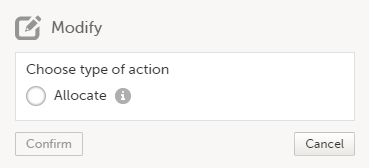
|
| 2 | Select Allocate. If multiple allocations are performed within the same form, select from the dropdown list the allocation to be performed, enter the reason (this text will be shown in the audit trail afterwards, see Allocation actions in audit trail) and select Confirm: |
| 3 | The allocation is performed and the form is locked: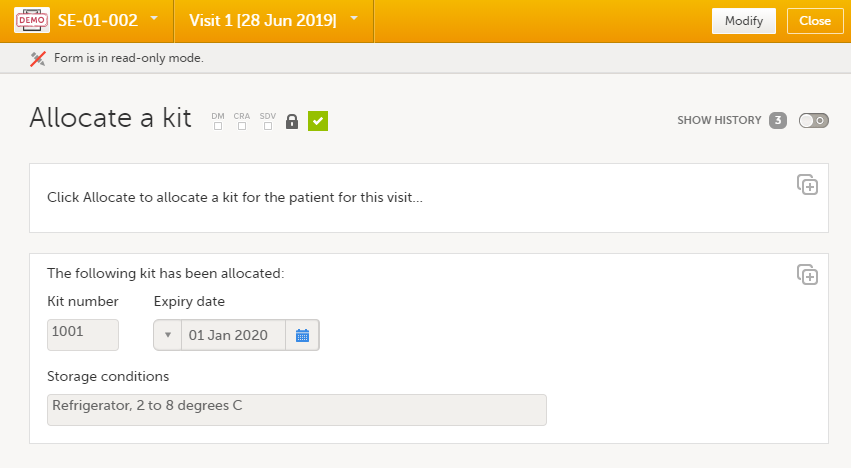
A new version of the form PDF is generated (see Allocation actions in audit trail). |
Replace allocation
To replace an existing allocation with a new one, that is, to assign a new kit to a subject:
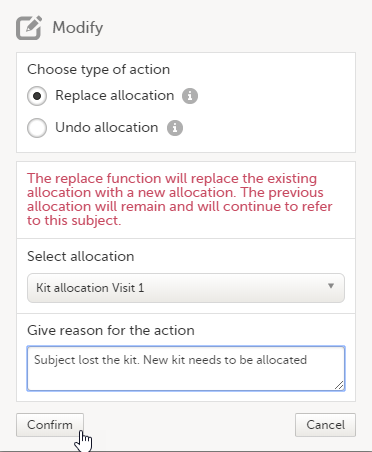
| 1 | Open the allocation form and select Modify: |
| 2 |
Select Replace allocation. If multiple allocations are performed within the same form, select from the dropdown list the allocation to be replaced, enter the reason (this text will be shown in the audit trail afterwards, see Allocation actions in audit trail) and click Confirm: A new allocation is performed: |
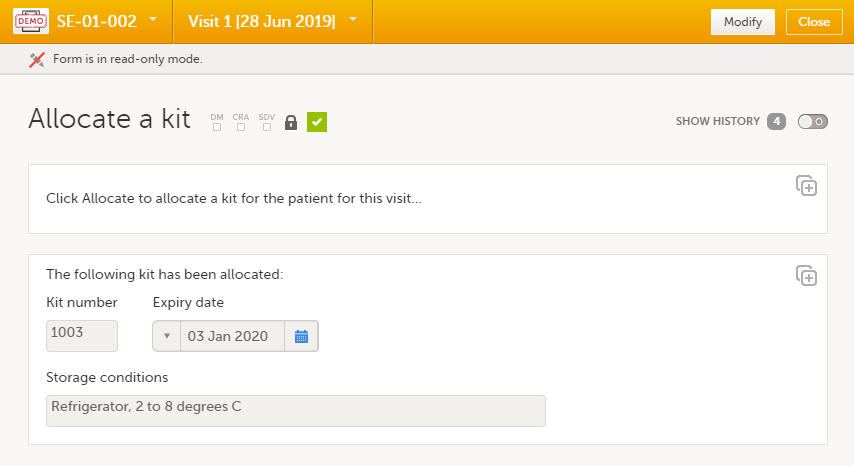 This will replace the existing allocated kit with a new one. The previously allocated kit will continue to be allocated to the same subject.
Allocation actions in audit trail
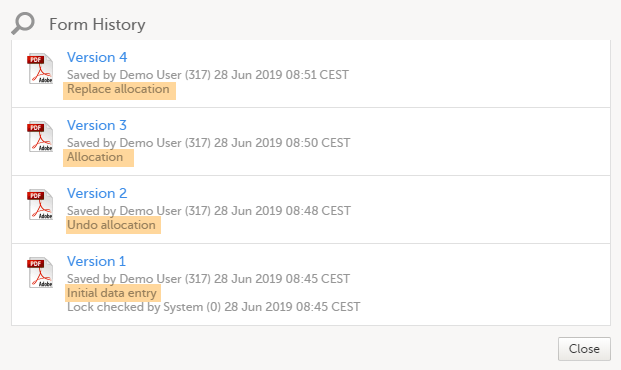
All the actions performed on allocation are recorded in the audit trail as follows:
- The first time the allocation is performed, it is recorded as Initial data entry:

- The other actions performed (undo allocation, replace allocation) are recorded in the audit trail with the text entered as reason when the action was performed:
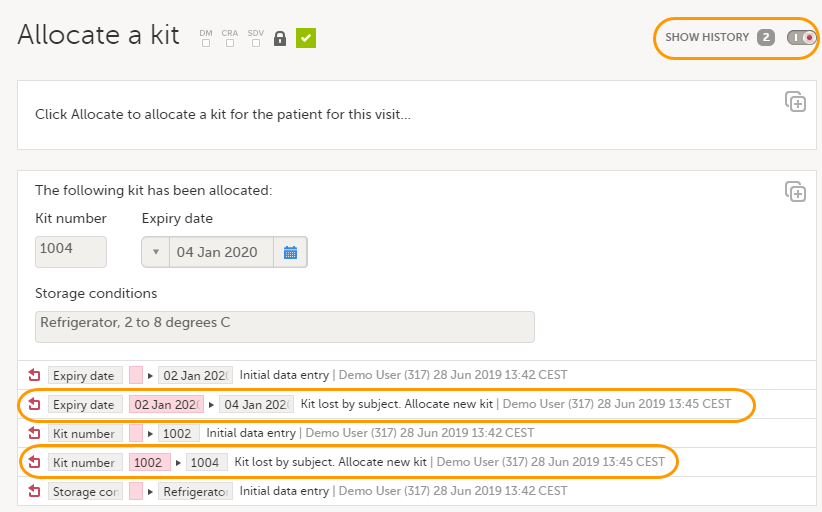
The allocation actions performed within a form are also shown in the Form History: