Locking and unlocking records
Note! This page contains information and instructions for the new TMF user interface. If you are using the old interface, please go to the relevant user guides:
- Viedoc eTMF User Guide (old interface)
- Viedoc User Guide for eTMF Managers (old interface)
Want to browse more information for the new interface? Please go to the new TMF user guides:
Introduction
After a record has been finalized, you can lock it to prevent any further changes. It is also possible to unlock a record at any time.
Note! If the TMF is configured to Automatically lock records on approve (see TMF settings for more information), the record automatically locks when it is approved.
Locking a record
To lock a record:
| 1 |
Select a finalized record to open the Record properties window. |
| 2 |
In the Record properties window, select Lock. 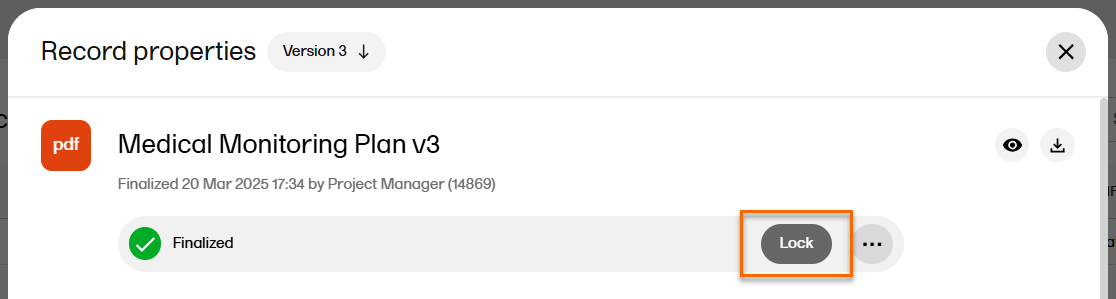
|
| 3 | The Lock button now changes into an Unlock button. |
Note! It is not possible to create new versions of locked records.
Unlocking a record
To enable editing of a locked record, you can unlock it.
To unlock a record:
| 1 |
Select the locked record to open the Record properties window. |
| 2 |
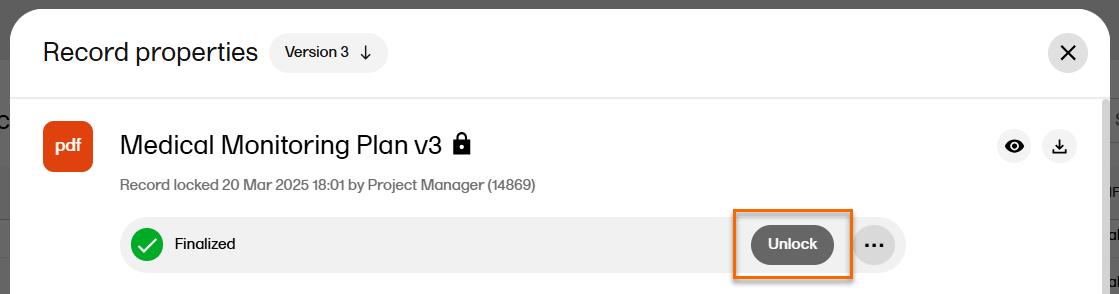
If the TMF has Give reason for unlocking records setting disabled (see TMF settings for more information), the Unlock button will appear. Select the Unlock button:
|
| 3 |
If the TMF has Give reason for unlocking records setting enabled (see TMF settings for more information), the Unlock button is not displayed. Instead, select to open the Record actions menu, and from the dropdown select Unlock record: 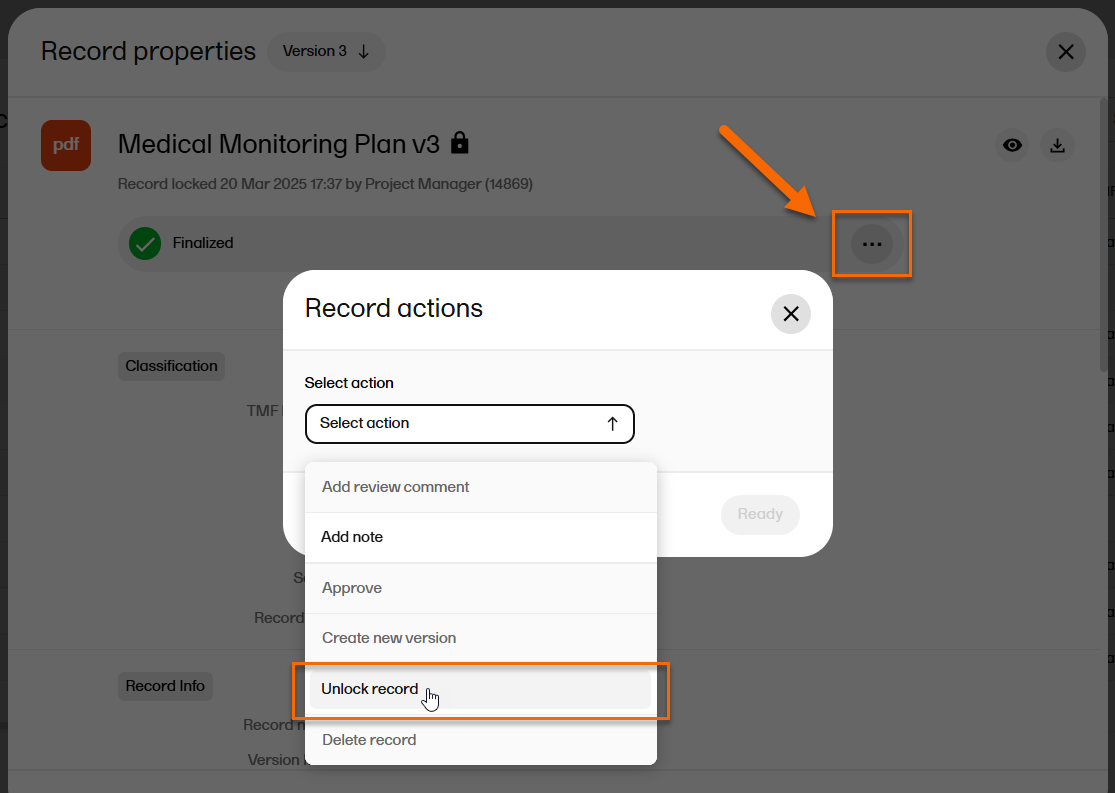
|
| 4 |
Type the reason for unlocking the record and select Unlock Record to confirm. 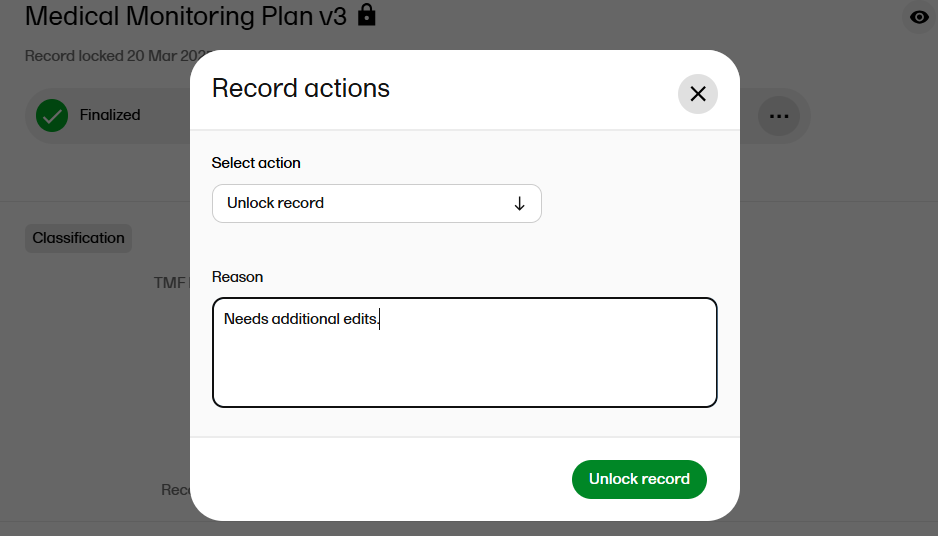
The record is now unlocked, and the unlock reason is recorded in the audit trail report. |
 The record is now unlocked.