TMF Drop Zone
Note! This page contains information and instructions for the new TMF user interface. If you are using the old interface, please go to the relevant user guides:
- Viedoc eTMF User Guide (old interface)
- Viedoc User Guide for eTMF Managers (old interface)
Want to browse more information for the new interface? Please go to the new TMF user guides:
Introduction
Drop zones are folders outside the TMF structure where you can upload files to manage them later. Files can only be moved from the drop zones to the structure and not the other way around.
Anyone who has any kind of access to the study TMF can upload files to the drop zones. However, moving files from the drop zones to the structure is similar to uploading records to artifacts in the structure, in the sense that both require that the user has write access to the artifact in question.
In the left navigation menu, select to expand Trial Master File, and select the Drop Zone page.
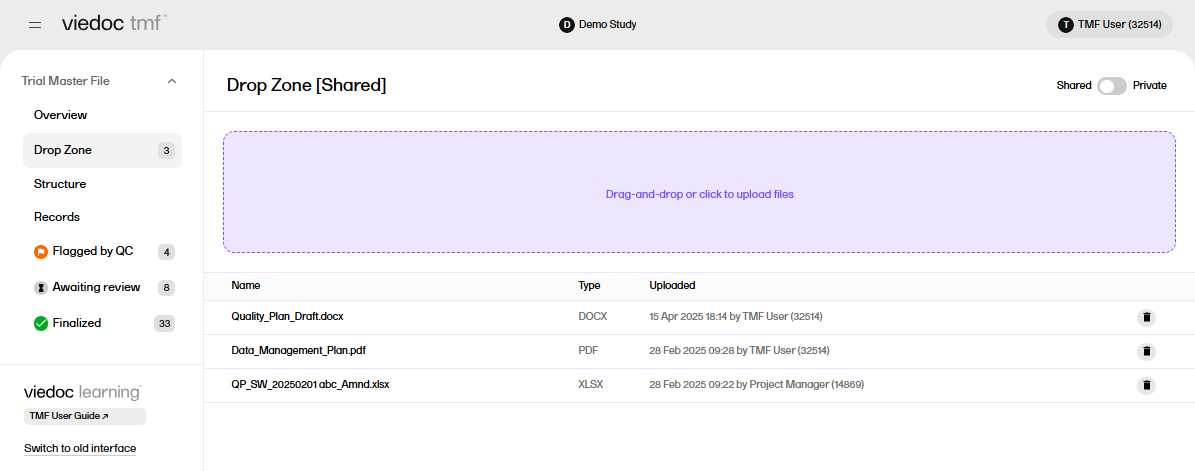
Shared and private drop zones
The shared and private drop zones can be enabled or disabled by a user with a TMF Admin role in TMF Settings.
- The Shared drop zone: Files that are uploaded to the shared drop zone can be accessed and managed by the user who uploaded them, as well as the users who have the Manage drop zone permission.
- The Private drop zone: Files that are uploaded to the private drop zone can only be accessed and managed by the user who uploaded them.
If both shared and private drop zones are enabled in TMF Settings, select the toggle button in the top right of the page to switch between the two options.
Uploading a file to the Drop Zone
To upload a file to a drop zone:
| 1 |
Select the Upload area on the Drop Zone page: 
|
| 2 | Select the file(s) that you want to upload, and select Open. |
| 3 |
Alternatively, to upload file(s), drag them from your file explorer and drop them in the drop zone: 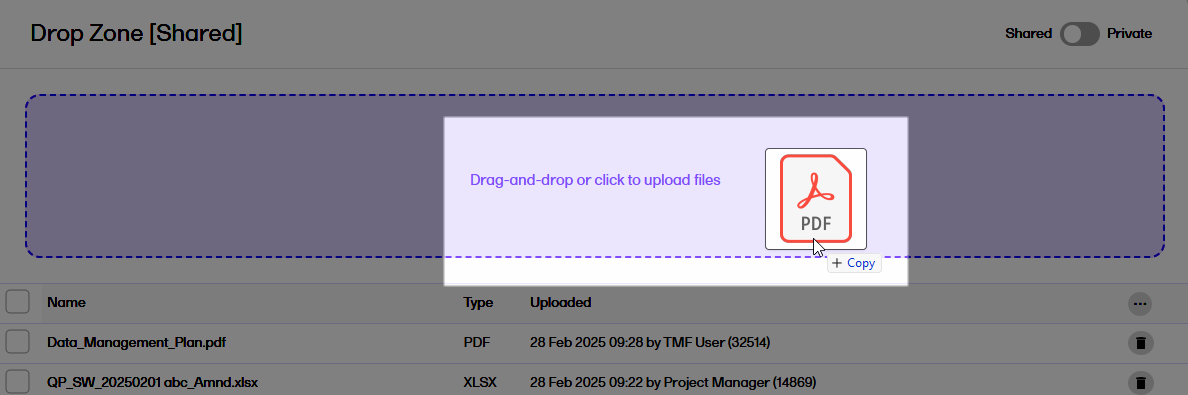
|
Note! When placing files from within a zipped folder into a drop zone, the system will not recognize the file. It will recognize the zipped folder and extract the files. Unzip the folder, and then select the files you want to drop into the the drop zone.
Deleting a file from the Drop Zone
To delete a file from a drop zone:
| 1 |
Select the trash can icon on the row of the file that you want to delete. 
|
| 2 |
Alternatively, open the file by selecting it, and then select the trash can icon in the record properties window. 
|
| 3 |
Confirm the deletion. 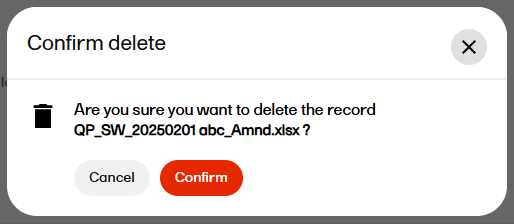 |
Downloading a file from the Drop Zone
To download a file from a drop zone:
| 1 |
Select a record to open the record properties window. |
| 2 |
Select the download icon: 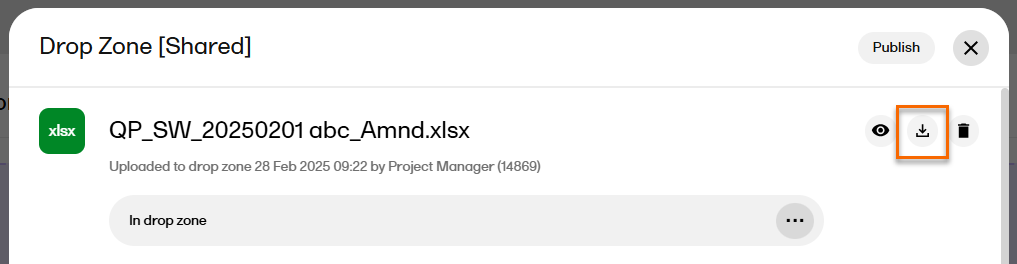
|
Moving a file from the Drop Zone to the TMF structure
To move a file from a drop zone to the structure:
| 1 | Select a record to open the record properties window. |
| 2 | Select the TMF location (Zone, Section, and Artifact) where you want to move the file.
The properties of that artifact will then be populated in the record properties window. You can either enter values for the metadata properties or leave them empty. |
| 3 |
Select Save as unpublished to create a new unpublished record in the selected location with the file that was moved from the drop zone. 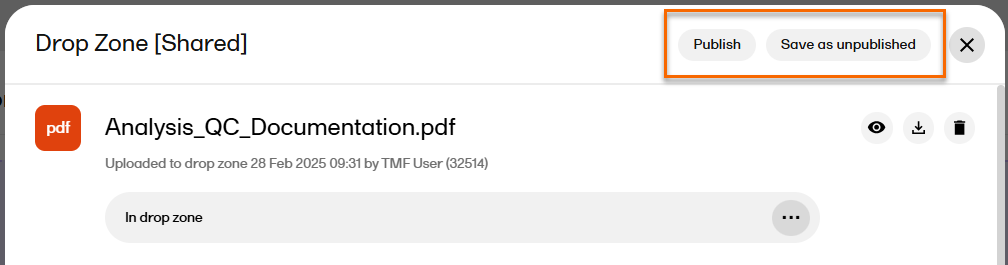
|
| 4 |
Alternatively, fill in all the mandatory fields and select Publish. A new record with the status Awaiting review will be created at the selected location with the file that was moved from the drop zone. |
